This weekend, we rented the last pairs of skis in our sizes at the local outdoor shop and came to LOVE cross country skiing!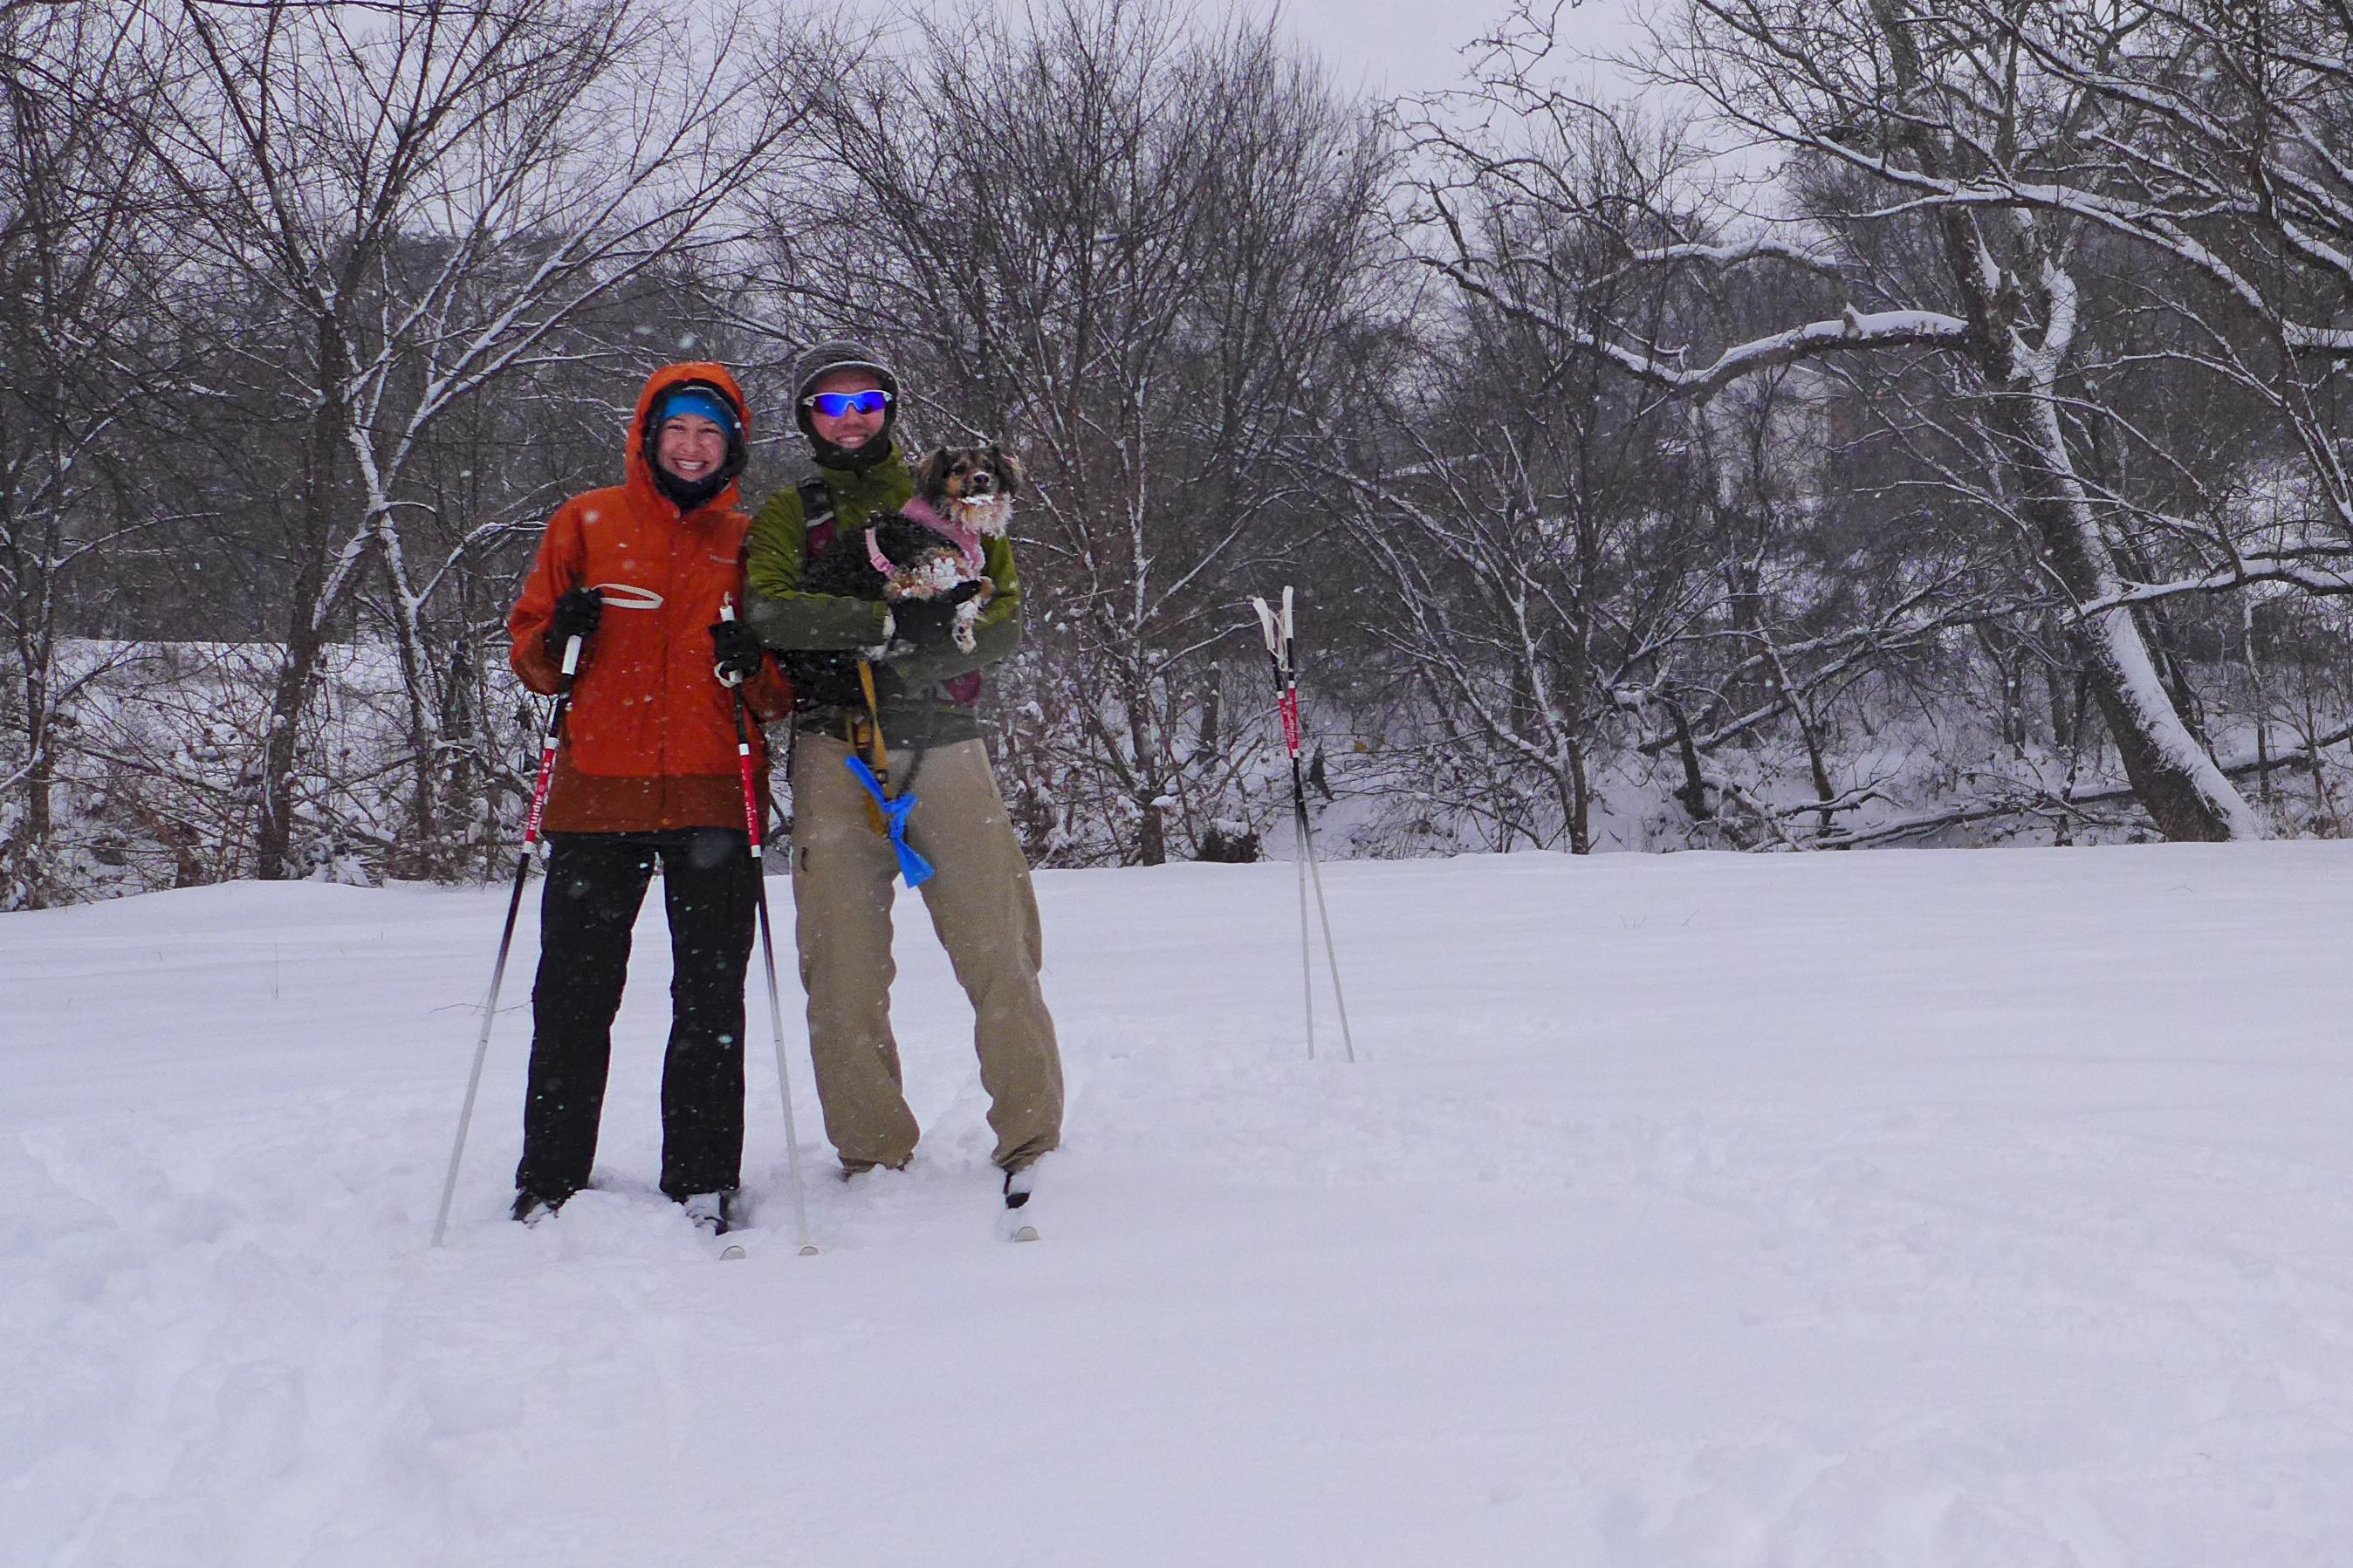
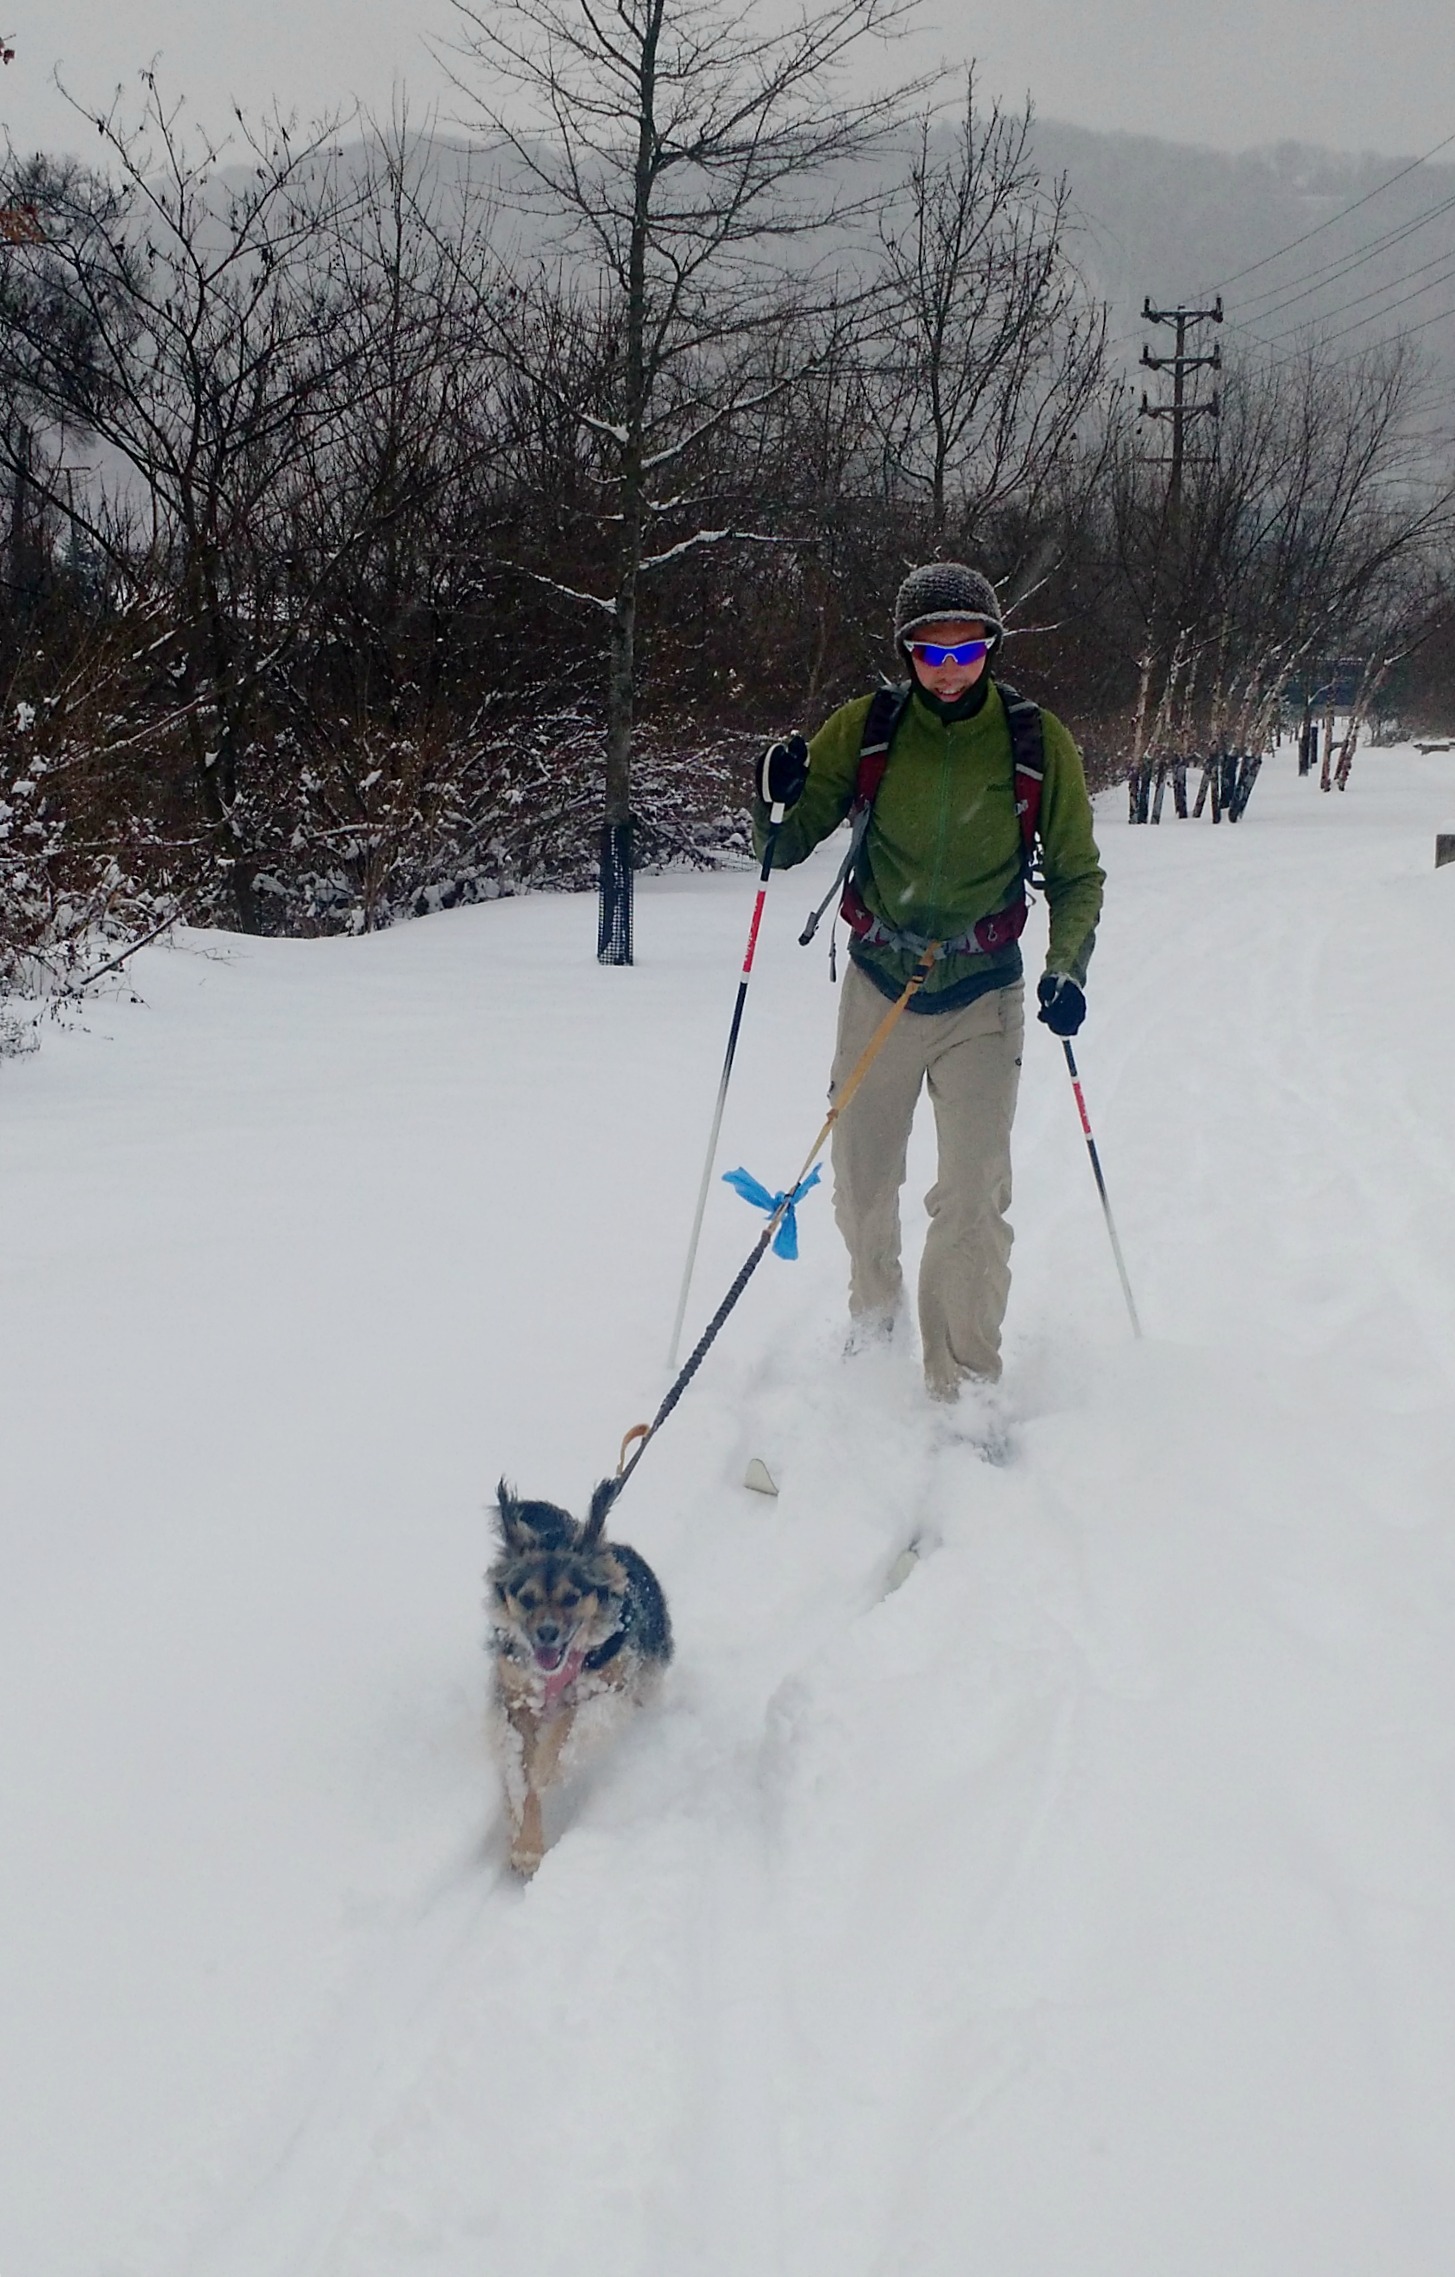 Skijoring with Penny.
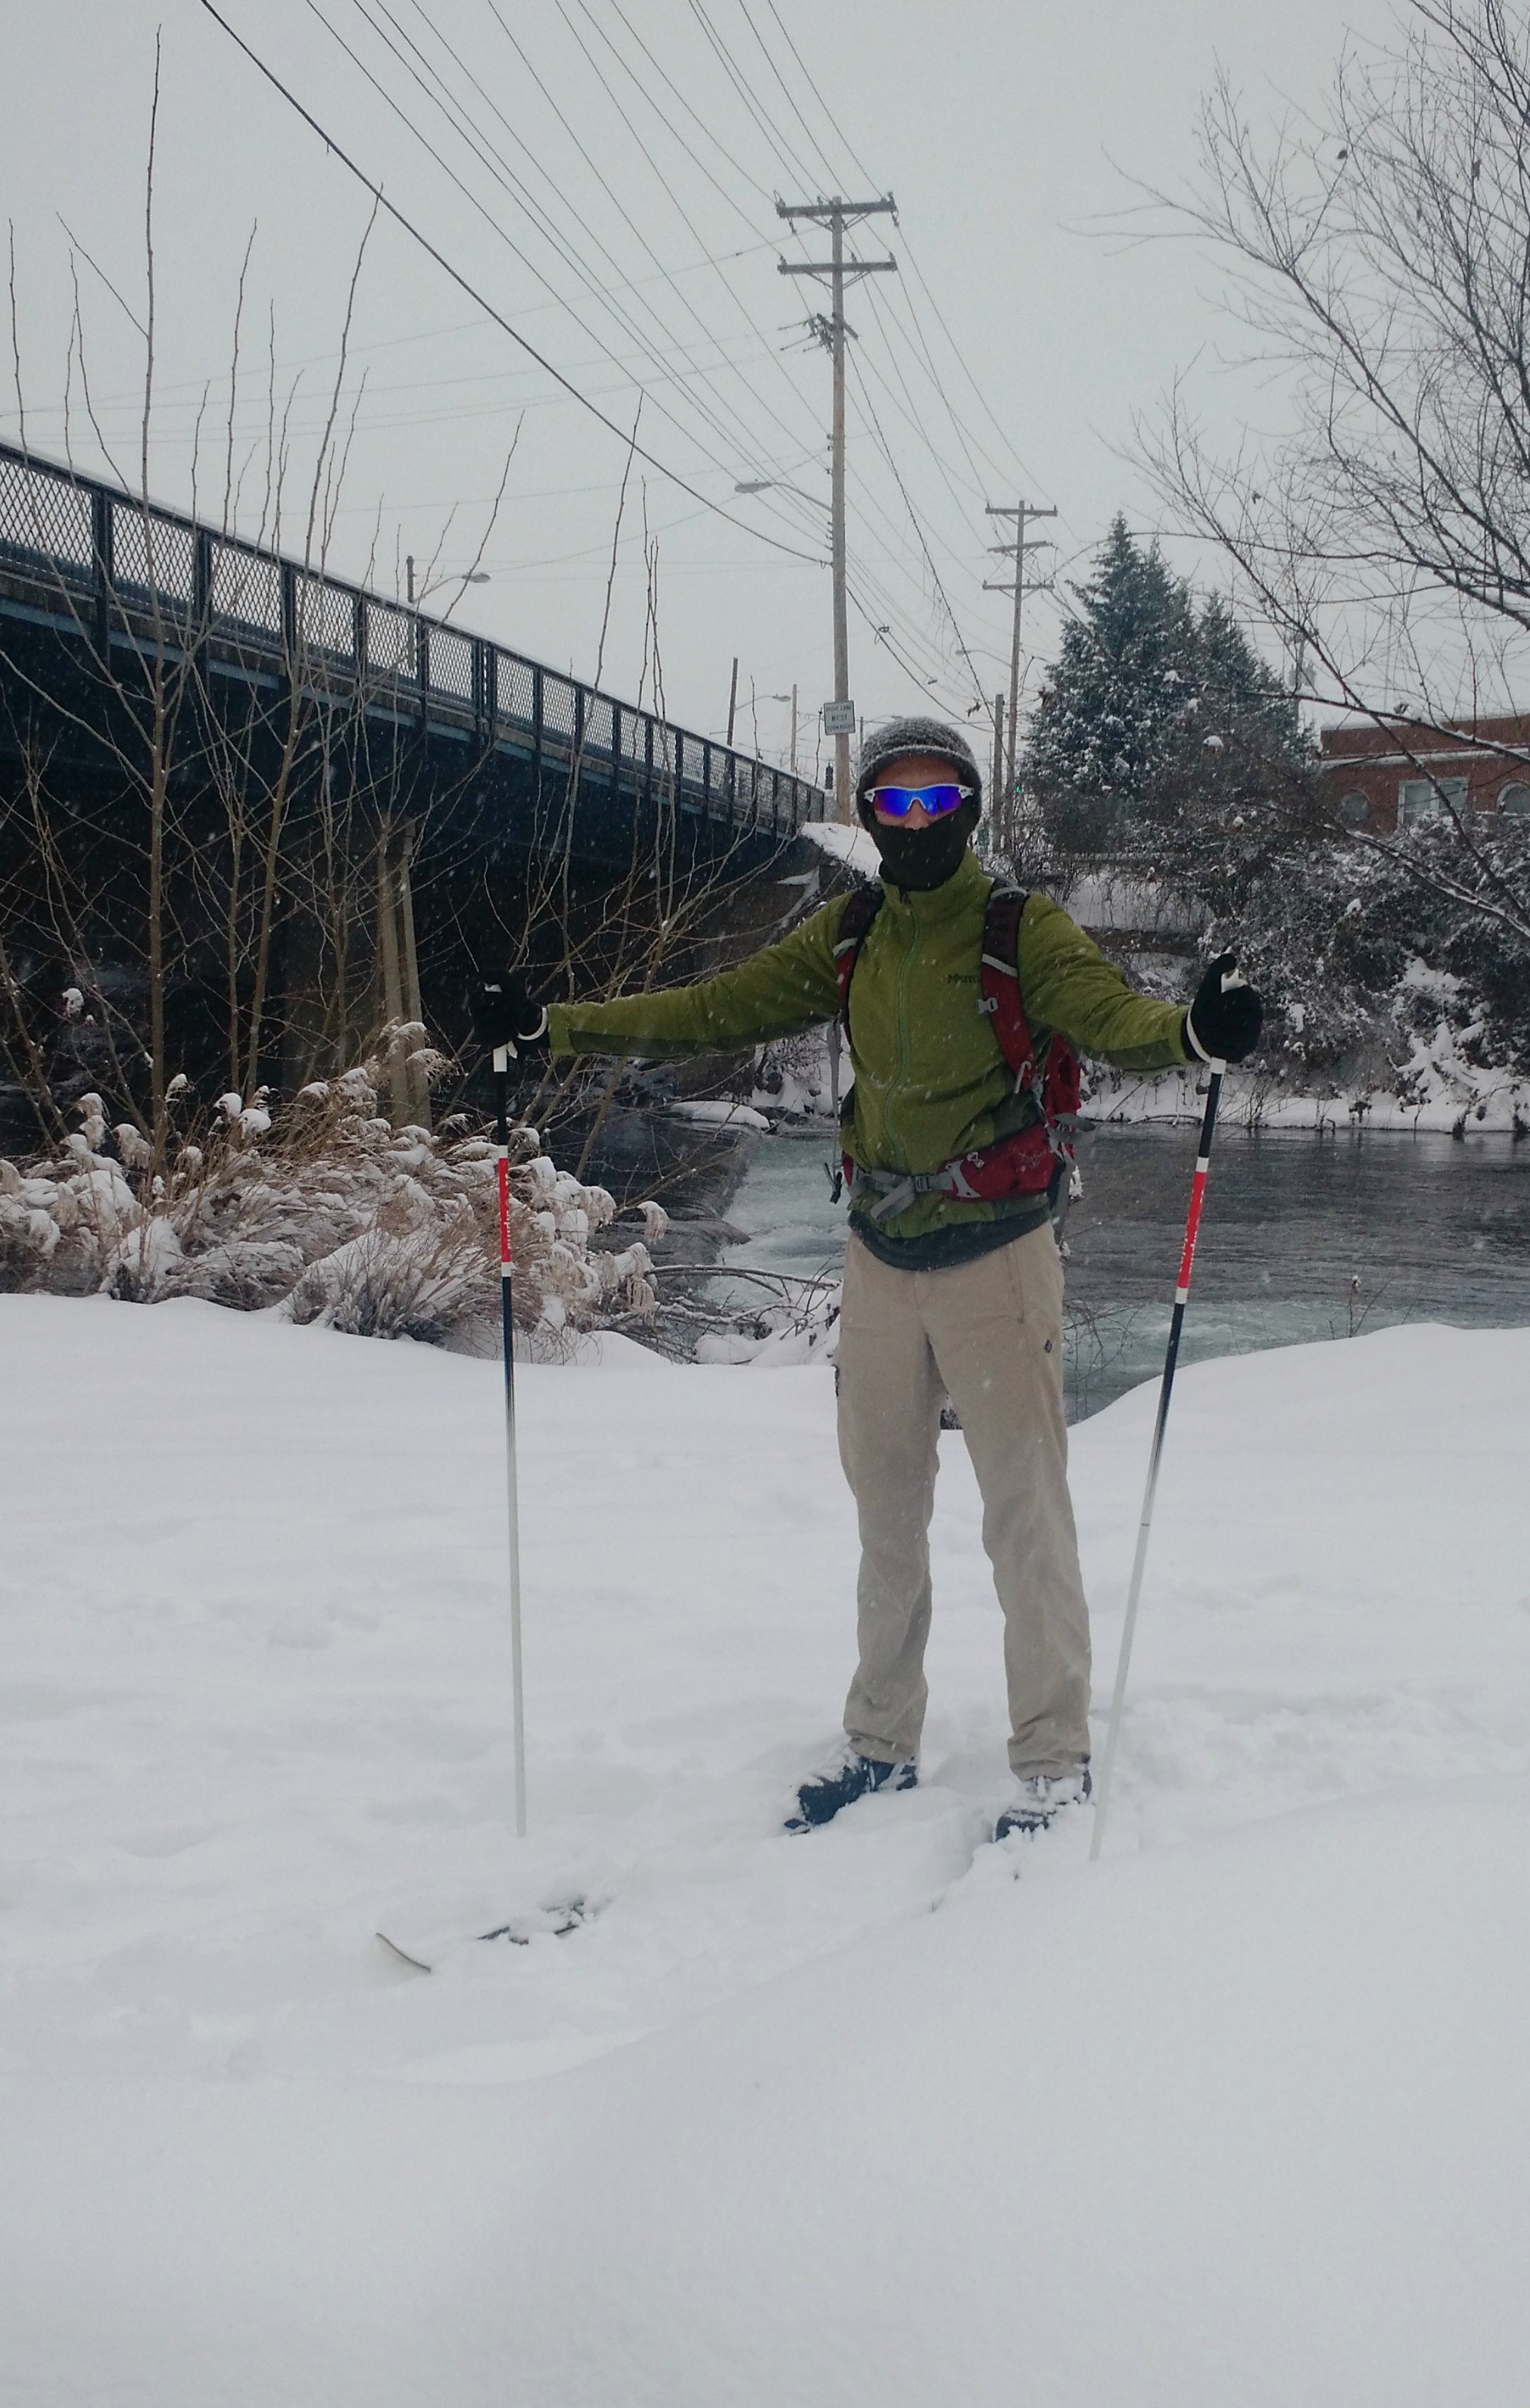
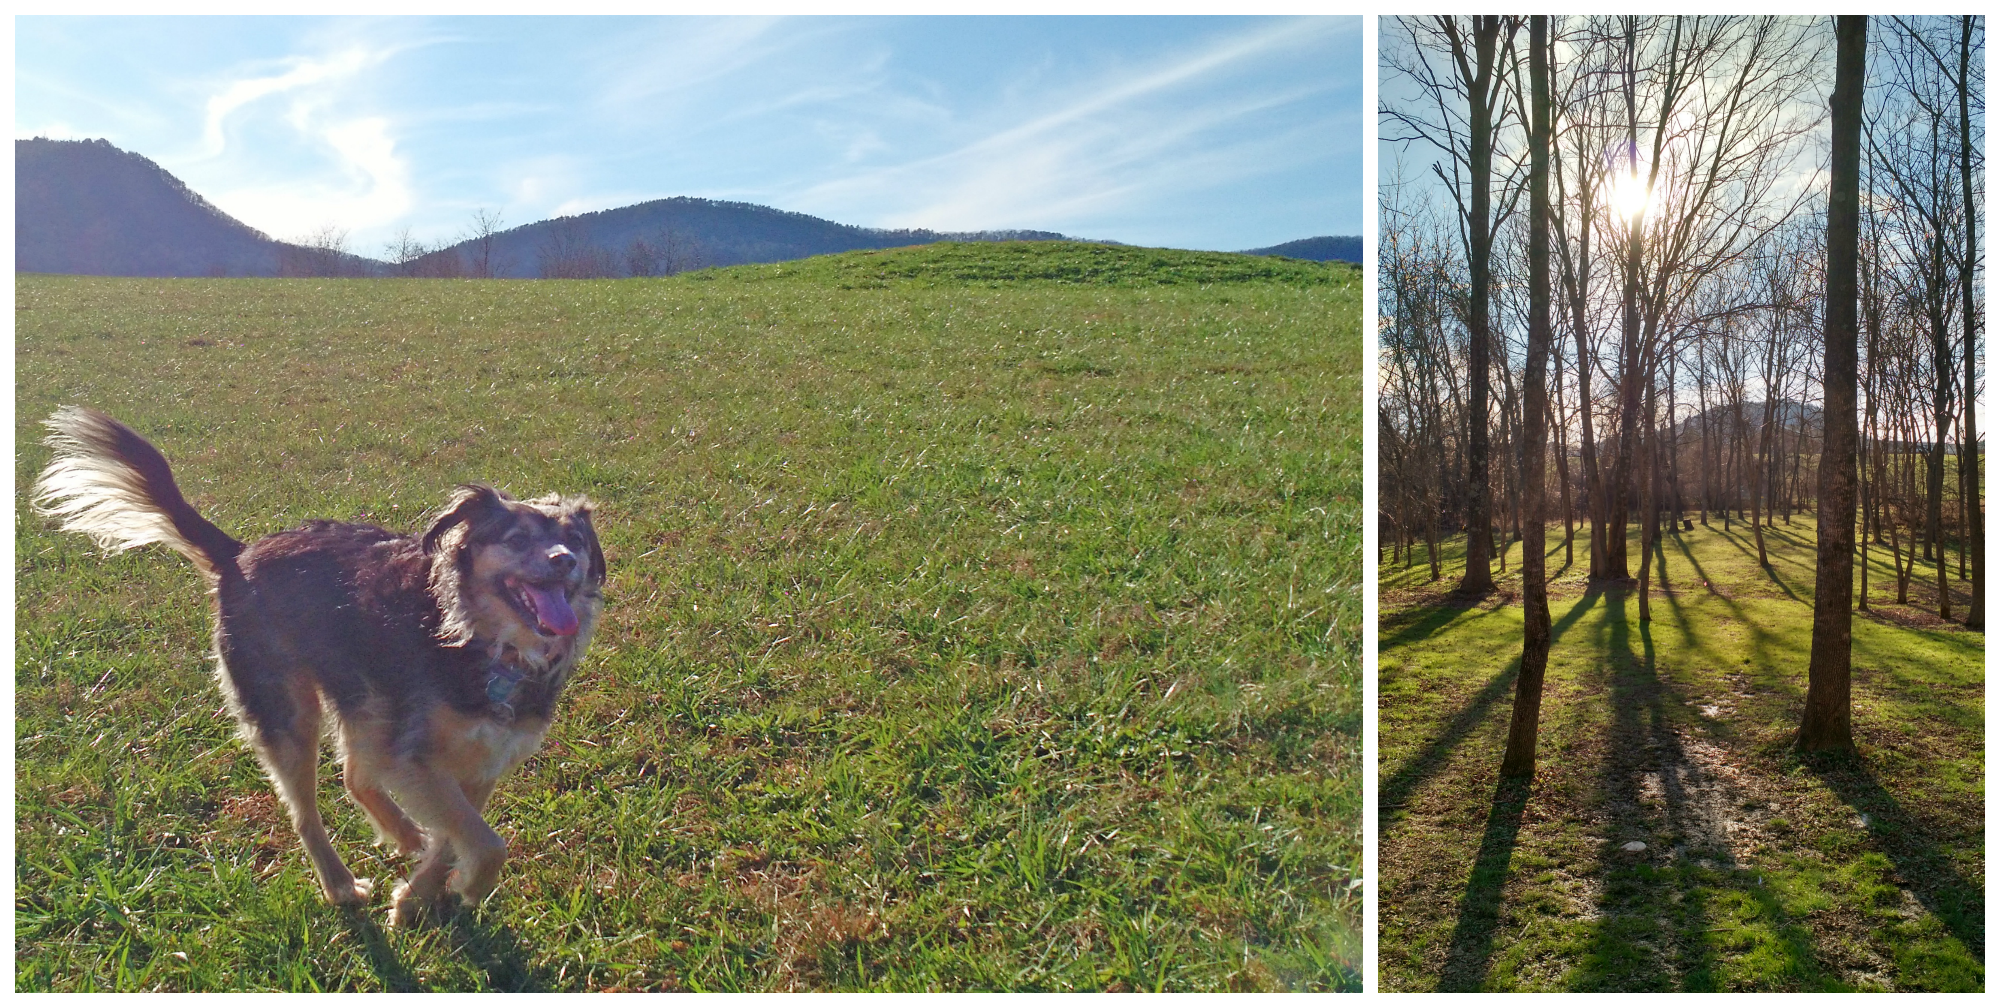
 Going along the river in the parkway.
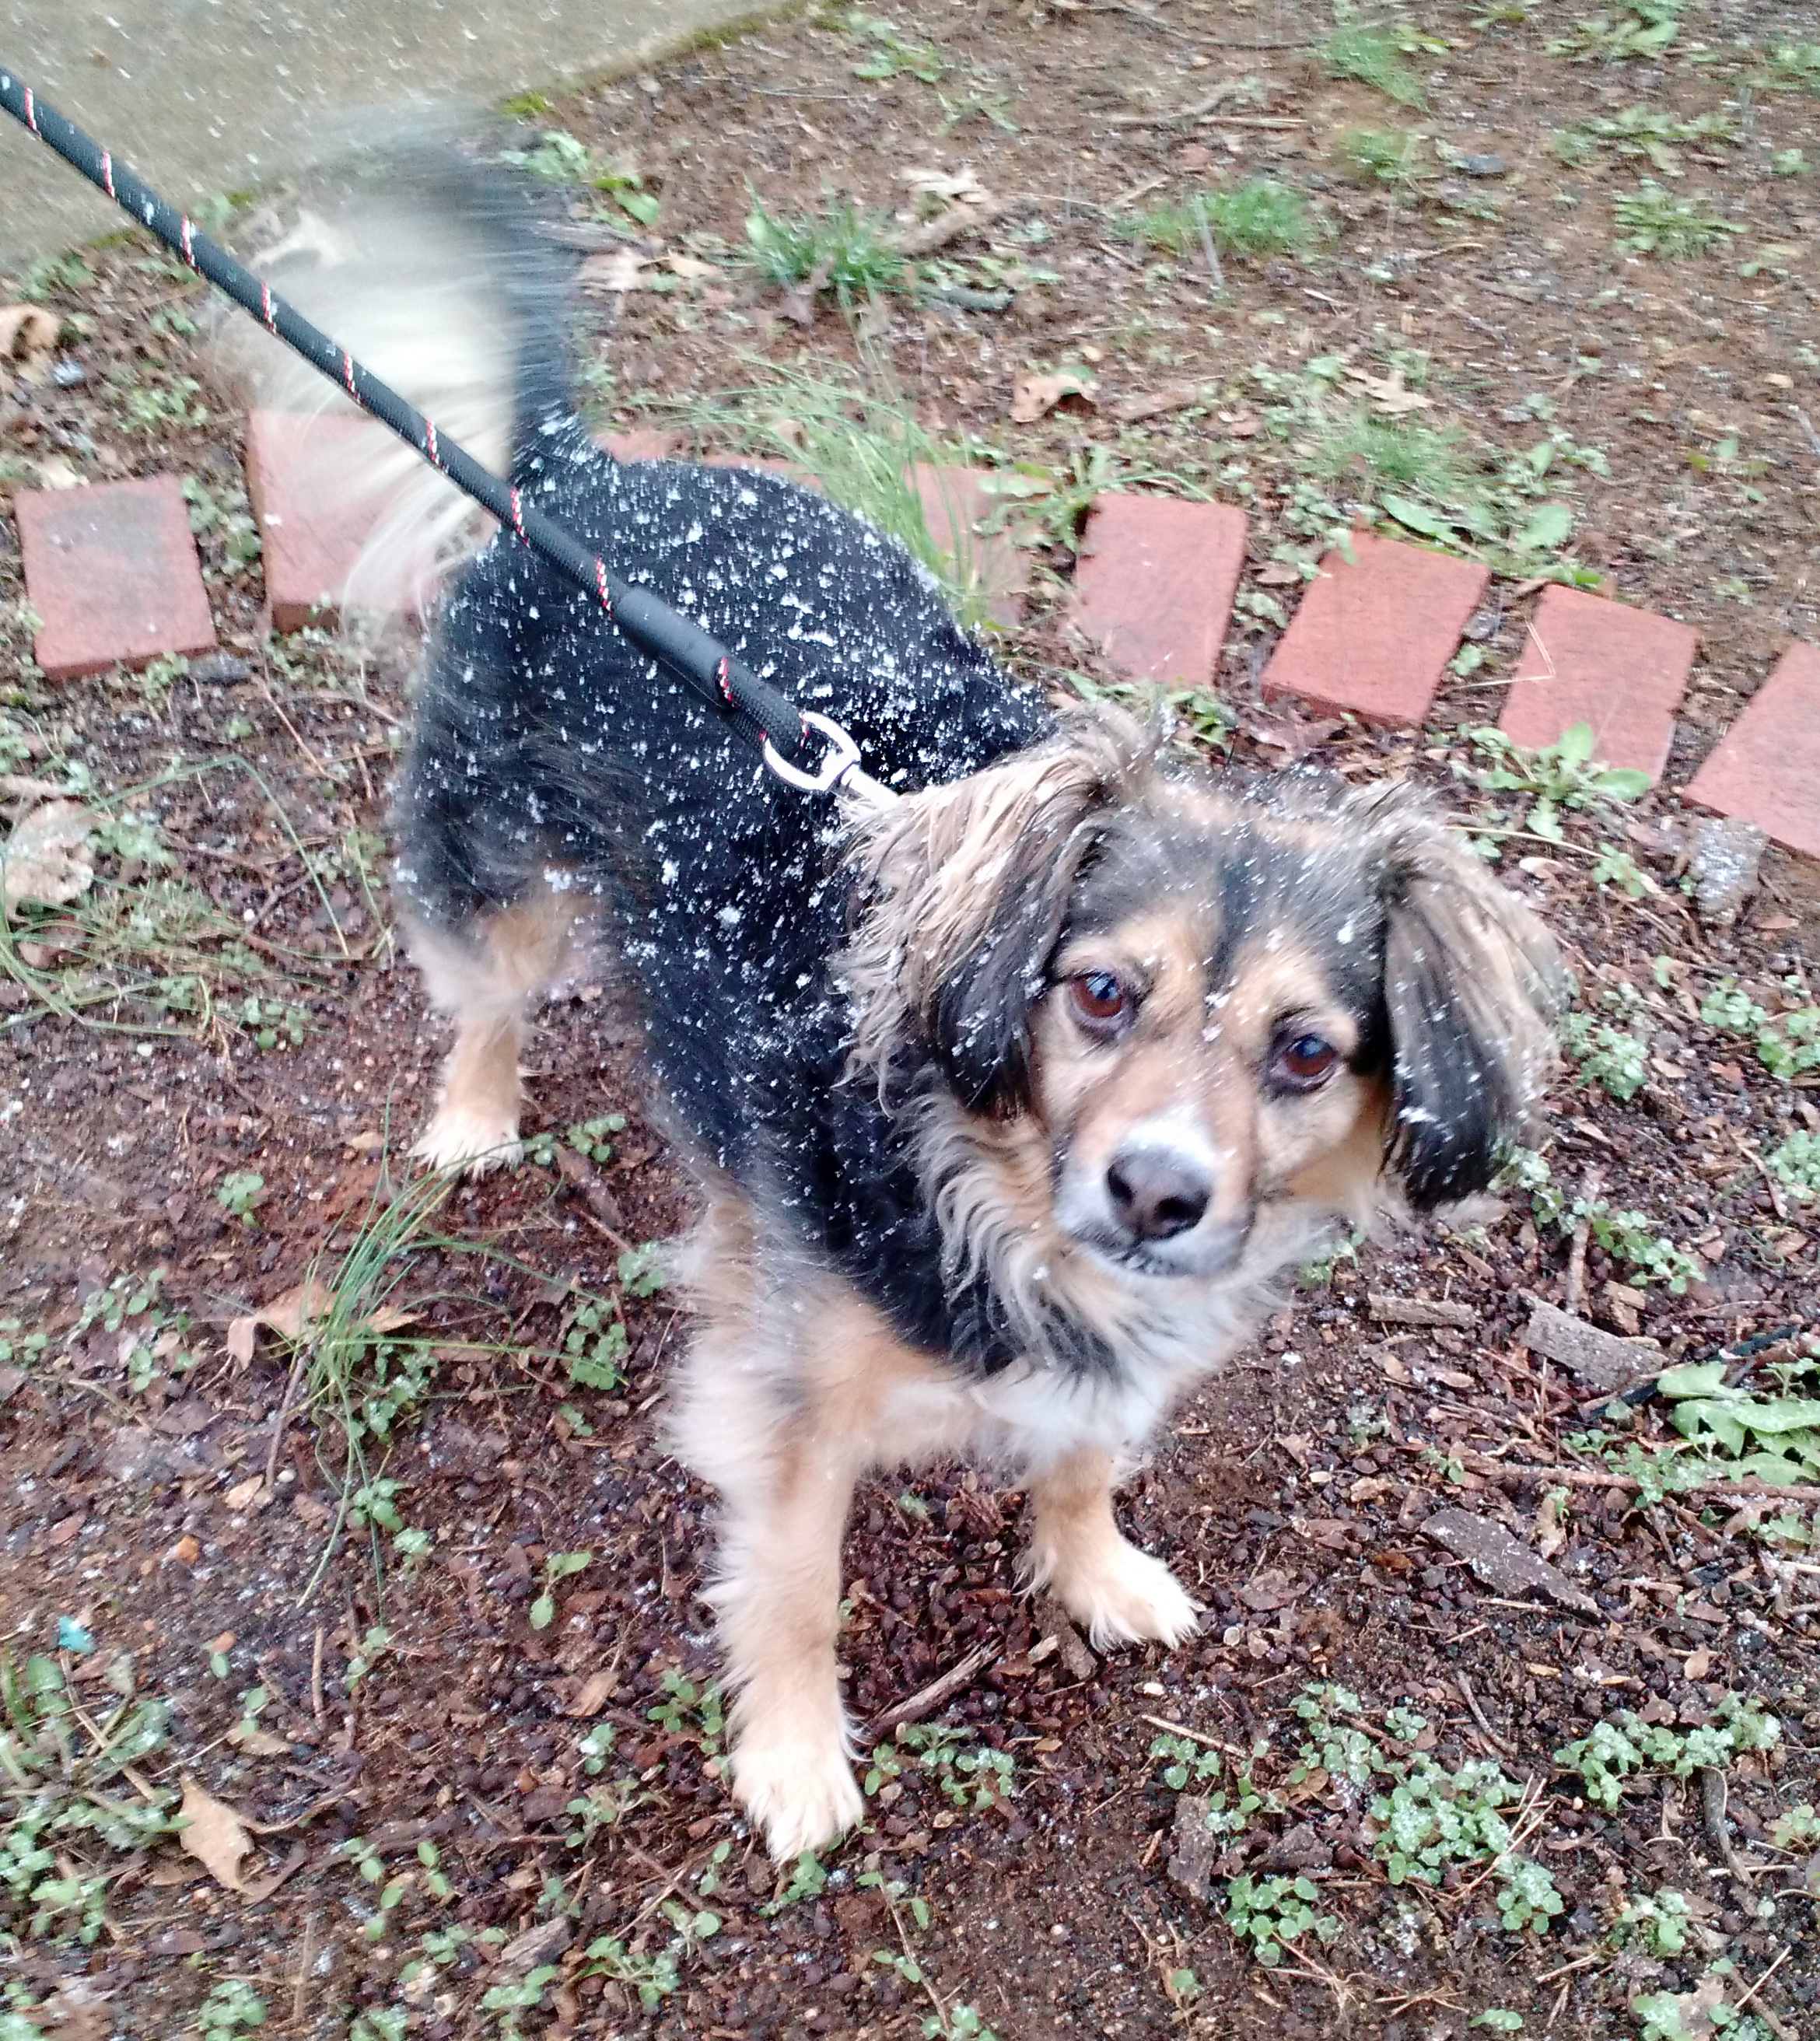
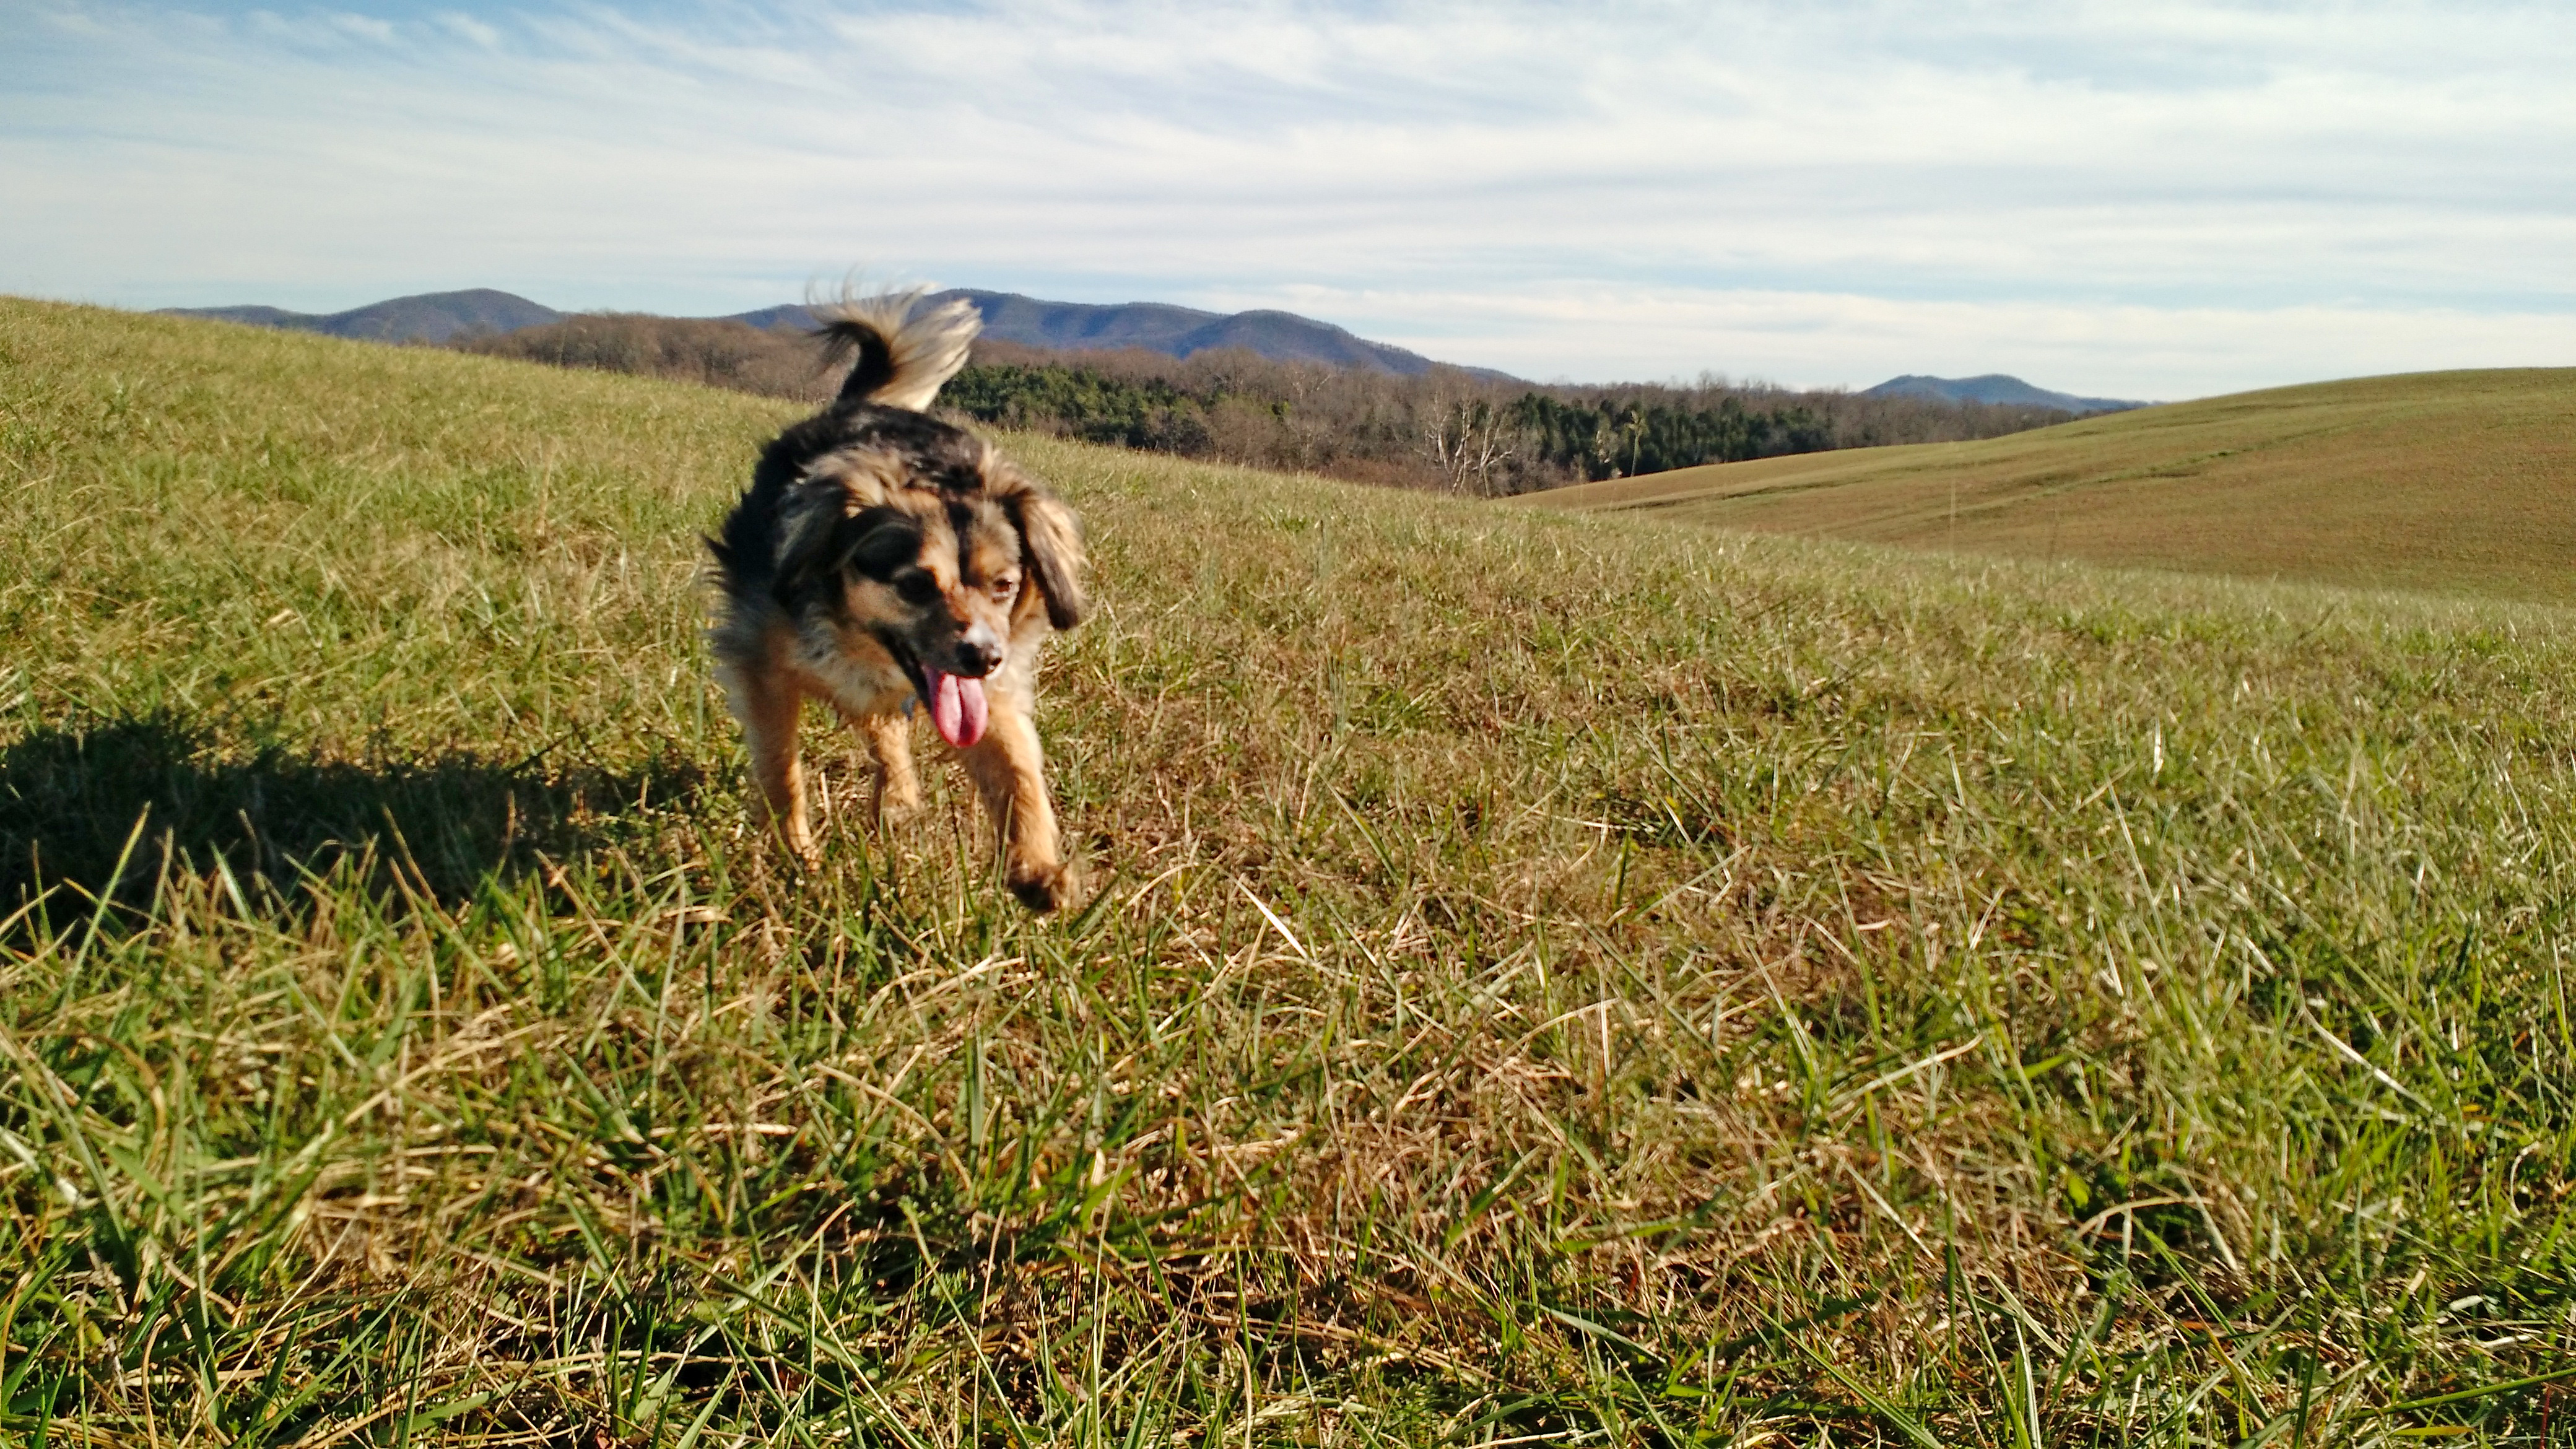
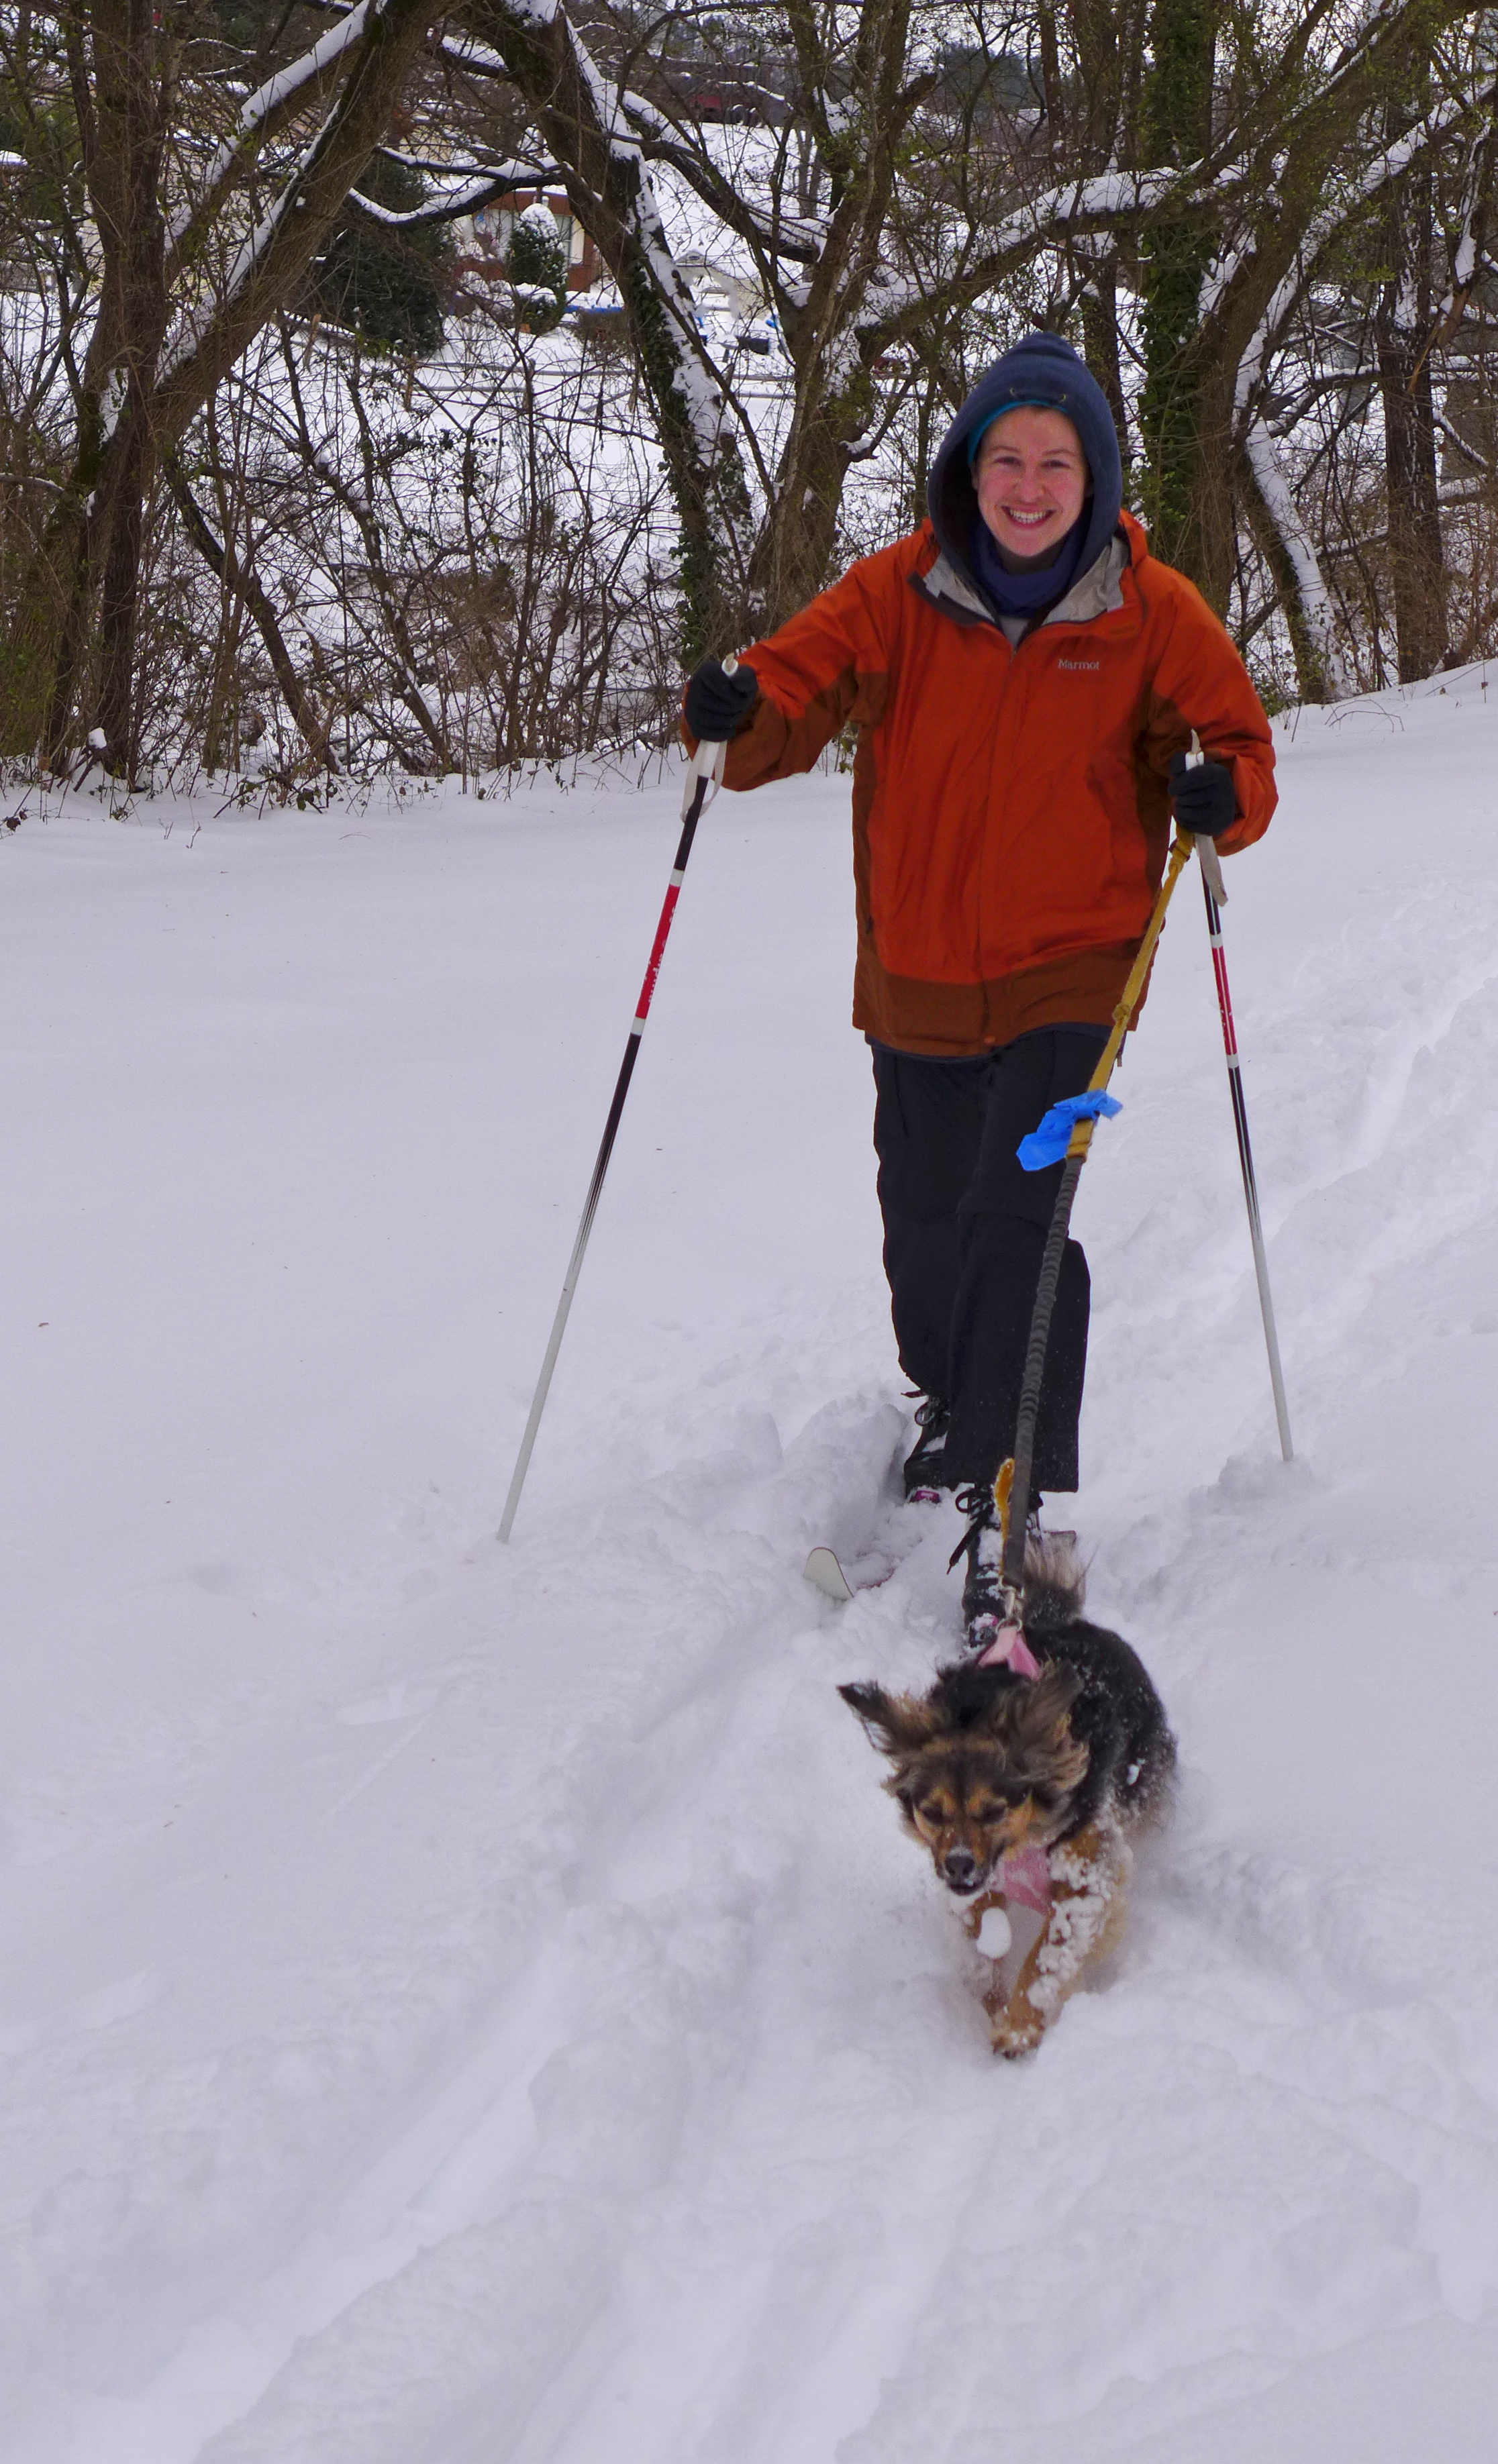 Go Penny, go!Always wants to fetch. Always.
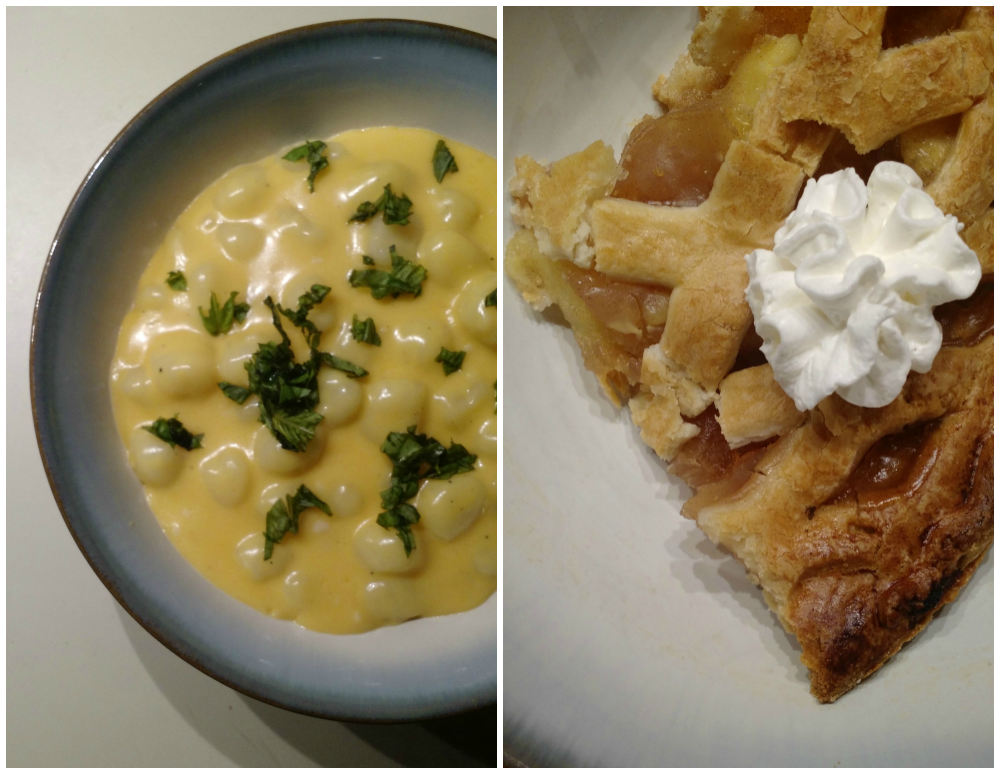 Our power luckily stayed on so we got to stay warm and cook good food!
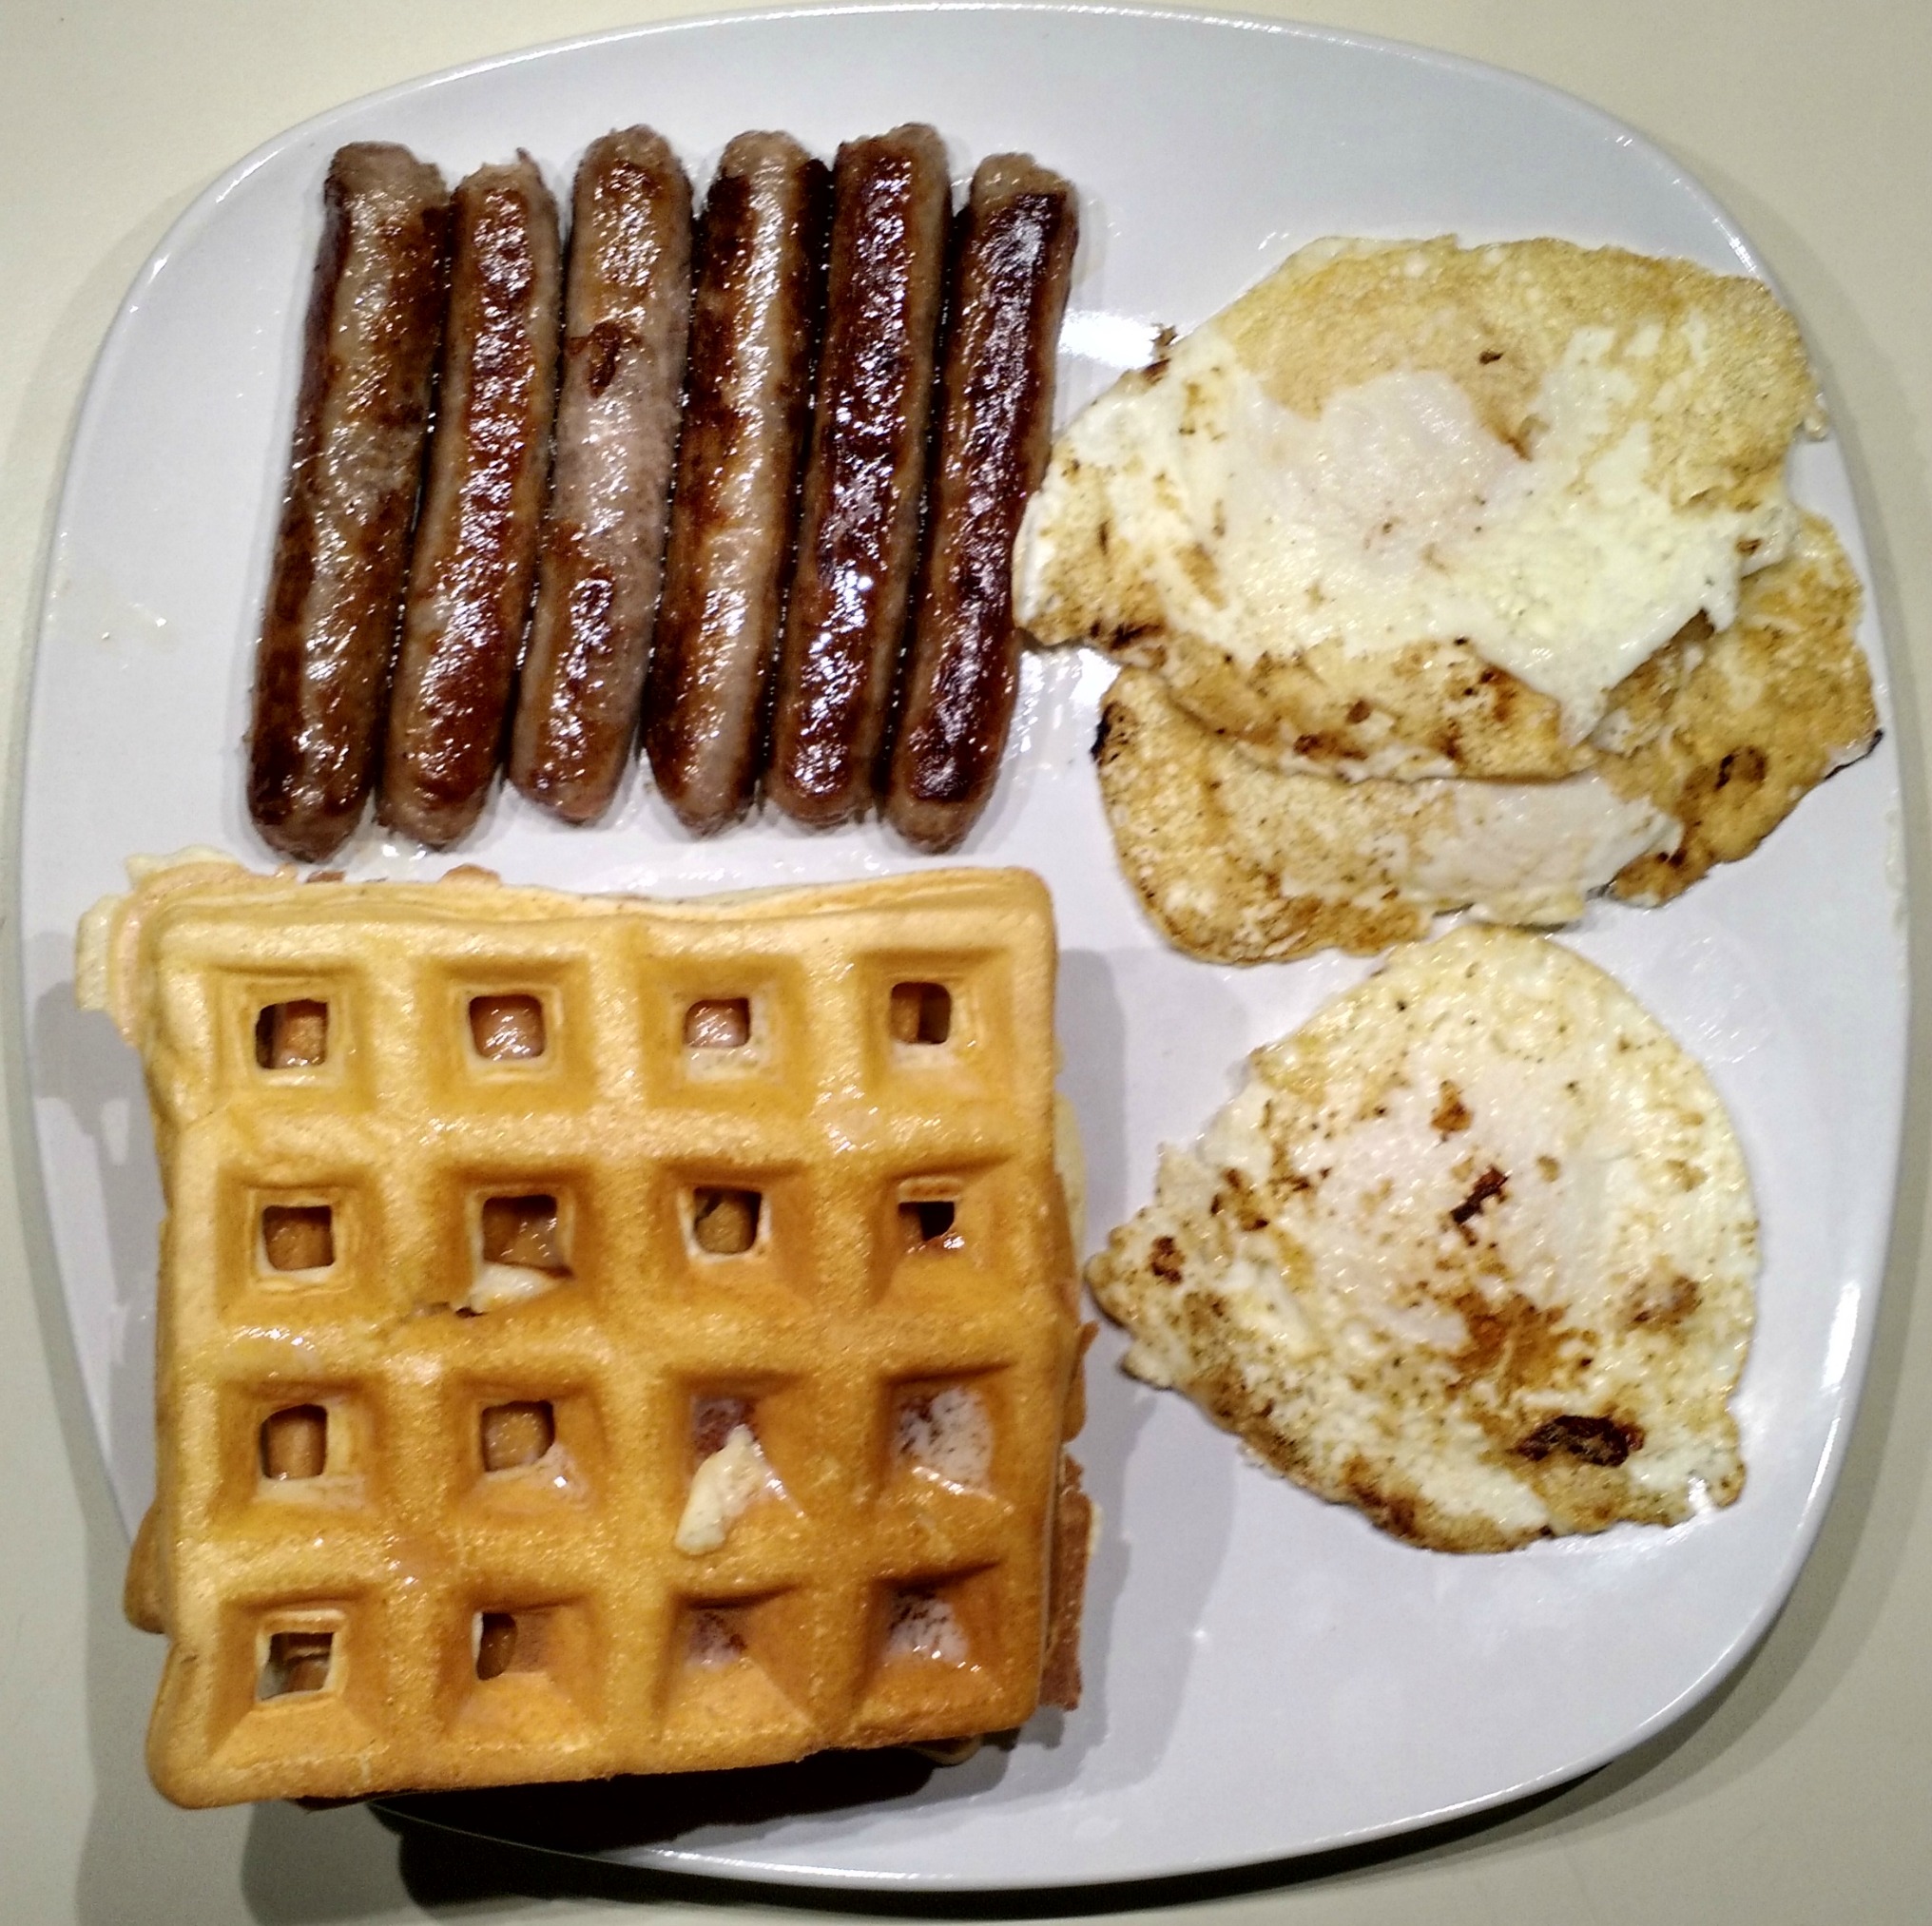
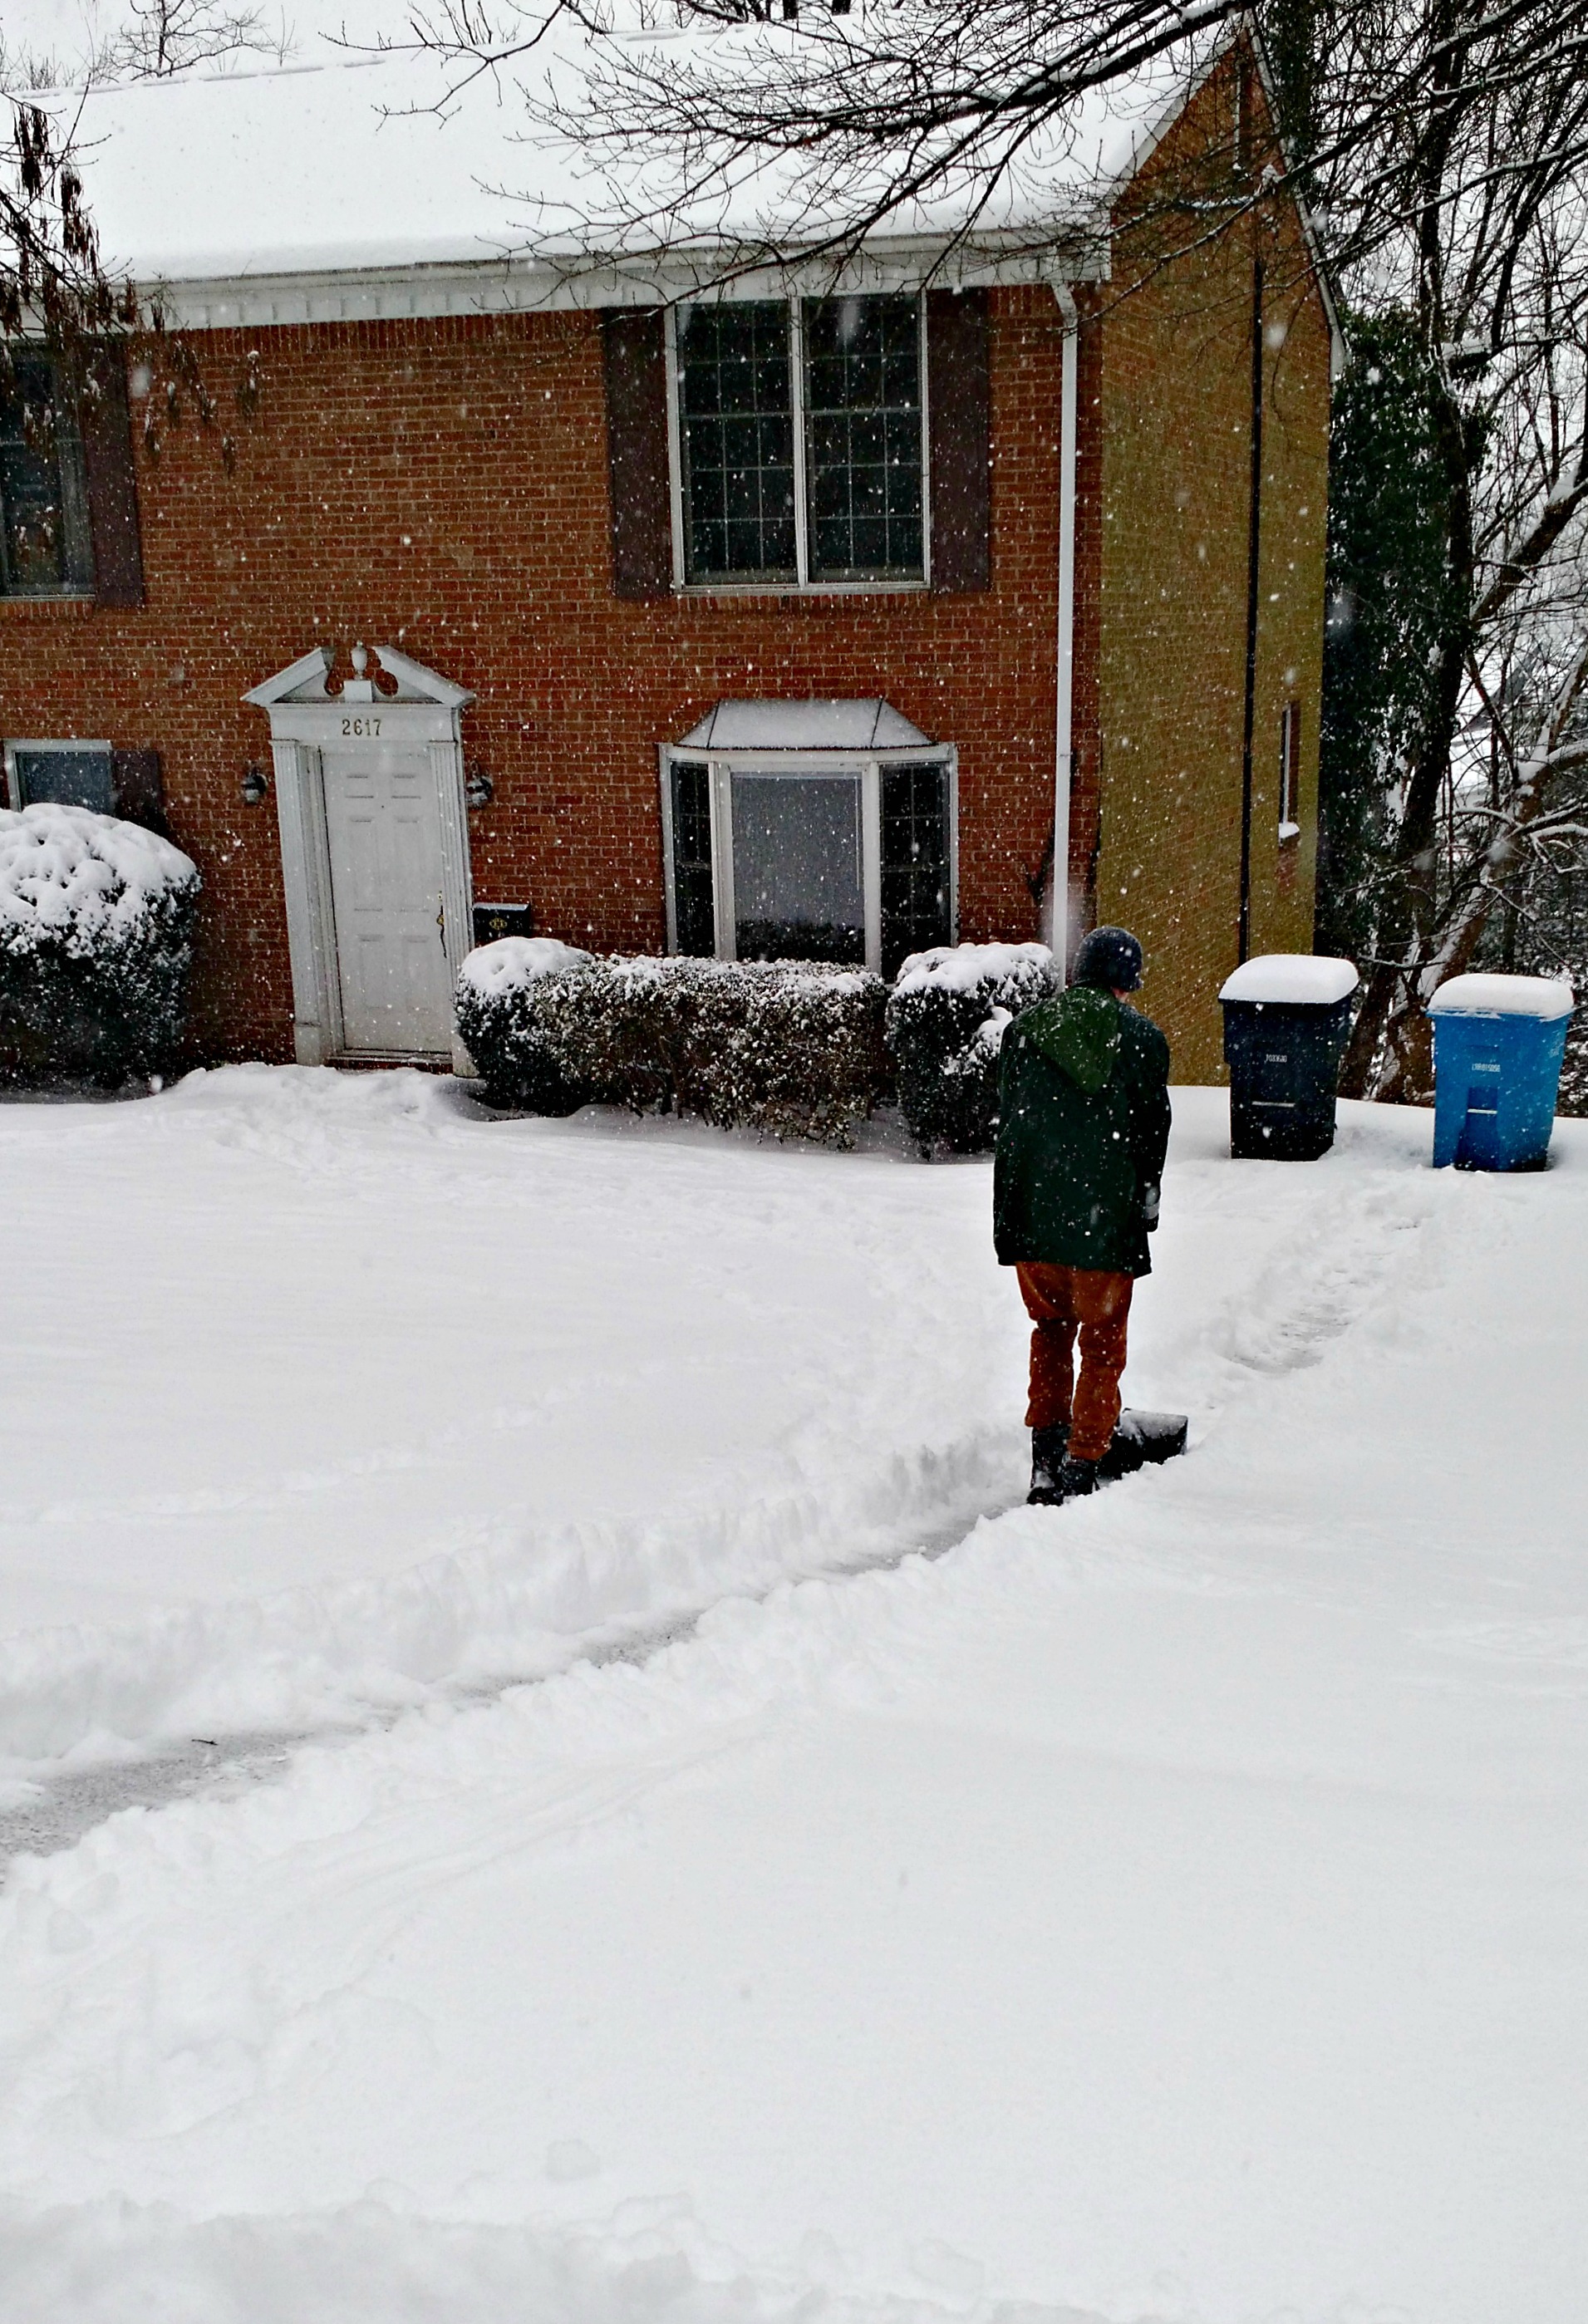
 Shoveling the driveway.
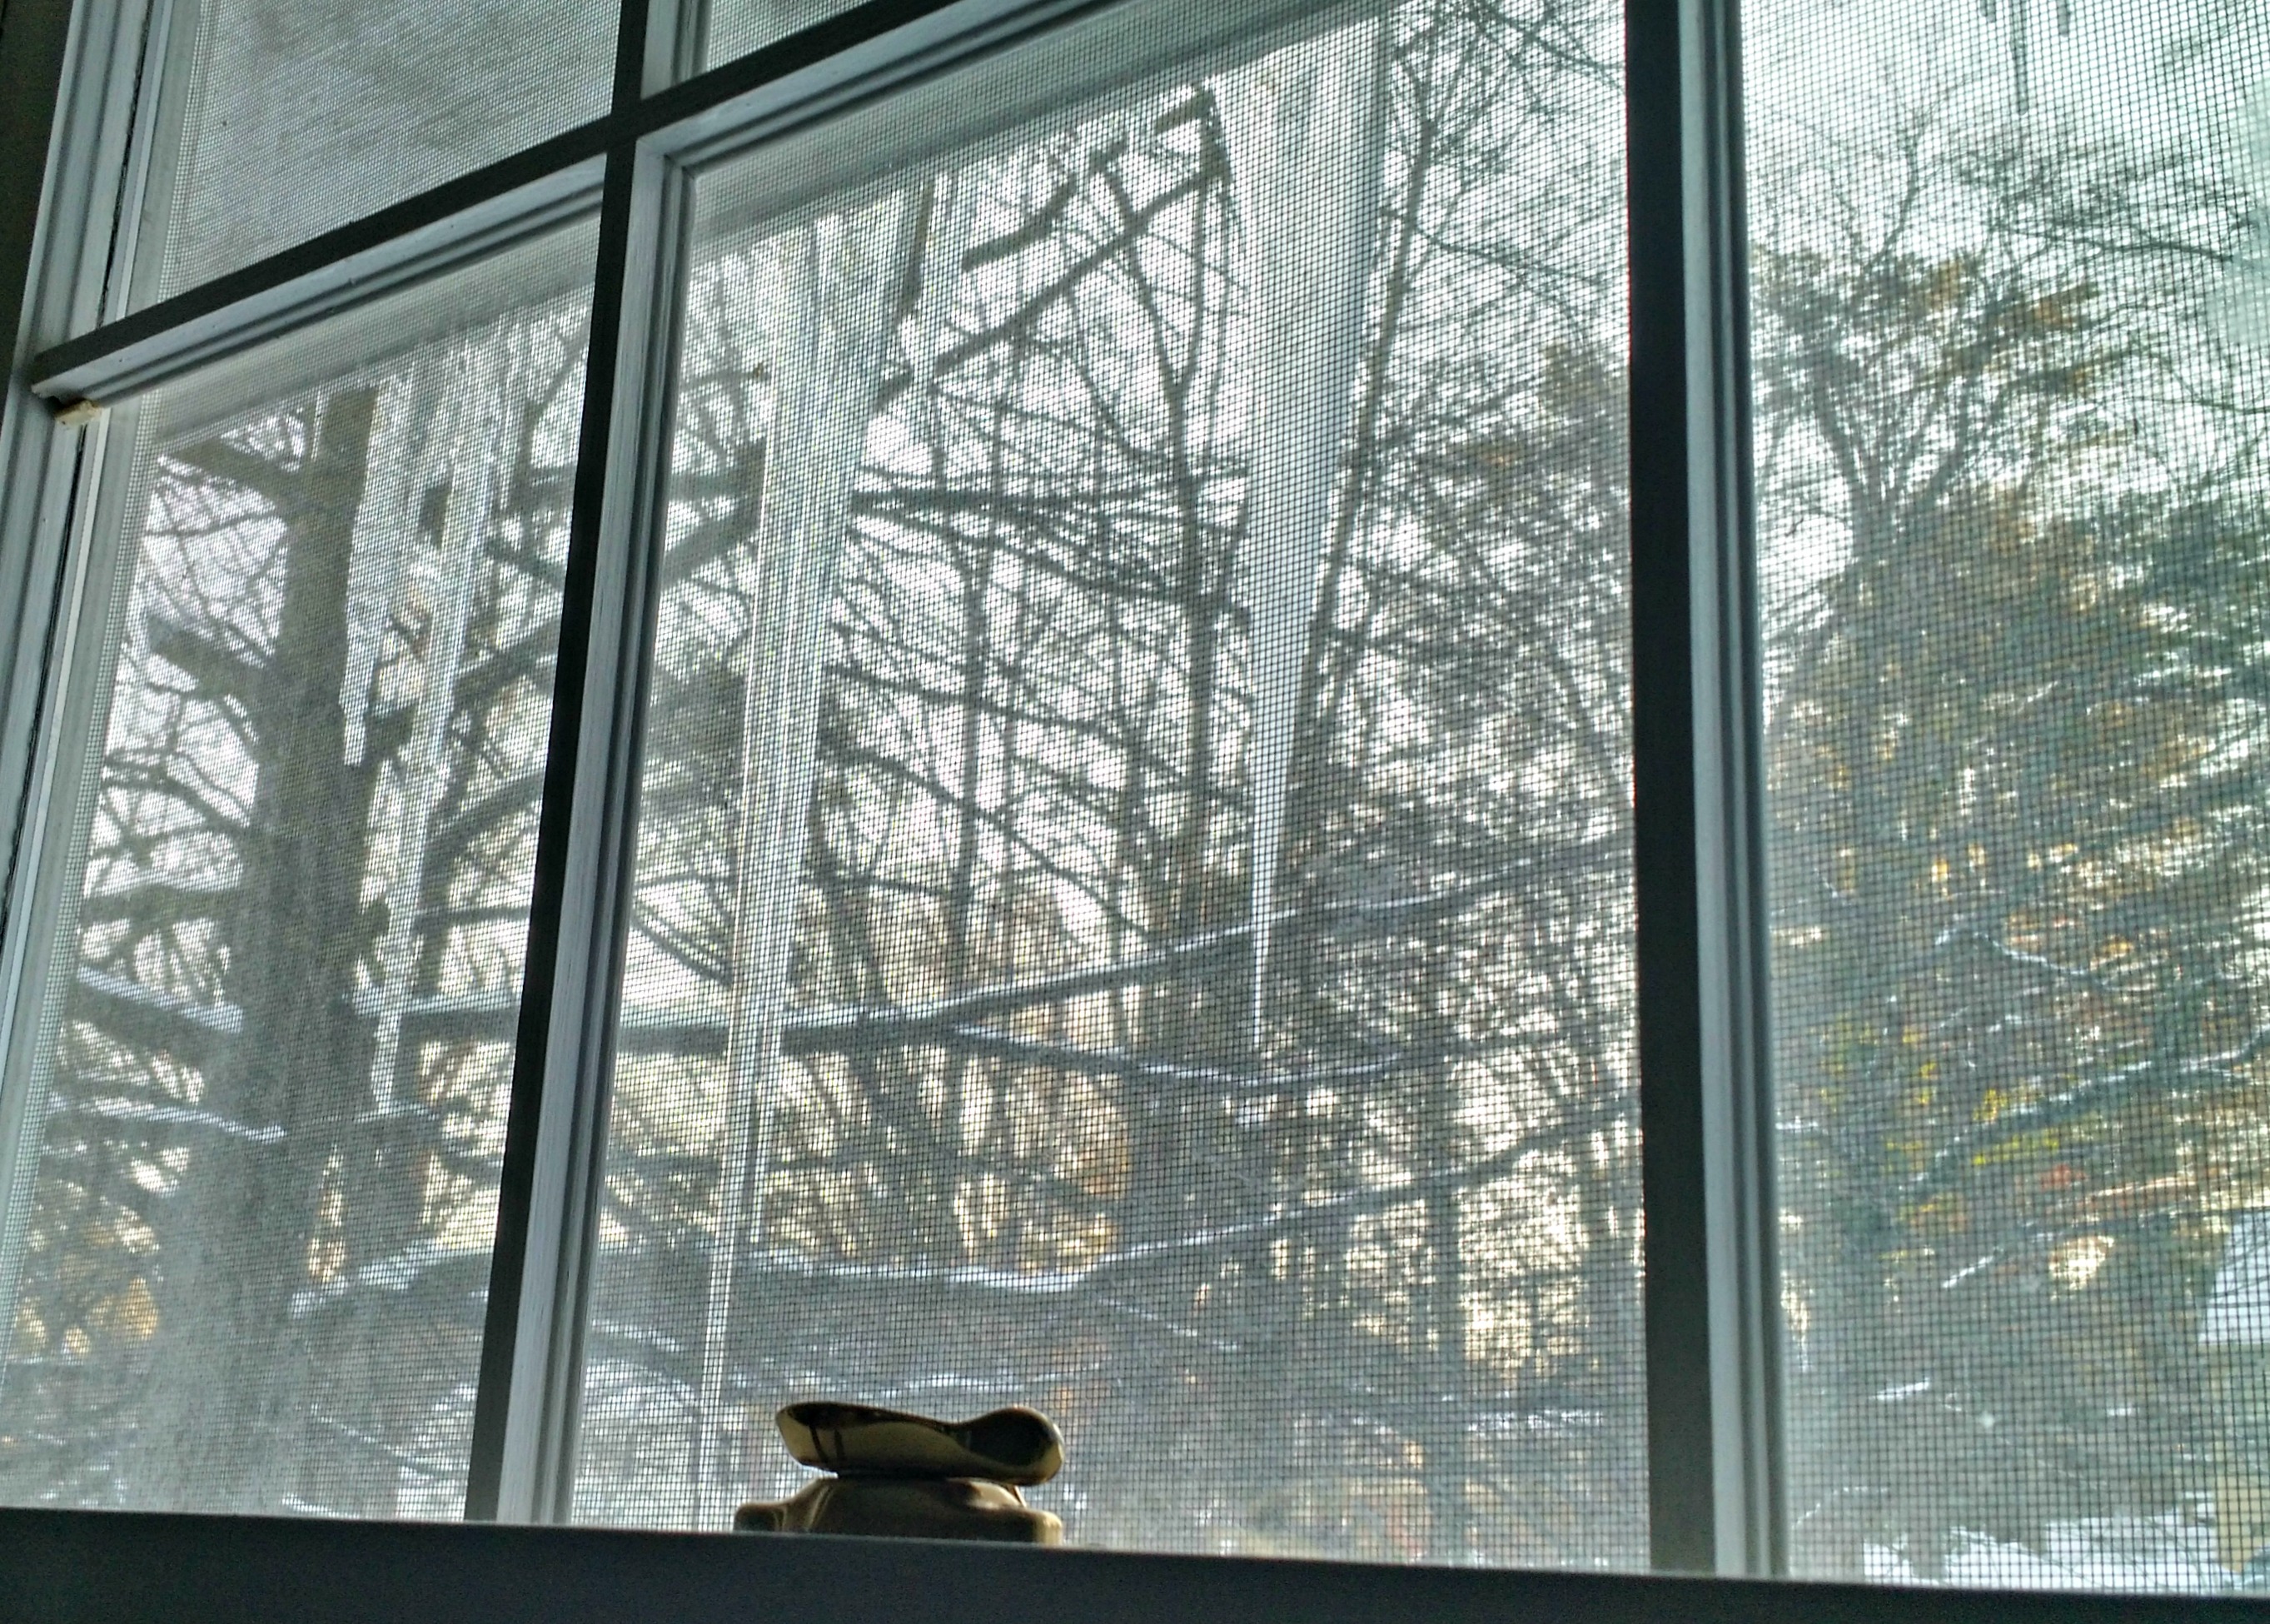 Icicles!
 Casey joined one of his doctor buddies on a 5 mile trek up to the top of Mill Mountain.
  Roanoke covered in powdered sugar! 😉
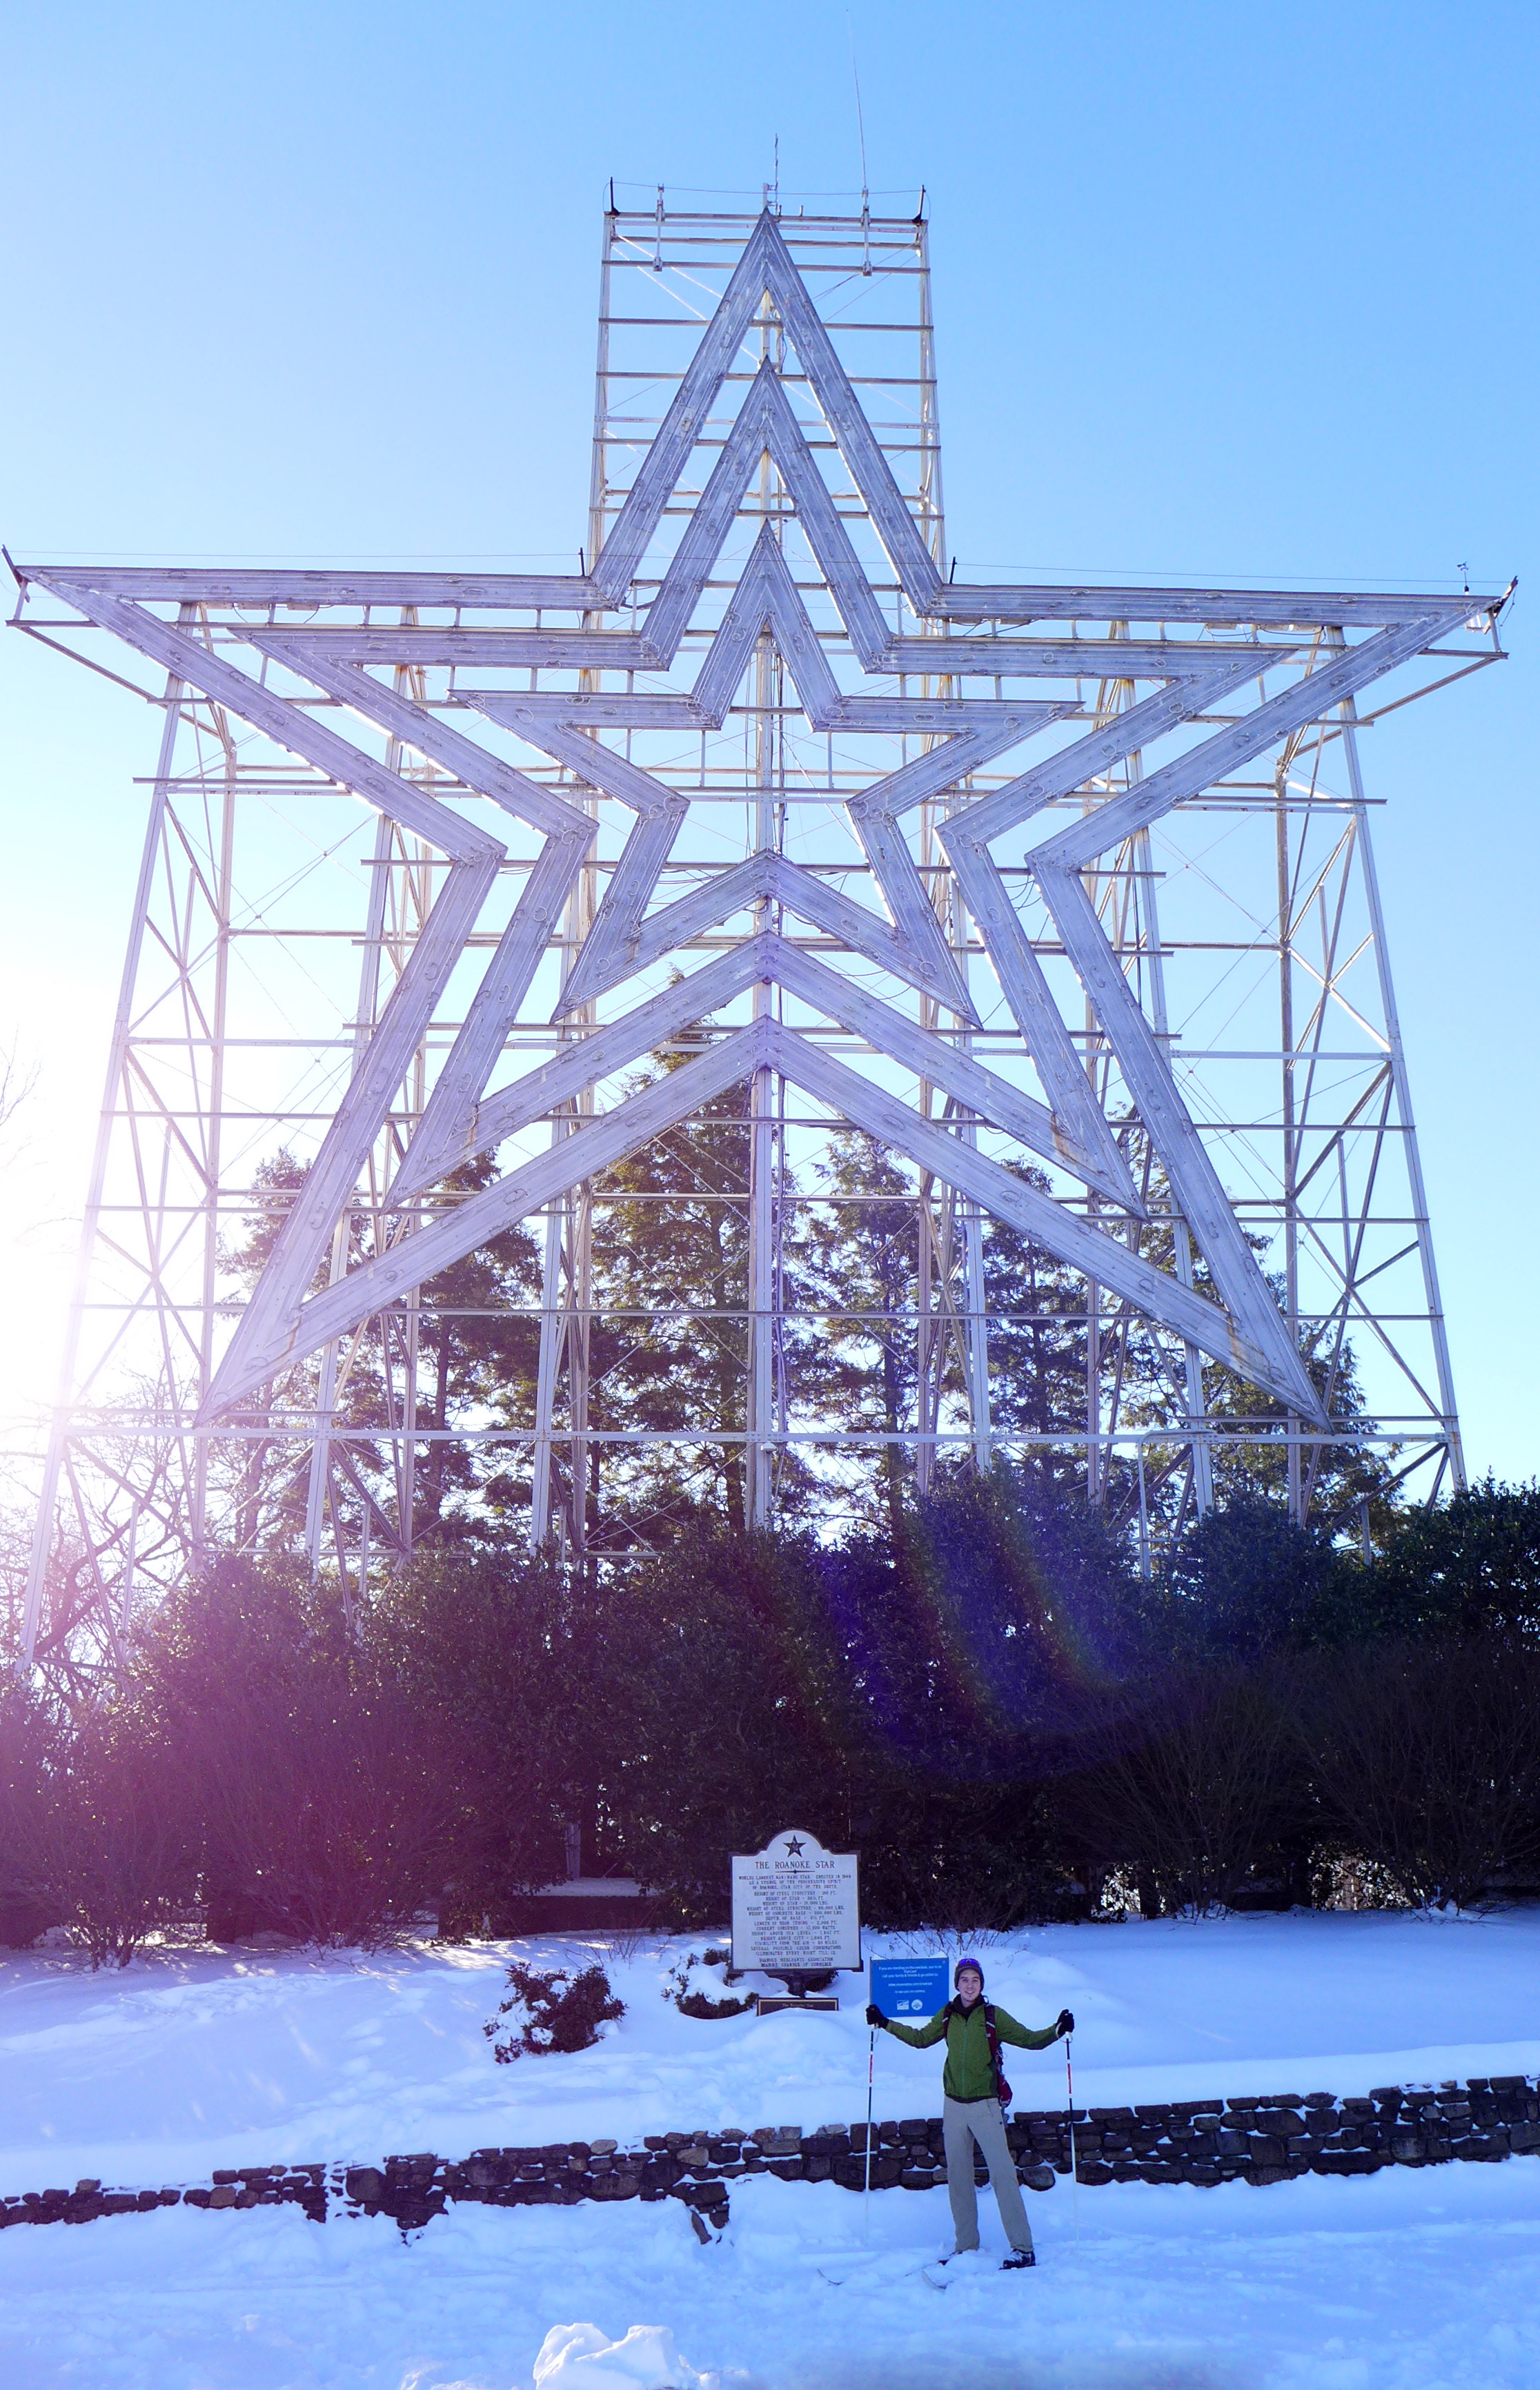 The famous star at the top!
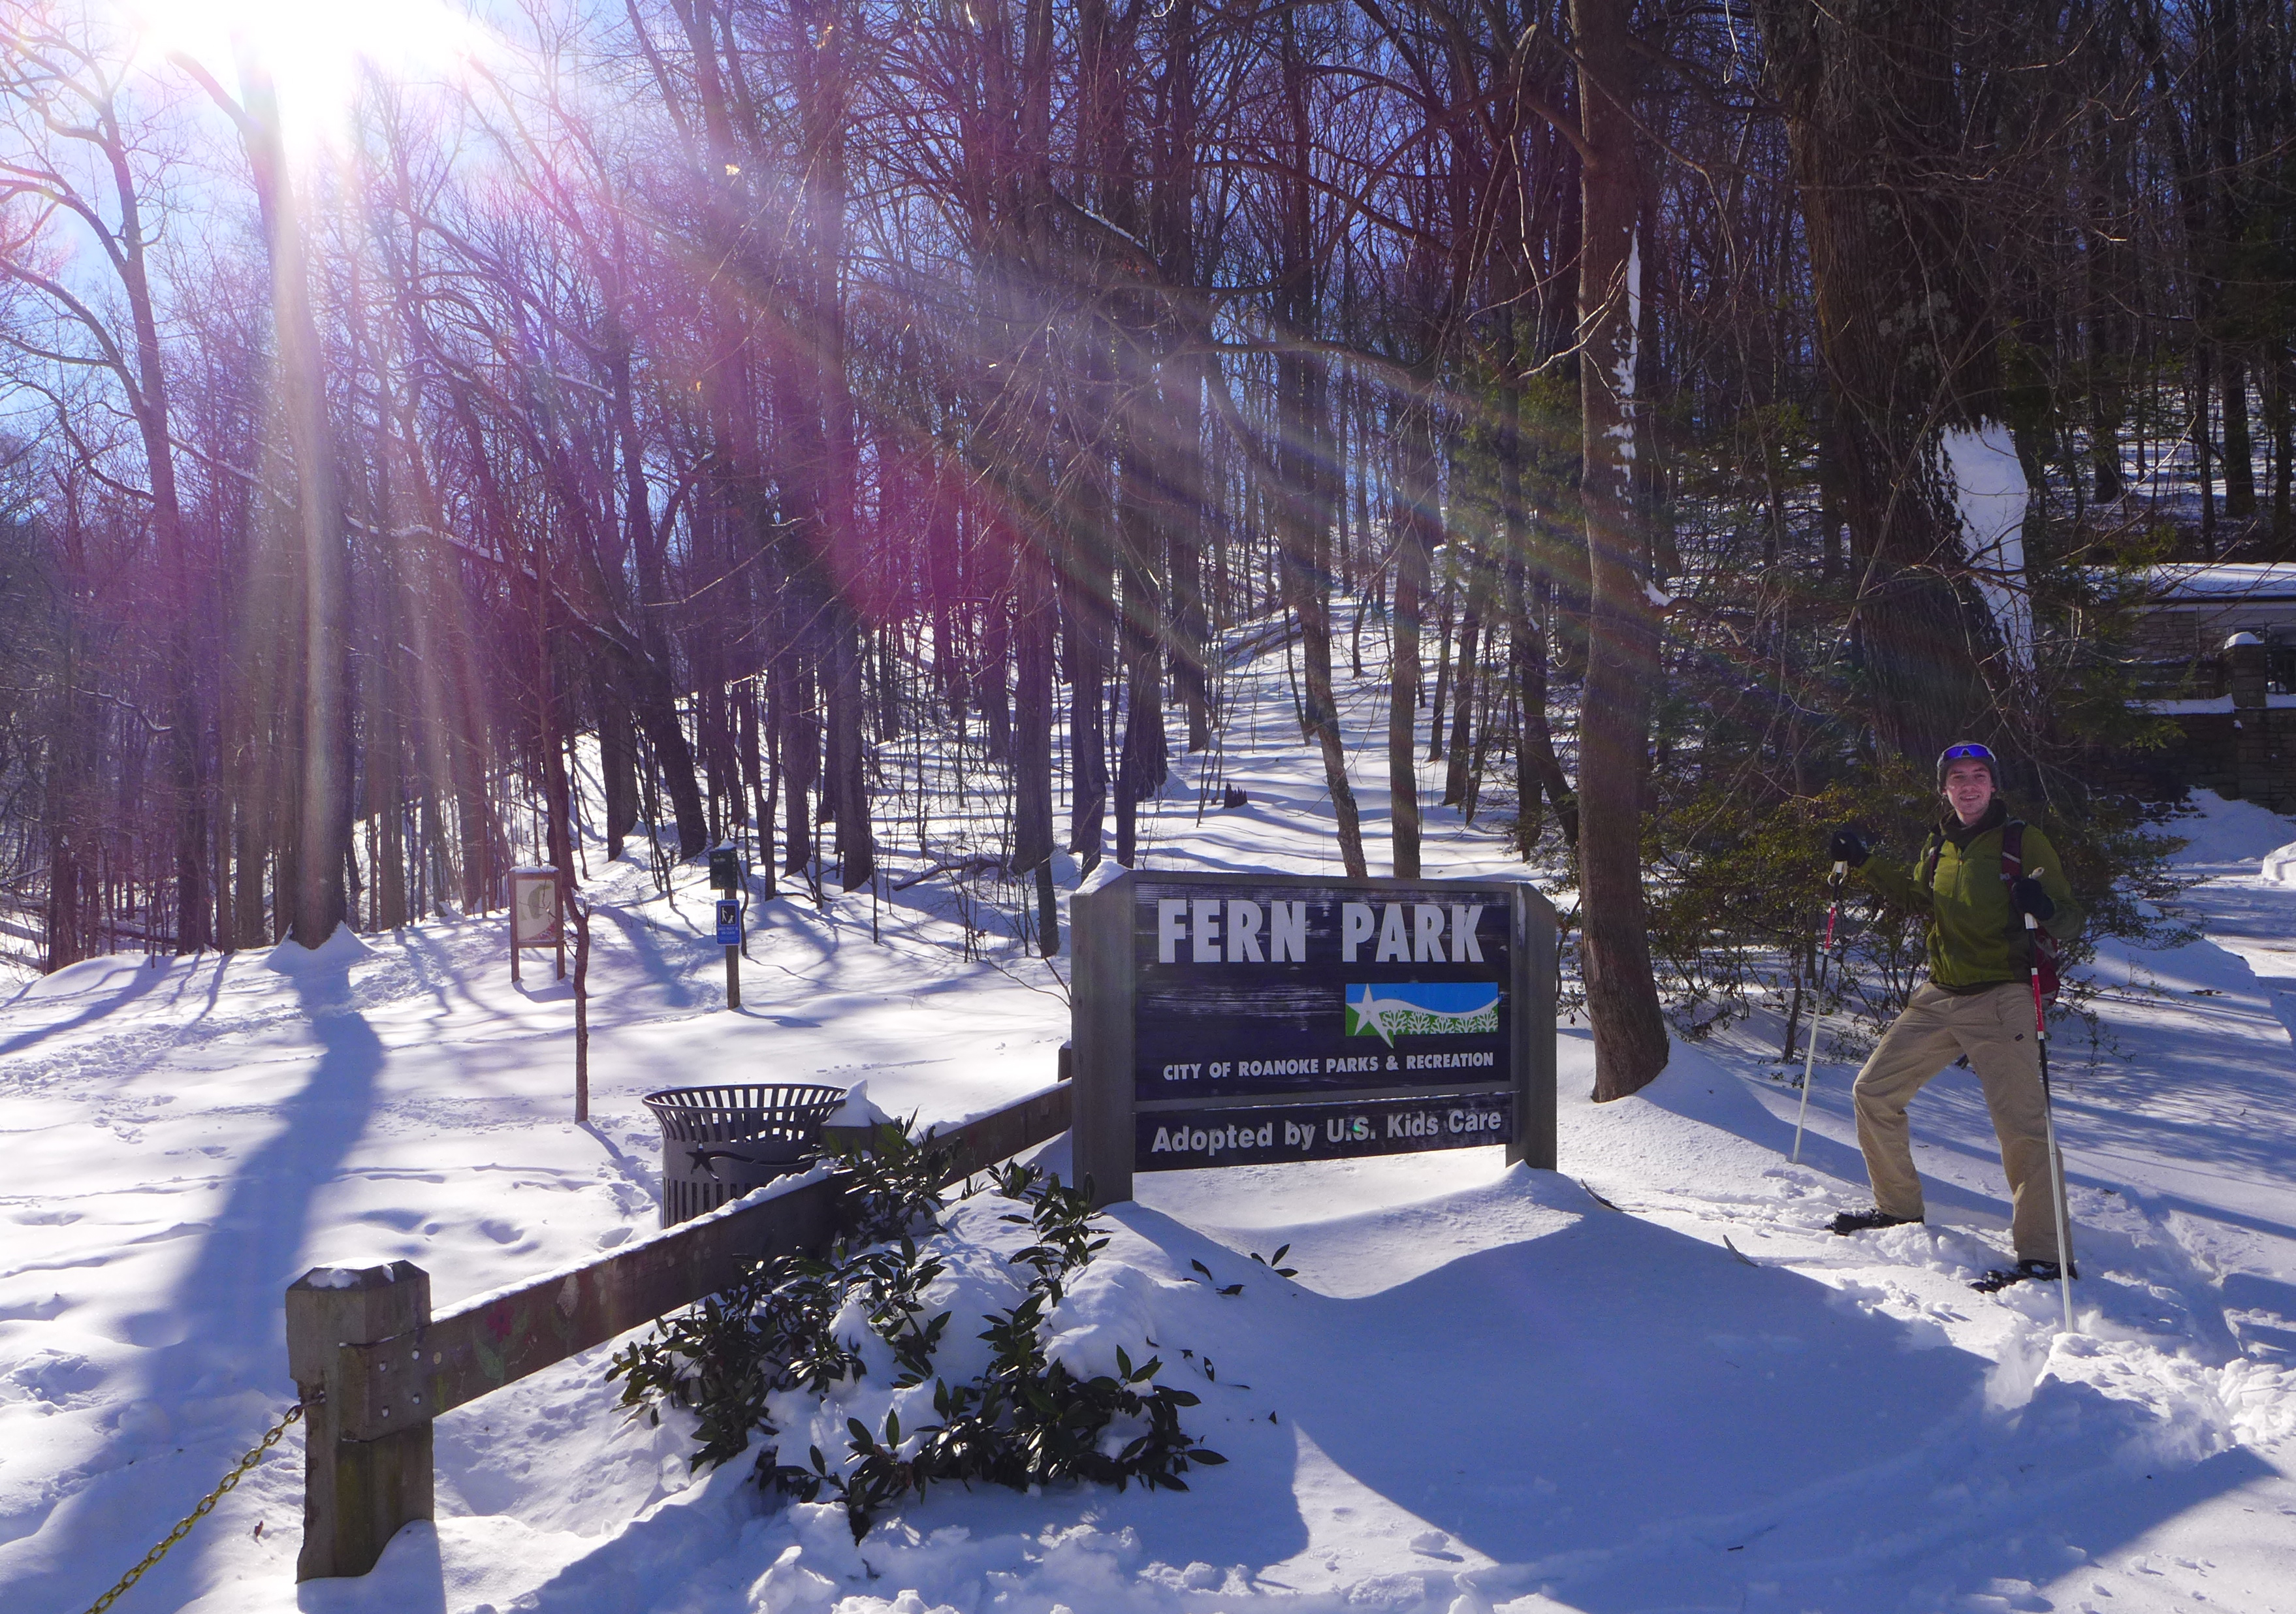 They headed back down through Fern park.
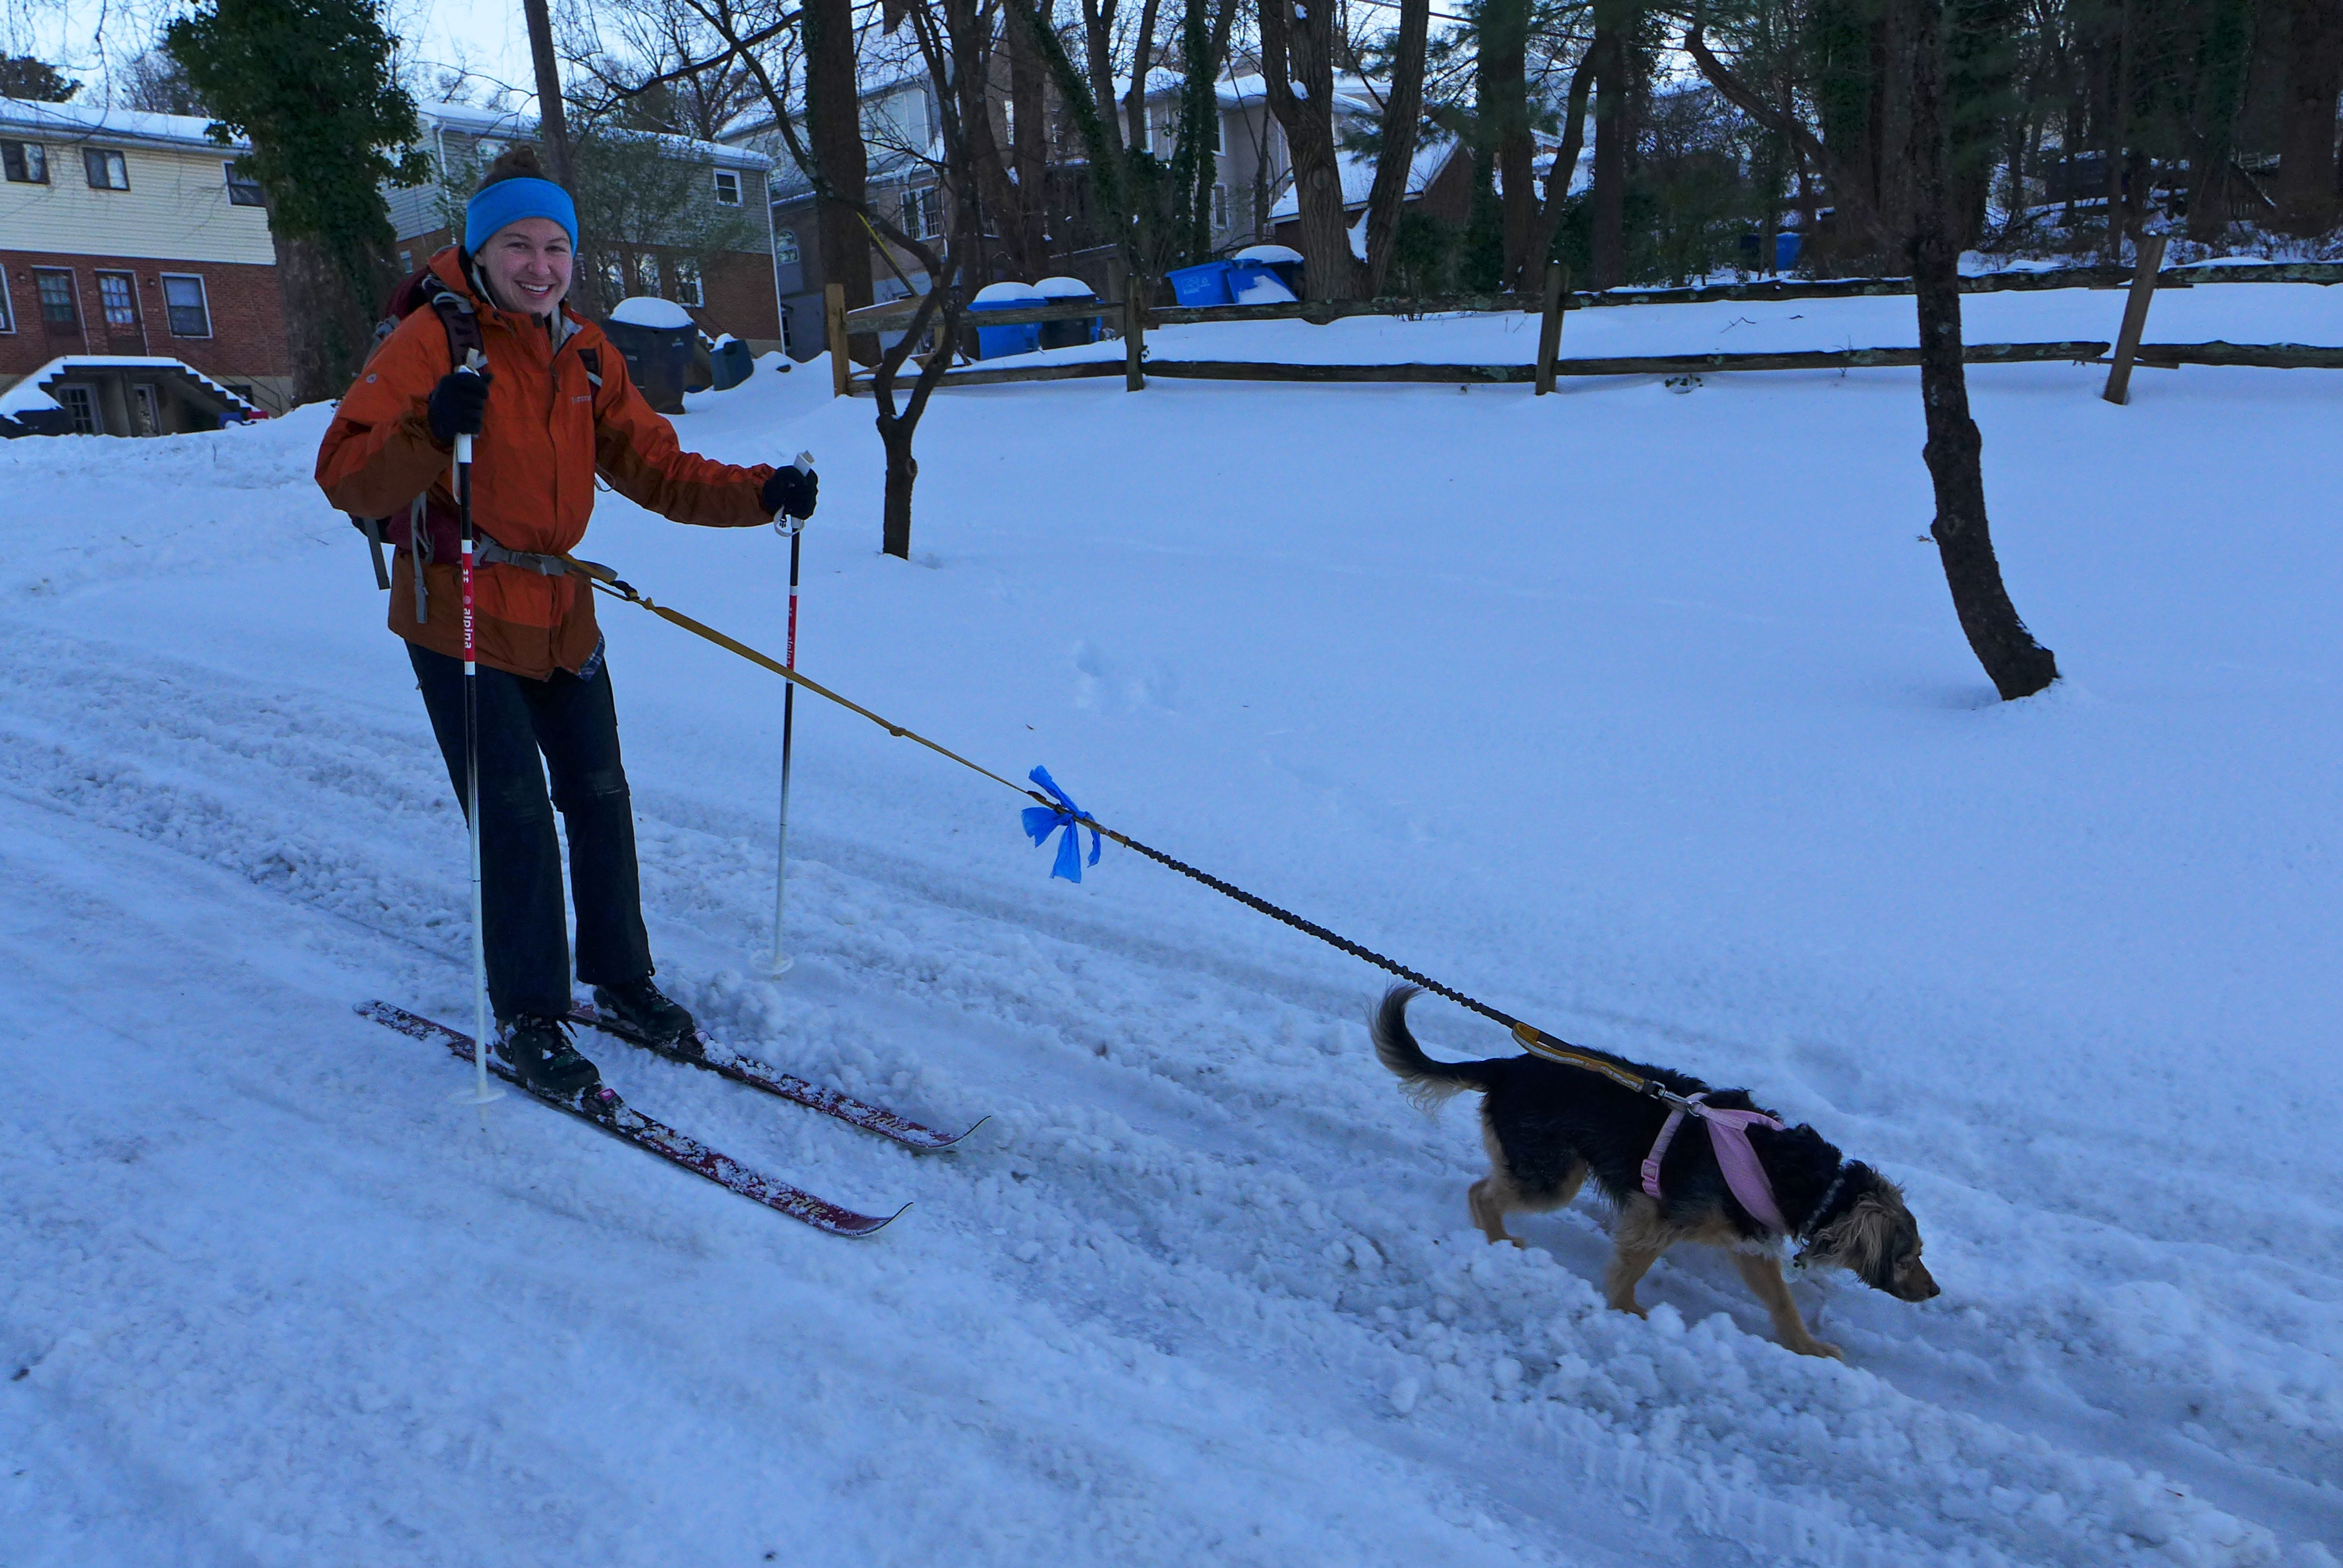 I took Penny skijoring through our neighborhood, she loves it.
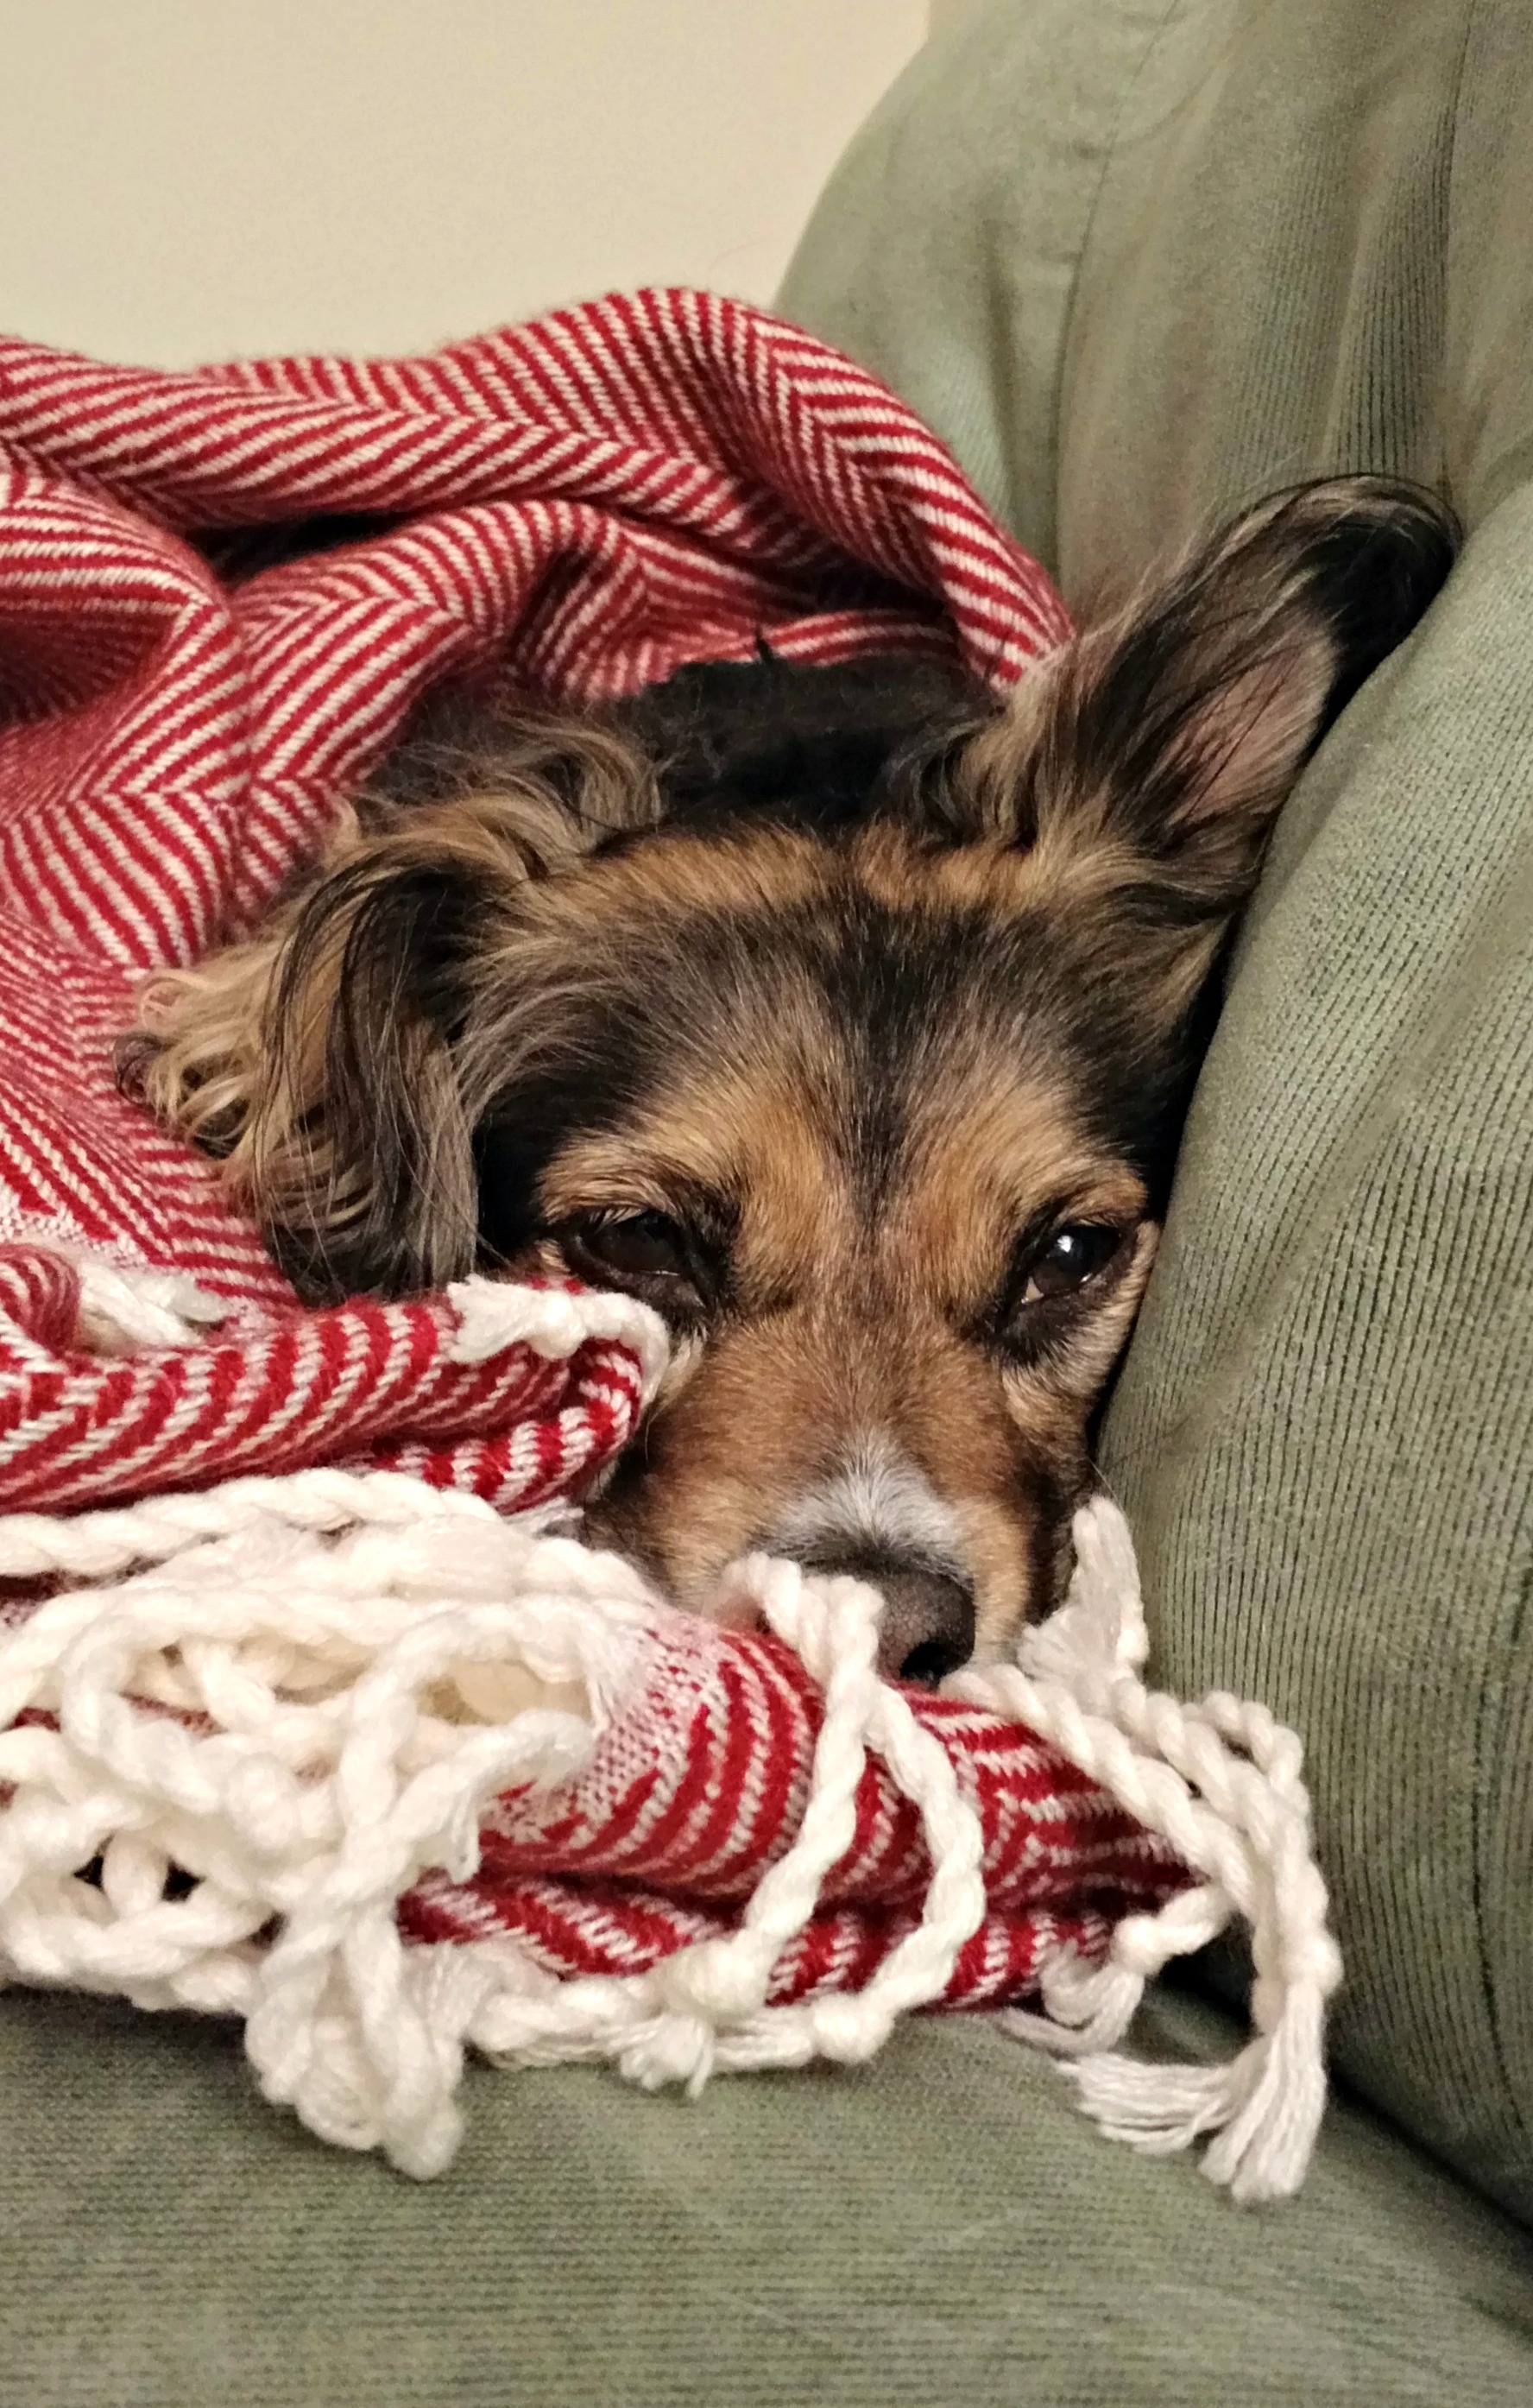 I think we tired her out this weekend!
Month: January 2016
Blizzard Fun
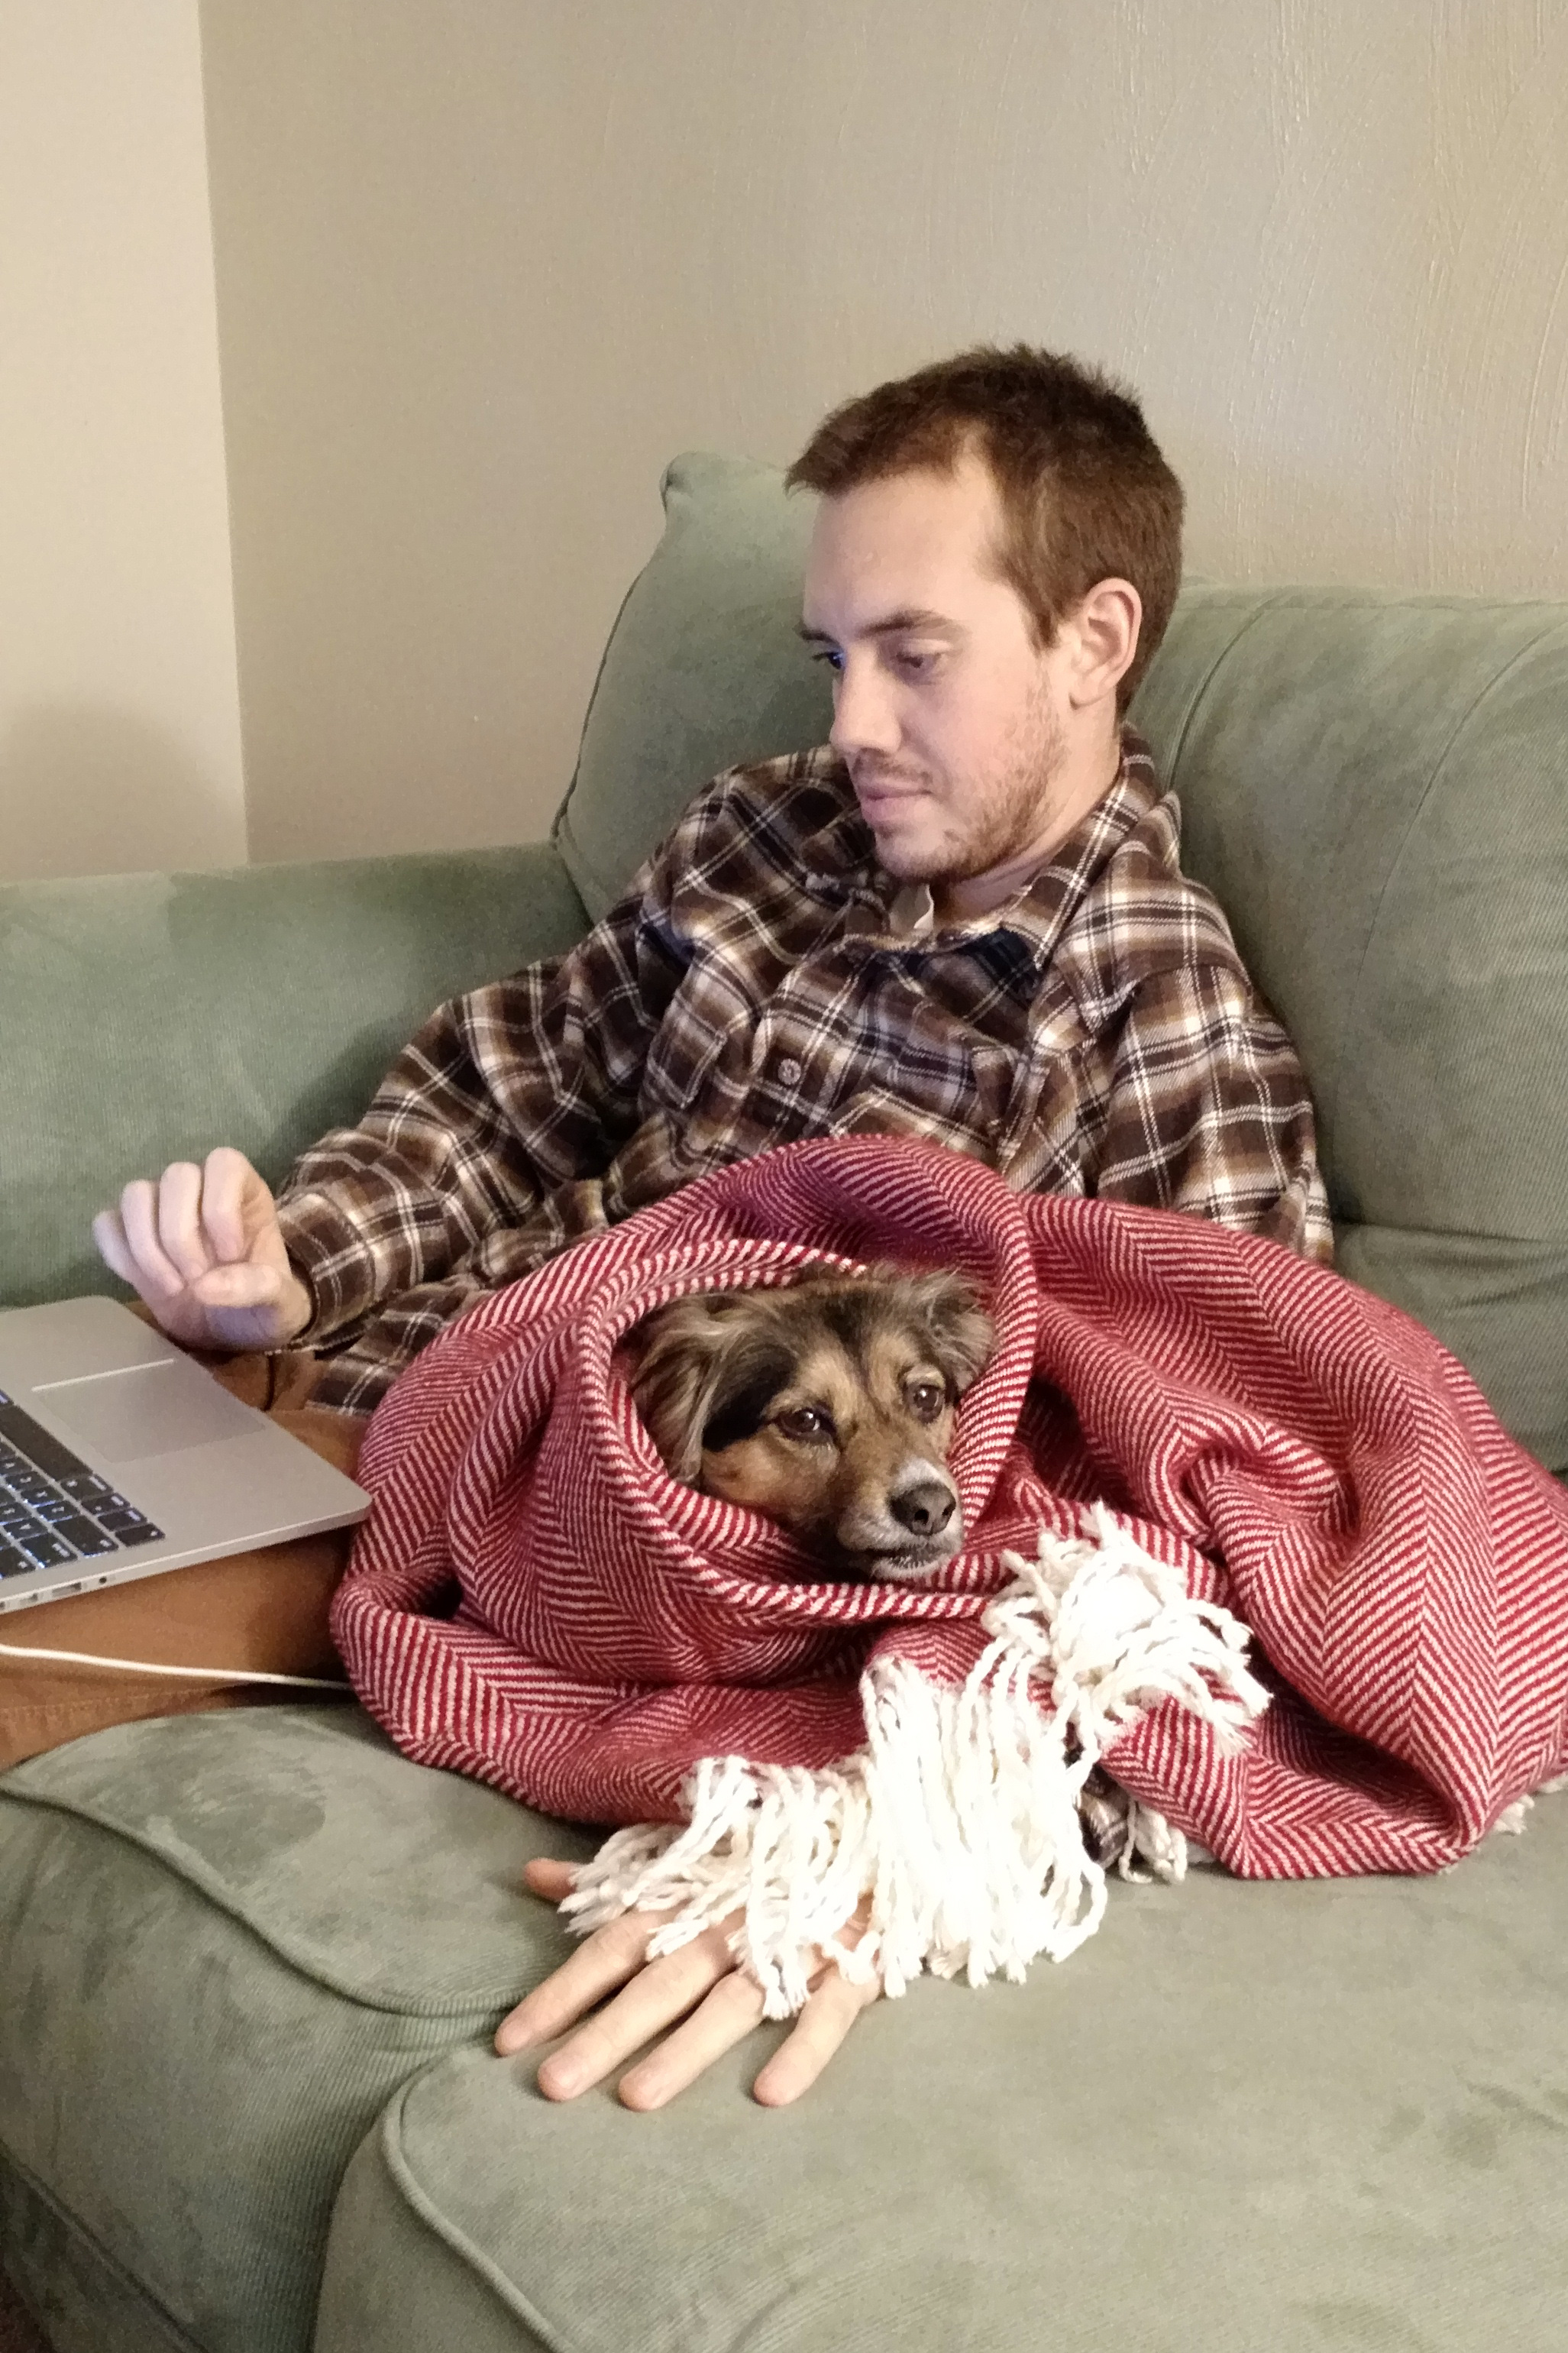
Due to the “Blizzard of the Ages,” Casey’s school got cancelled and all of my stops got cancelled too. That means we have the whole weekend to do this:
 Bring it on Storm Jonas! We and our cross country skis are ready for you!
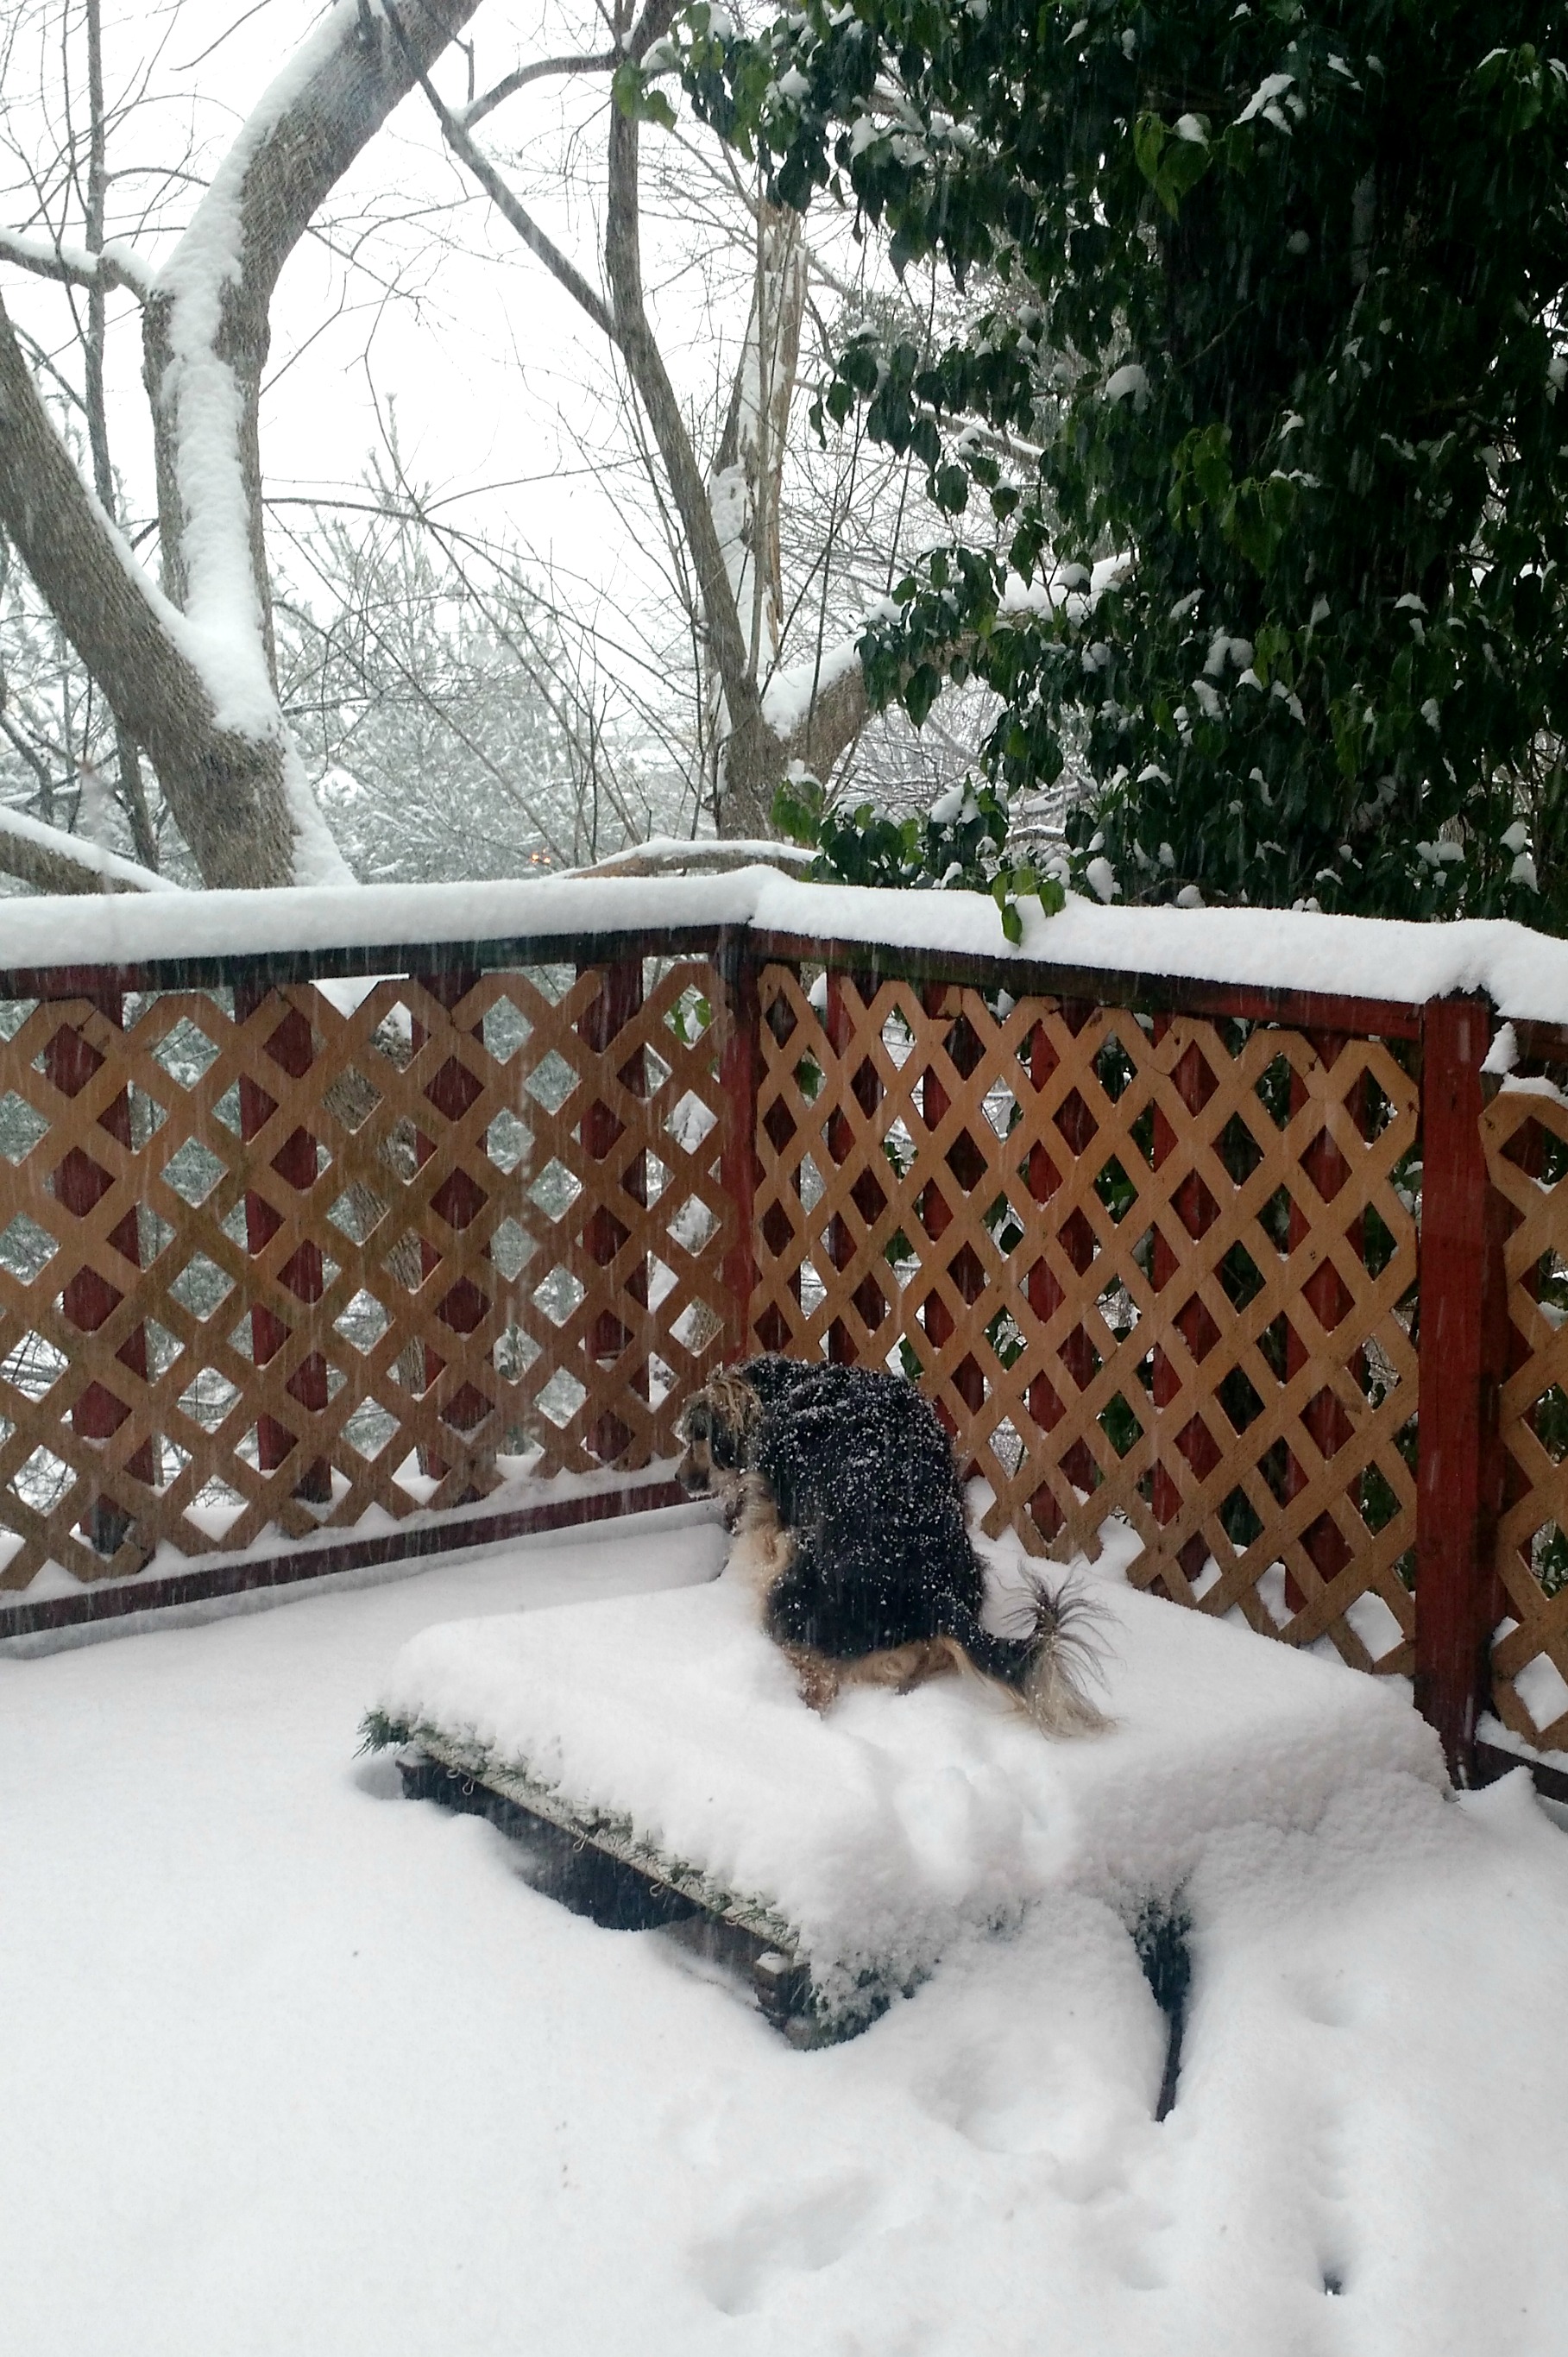
Hunkering down!
We’ve got a big snow storm coming this weekend! Oh boy!
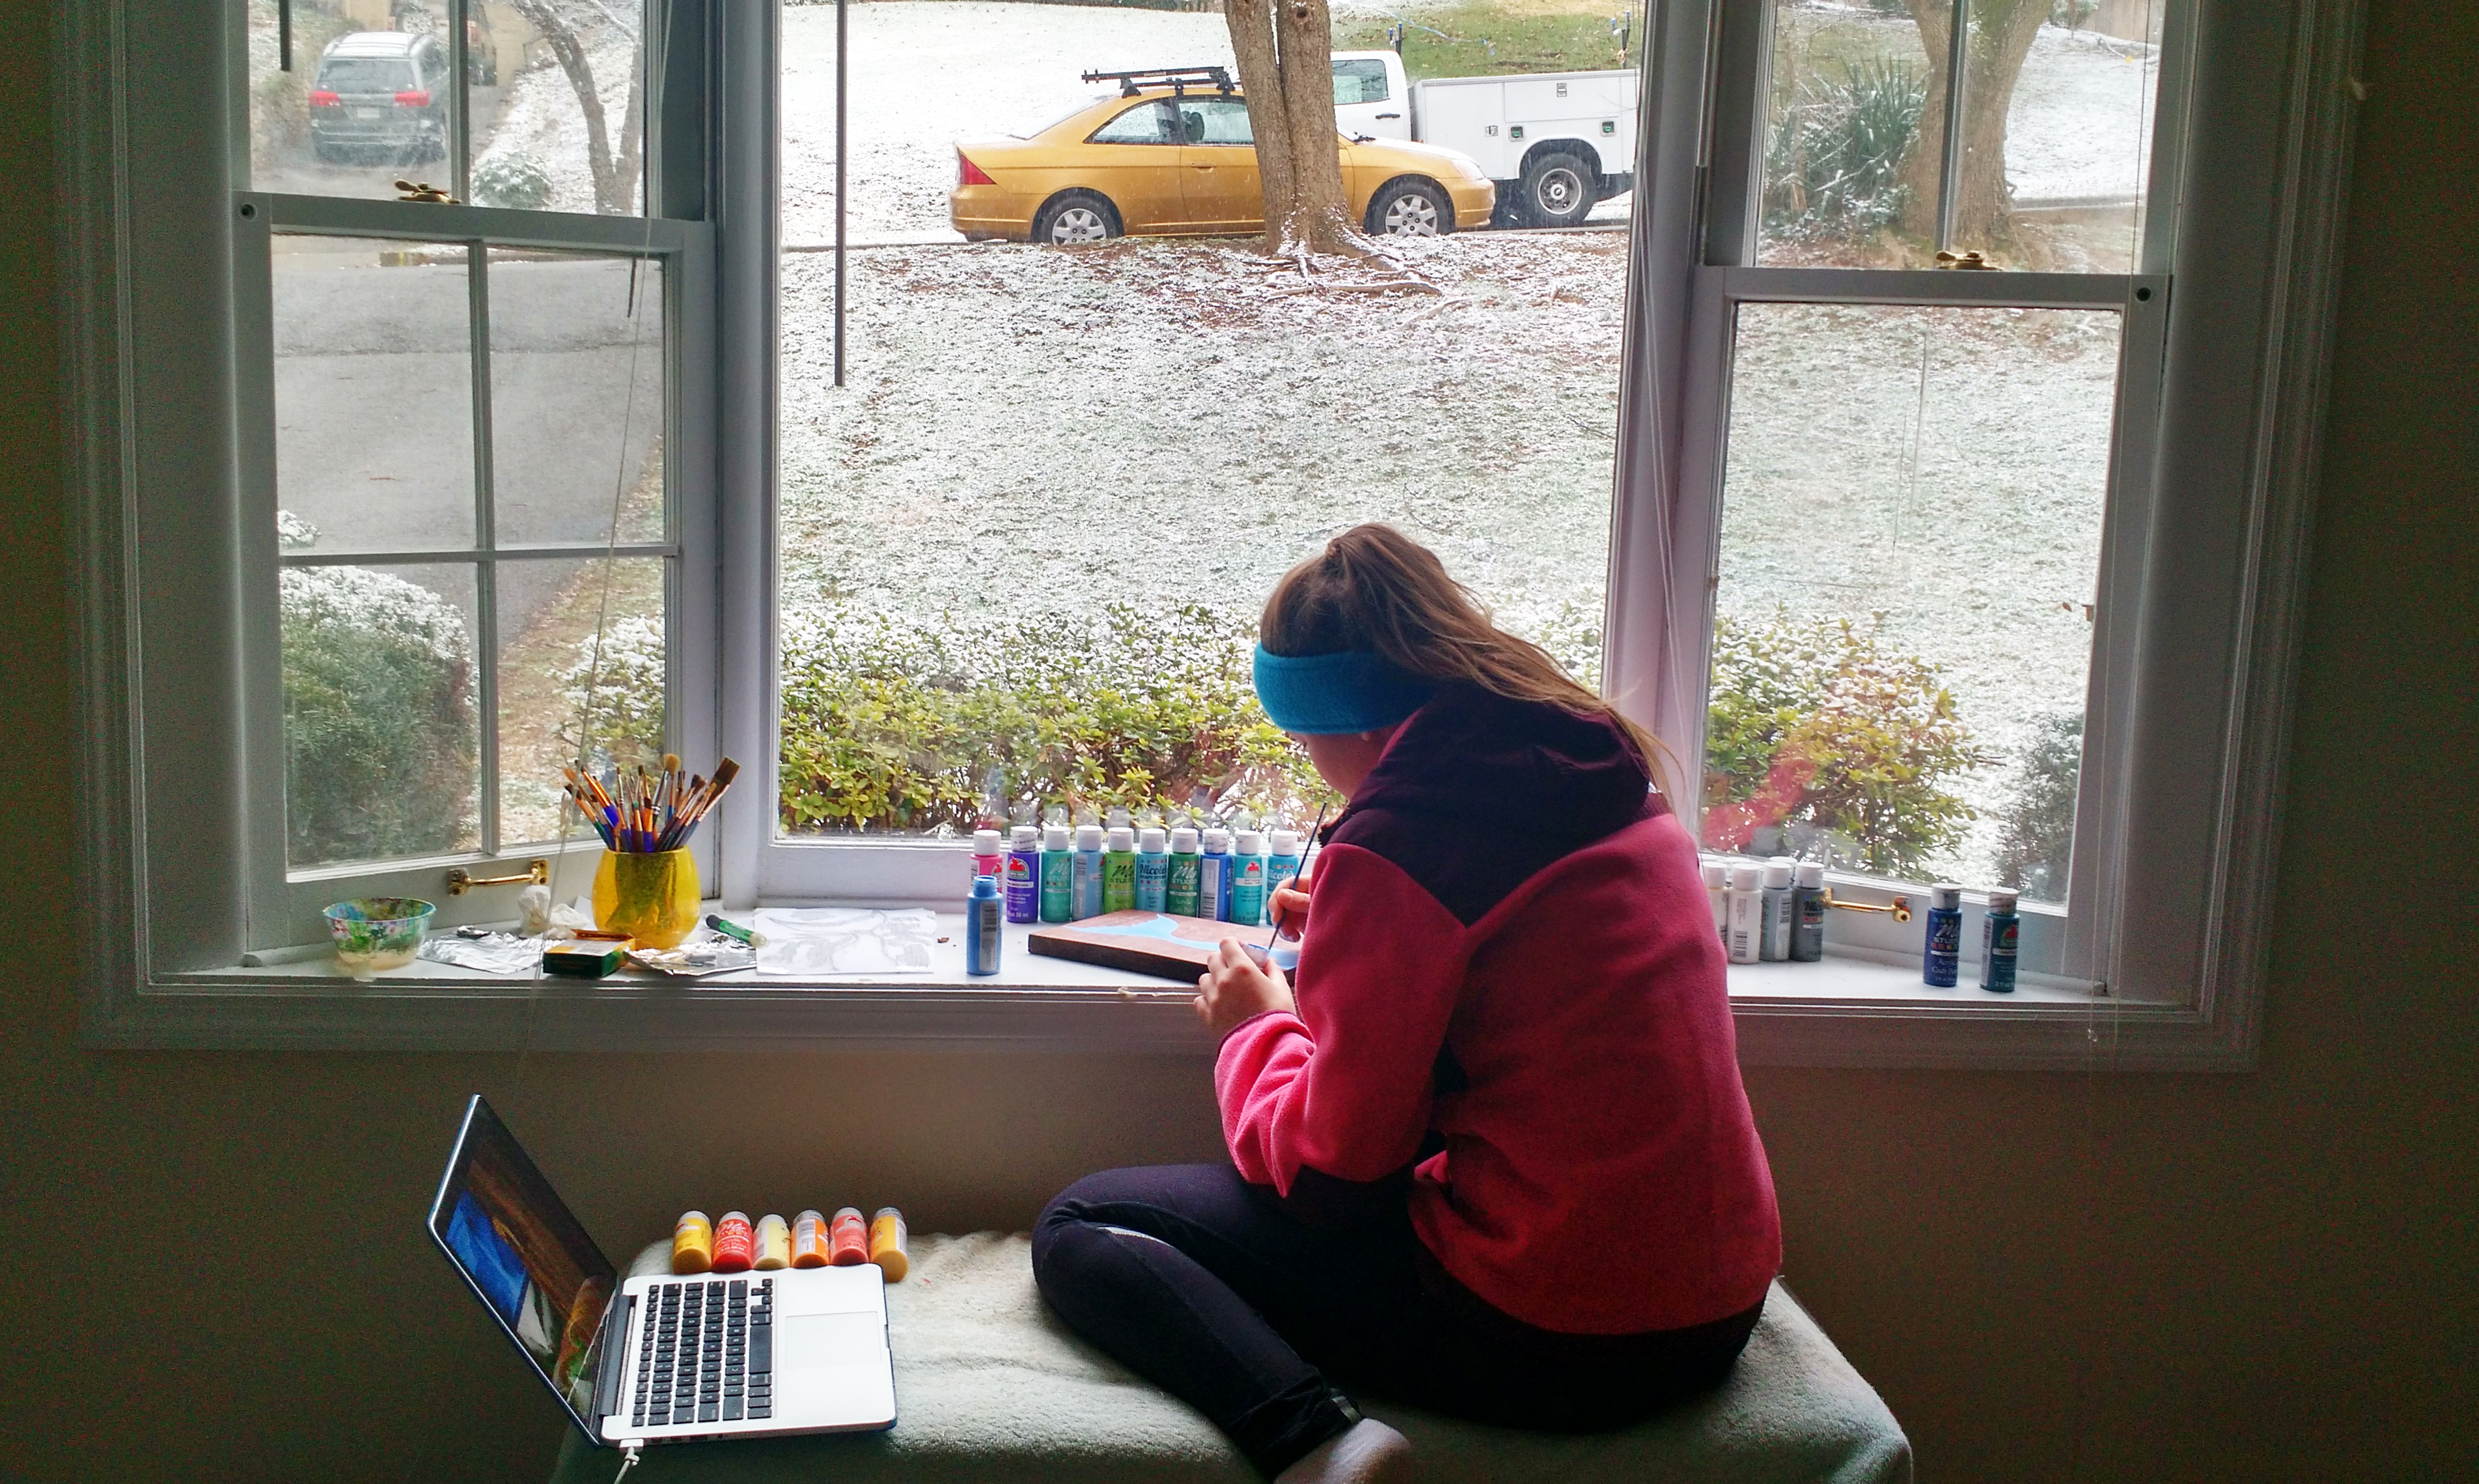
Our first snow of the season

Frolf Day
Crafty Vacation
Interestingly, I ended up doing a lot of creating during this winter break. Knife. Wallet. Dog collar.
The Knife is something I’ve been working on for weeks, under the tutelage of a friend, Jesús, who is a professional bladesmith (click to check out his website). It’s supposed to be a Seax, a type of knife that was widely used mainly by ancient Germanic cultures (e.g. Anglo-Saxons, Vikings) both for fighting and for mundane, everyday tasks. The blade was forged, ground, and polished by hand. The pattern on the blade is made using a special technique during hardening–the steel is actually of a different crystalline structure in the contrasted areas. The handle is made of copper and wood from a walnut tree that had been cut down on his property. We also made the sheath using copper, and with leather we hand-stretched and dyed. The following show at least some of the steps to how we made it.
Forging the rough shape of the blade:

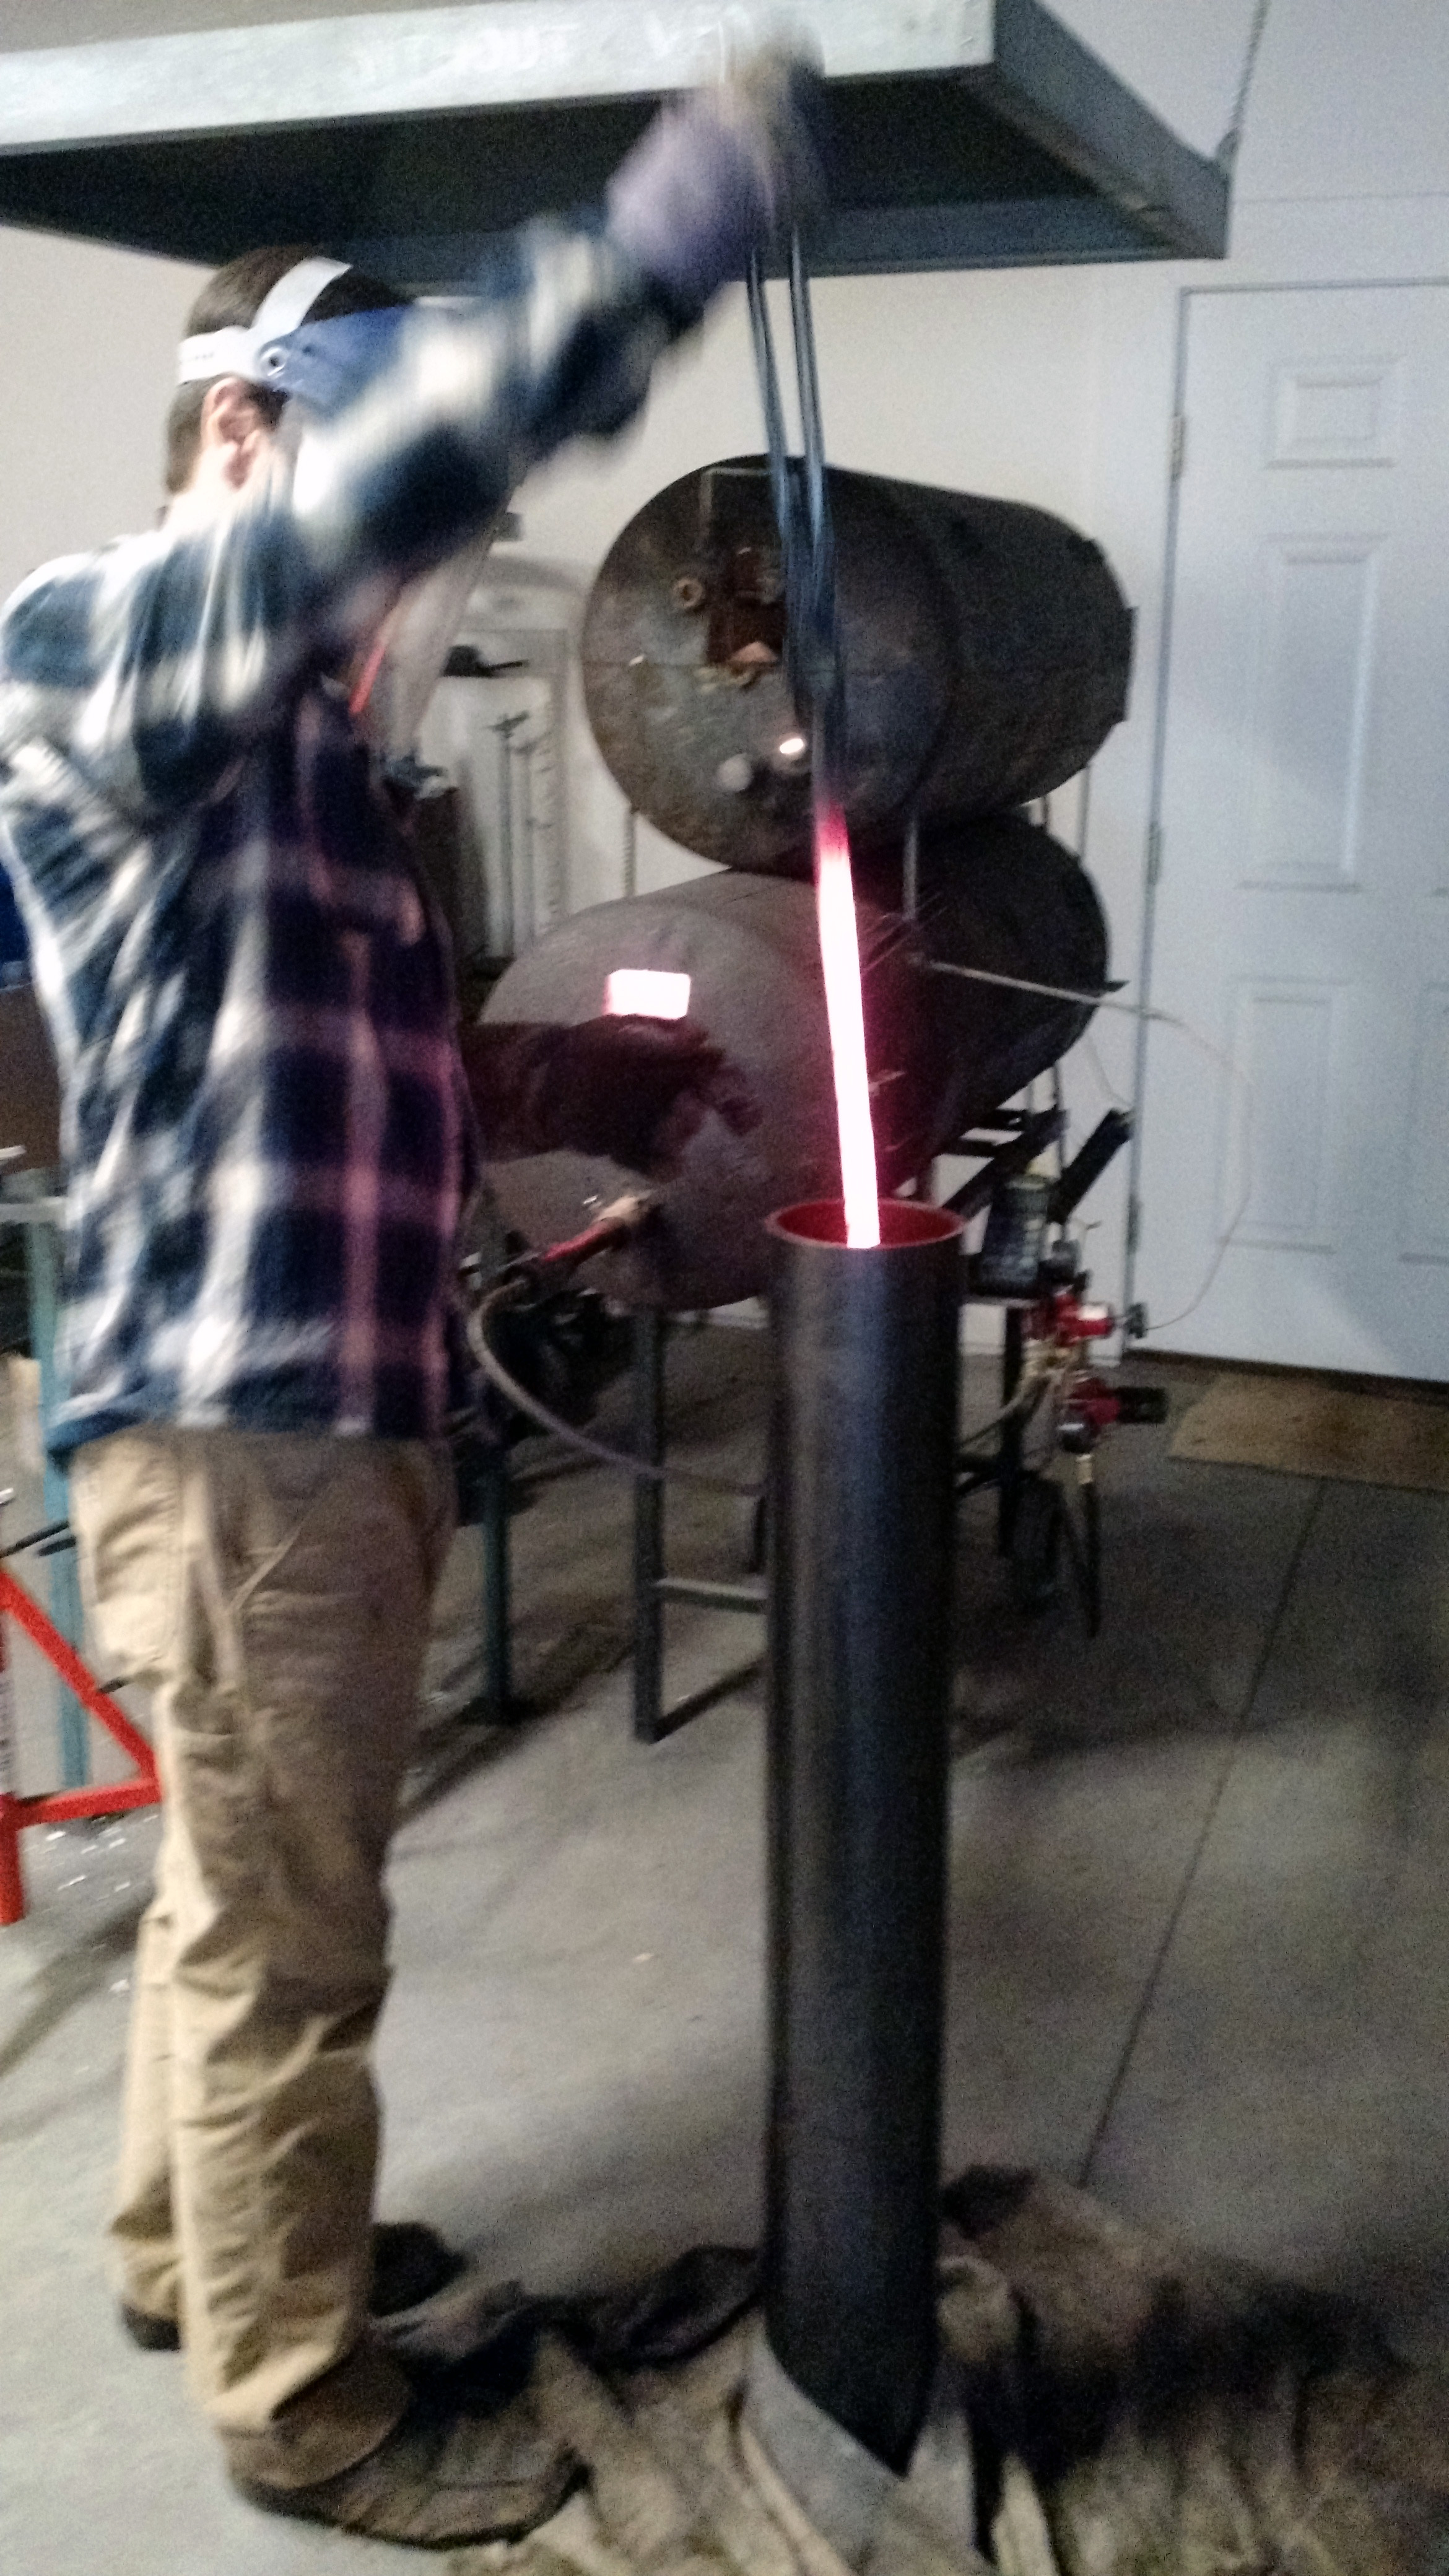
We then put a type of clay on the blade in a pattern that will appear later. Heating up to temperature one last time before quenching in oil (to harden it):
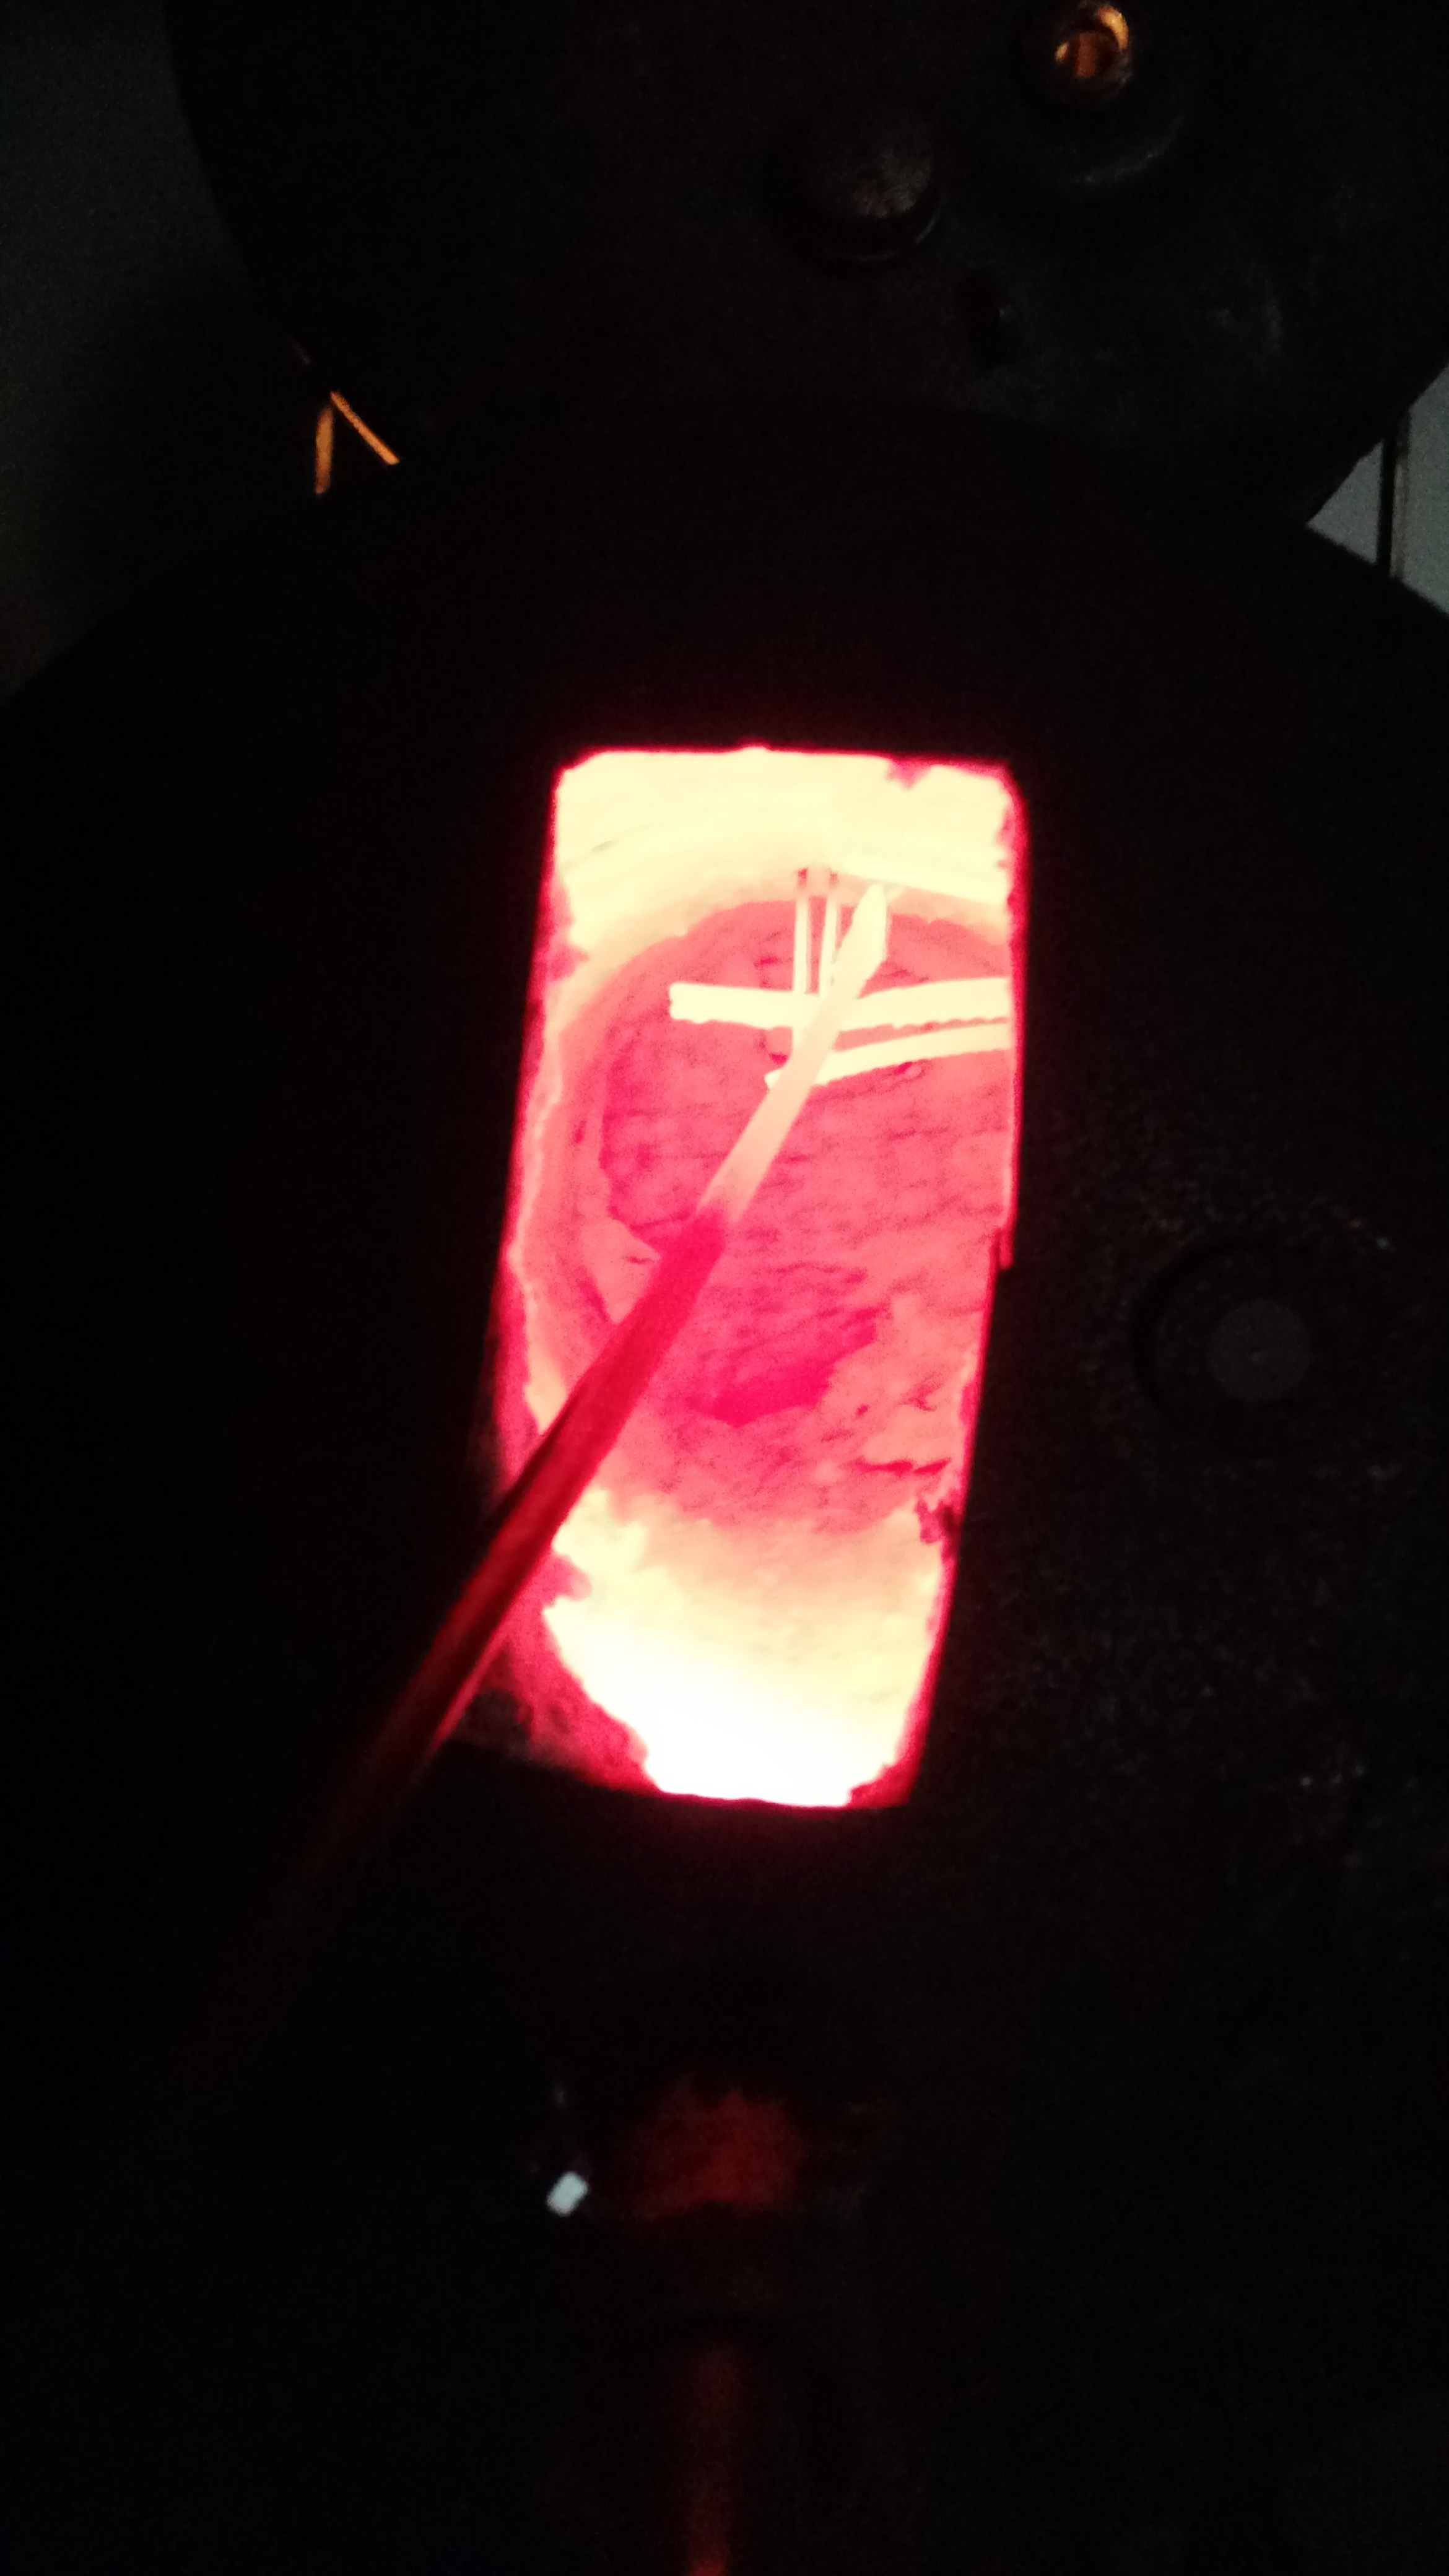
Jesús demonstrating quenching with the blade he was working on (you have to pull it out of the forge and put it in the oil within seconds, so it doesn’t cool too much in the air):
Tempering the blade in a relatively cooler oven so that it isn’t so hard/brittle that it will shatter easily:
The blade has been ground to give it an edge and smooth surfaces. Next is to start the handle, chiseling a recess in some walnut:
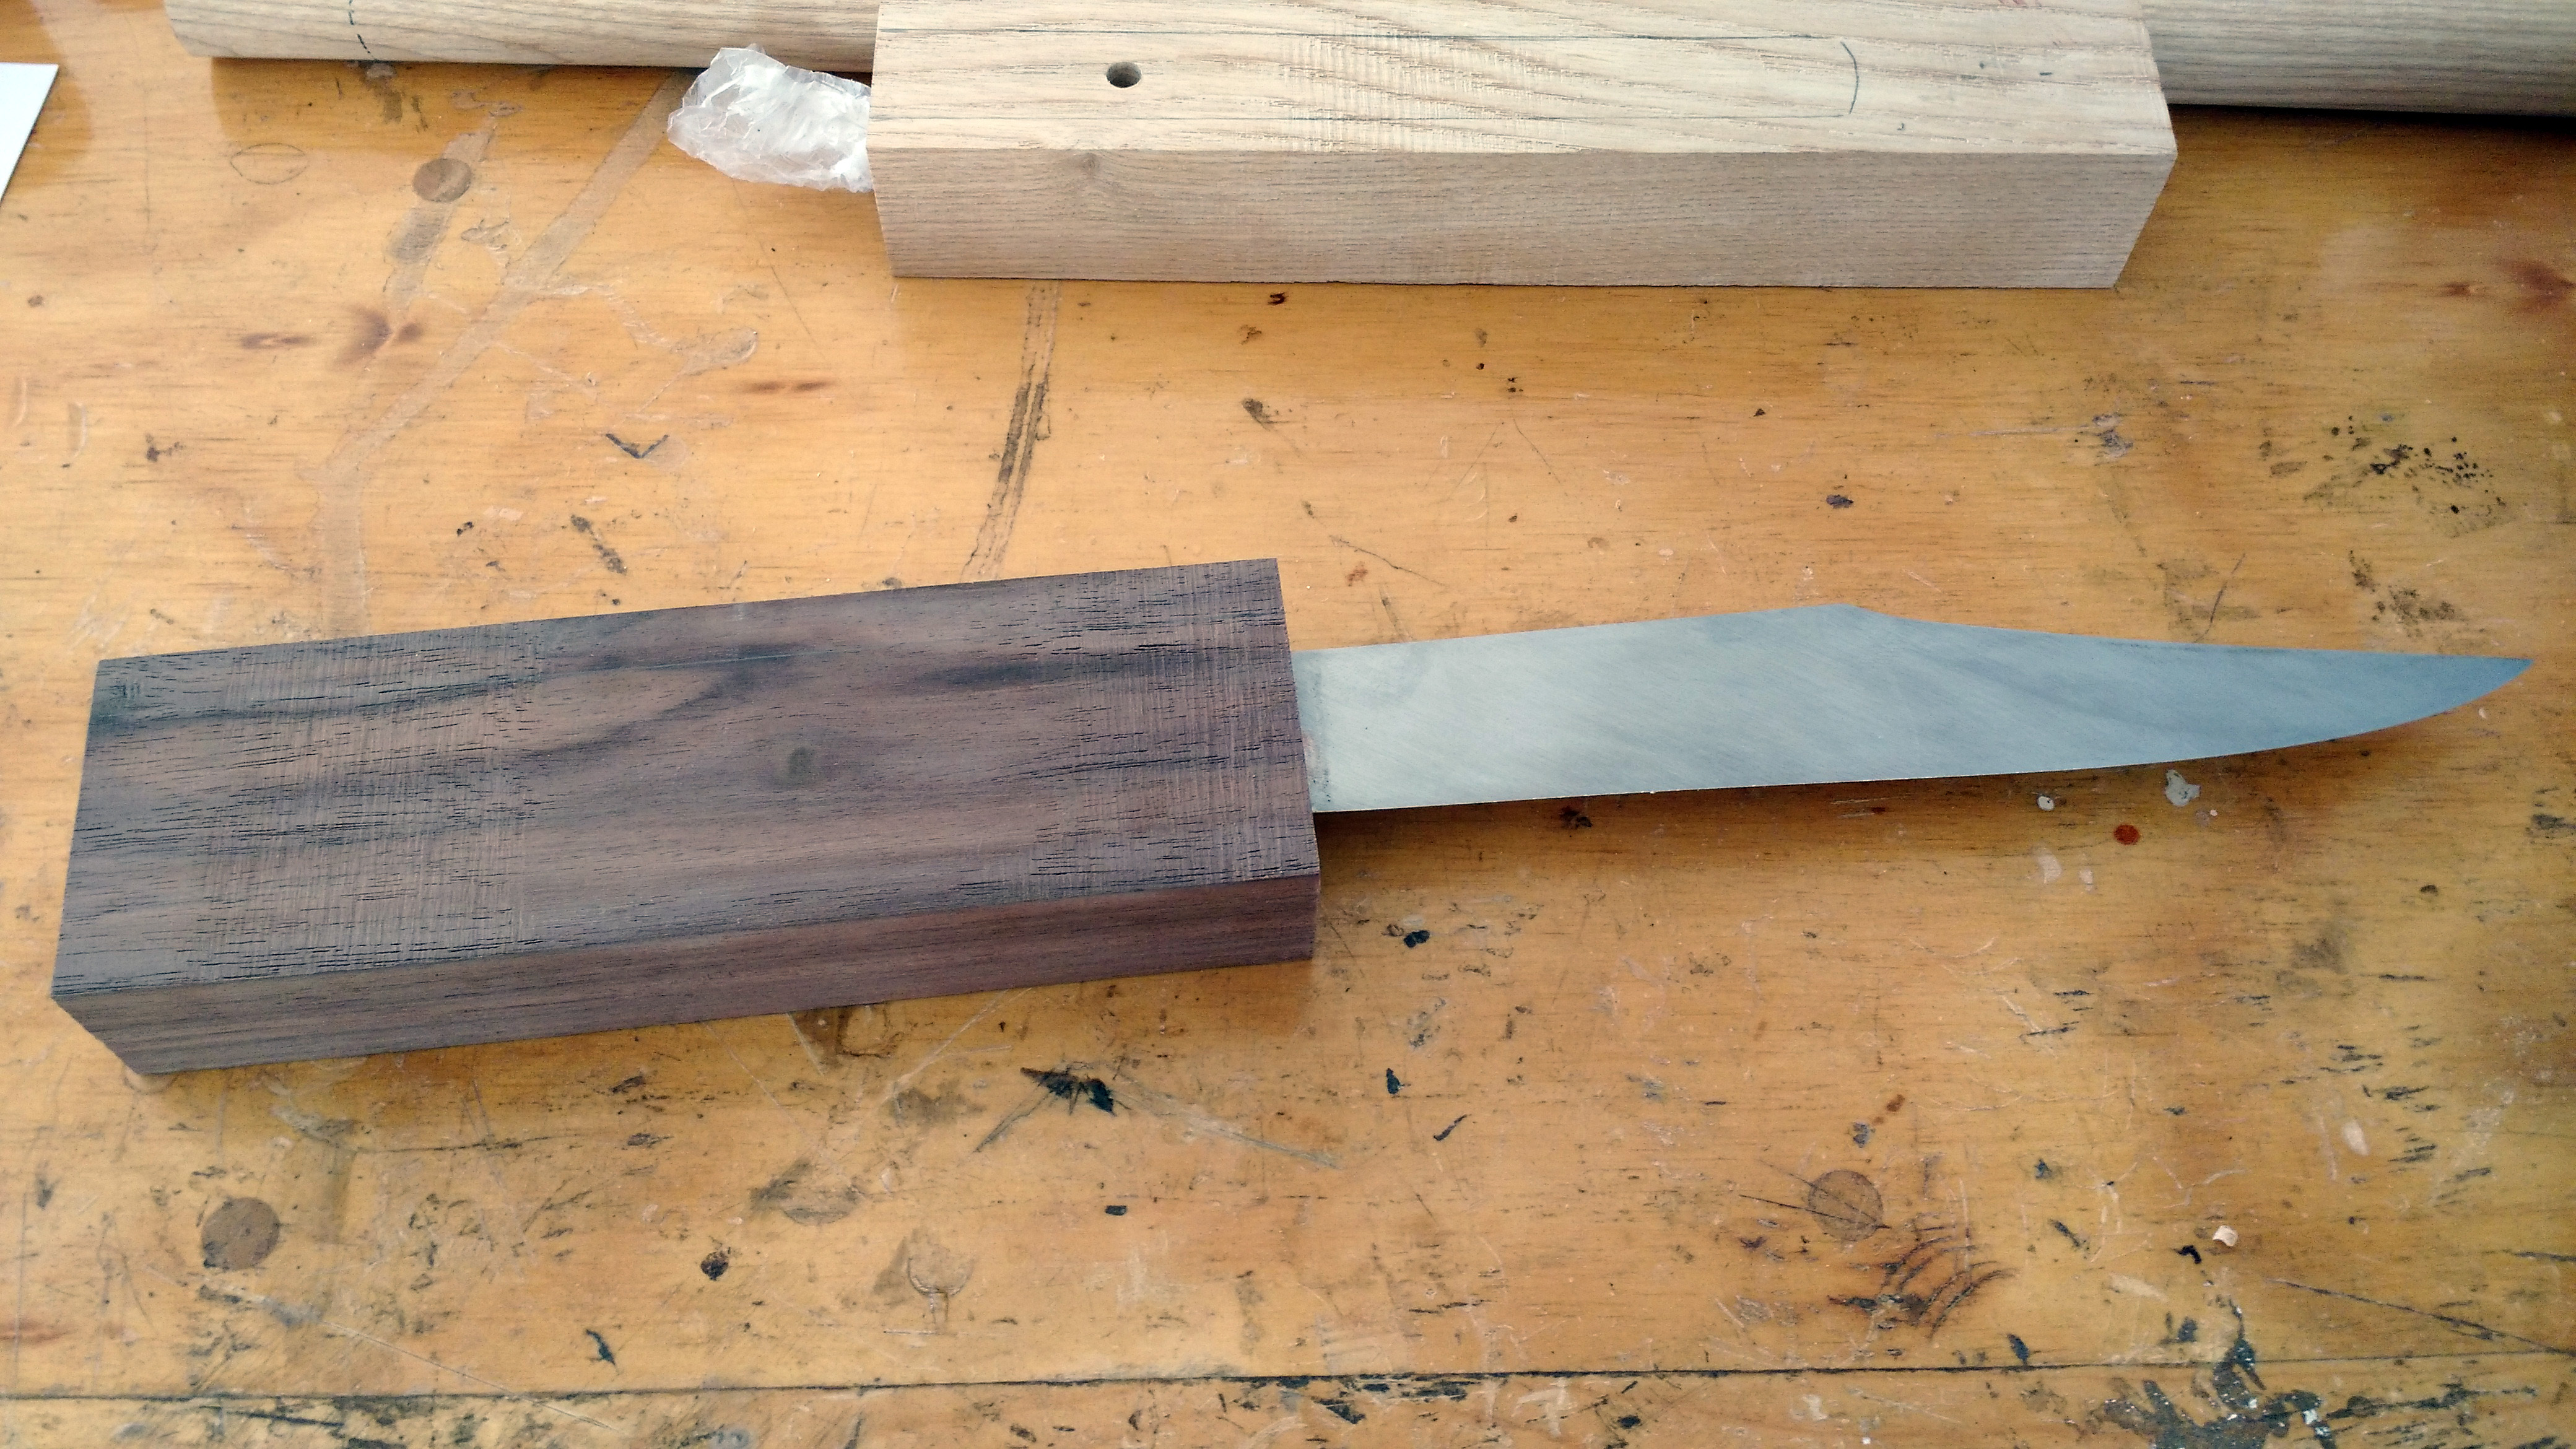
Fitting a copper plate for the hilt piece:
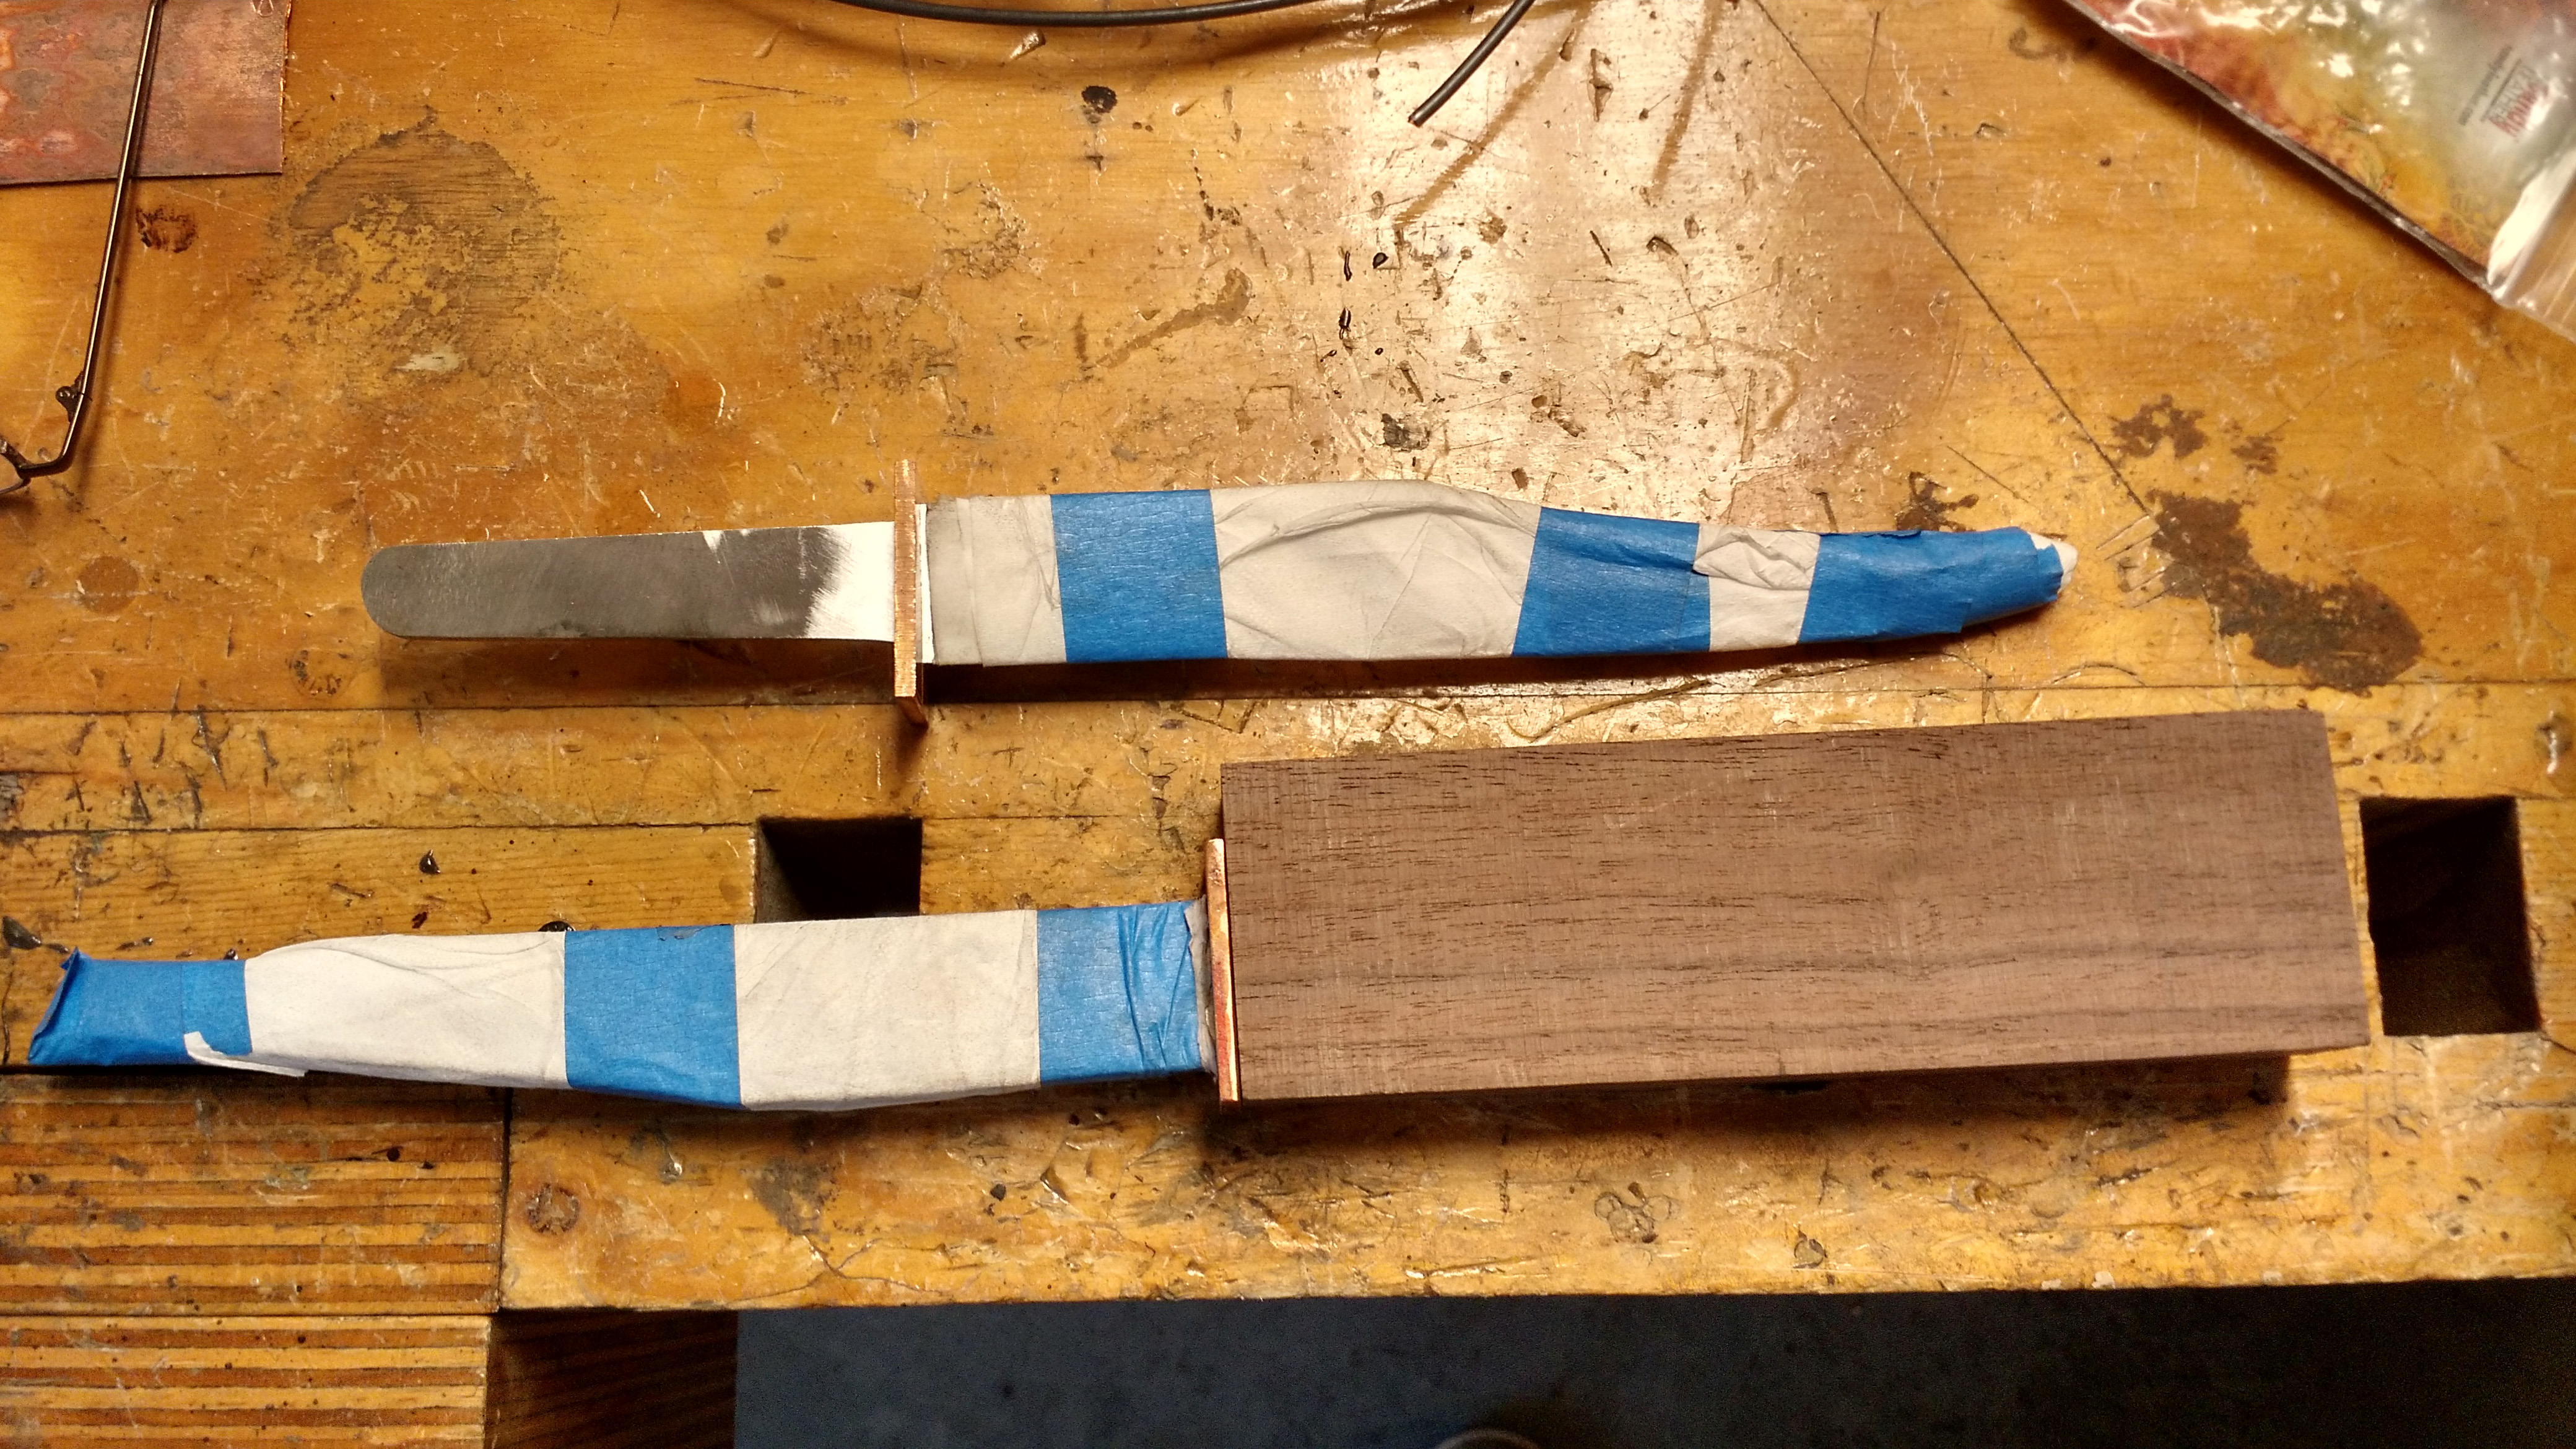
Shaped the handle and epoxying the copper plate to the top:
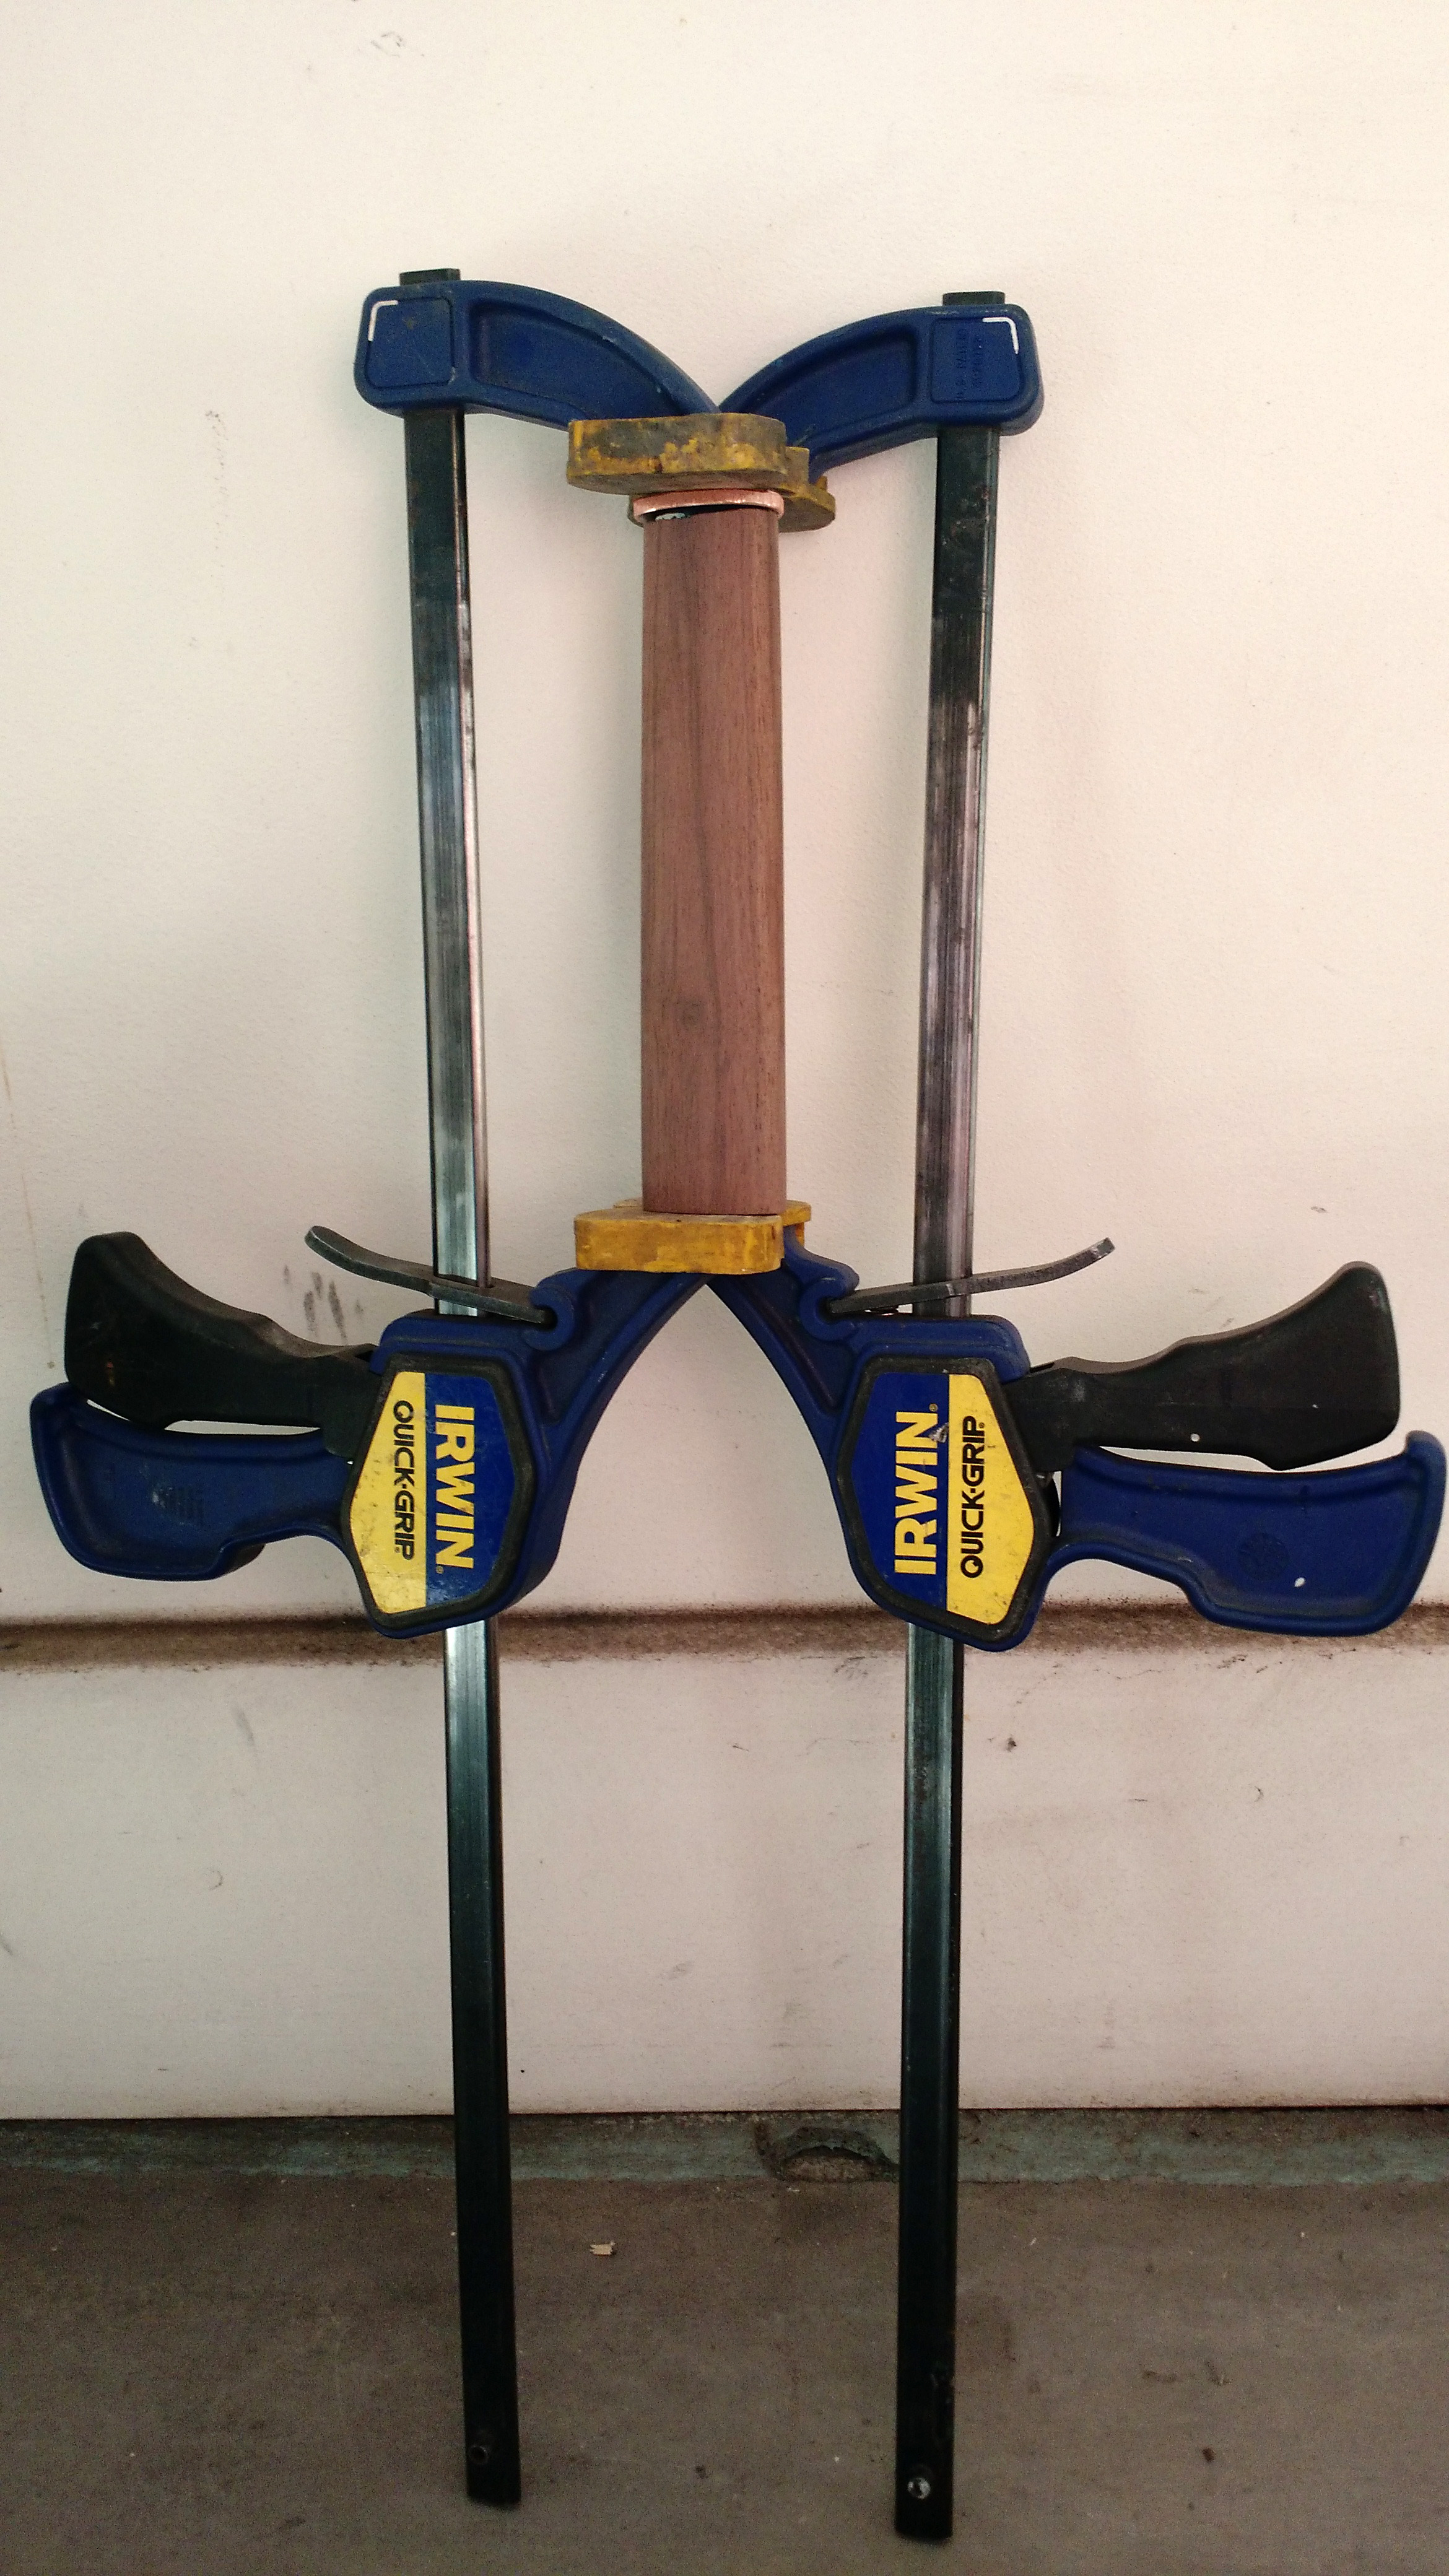
Looking good so far!
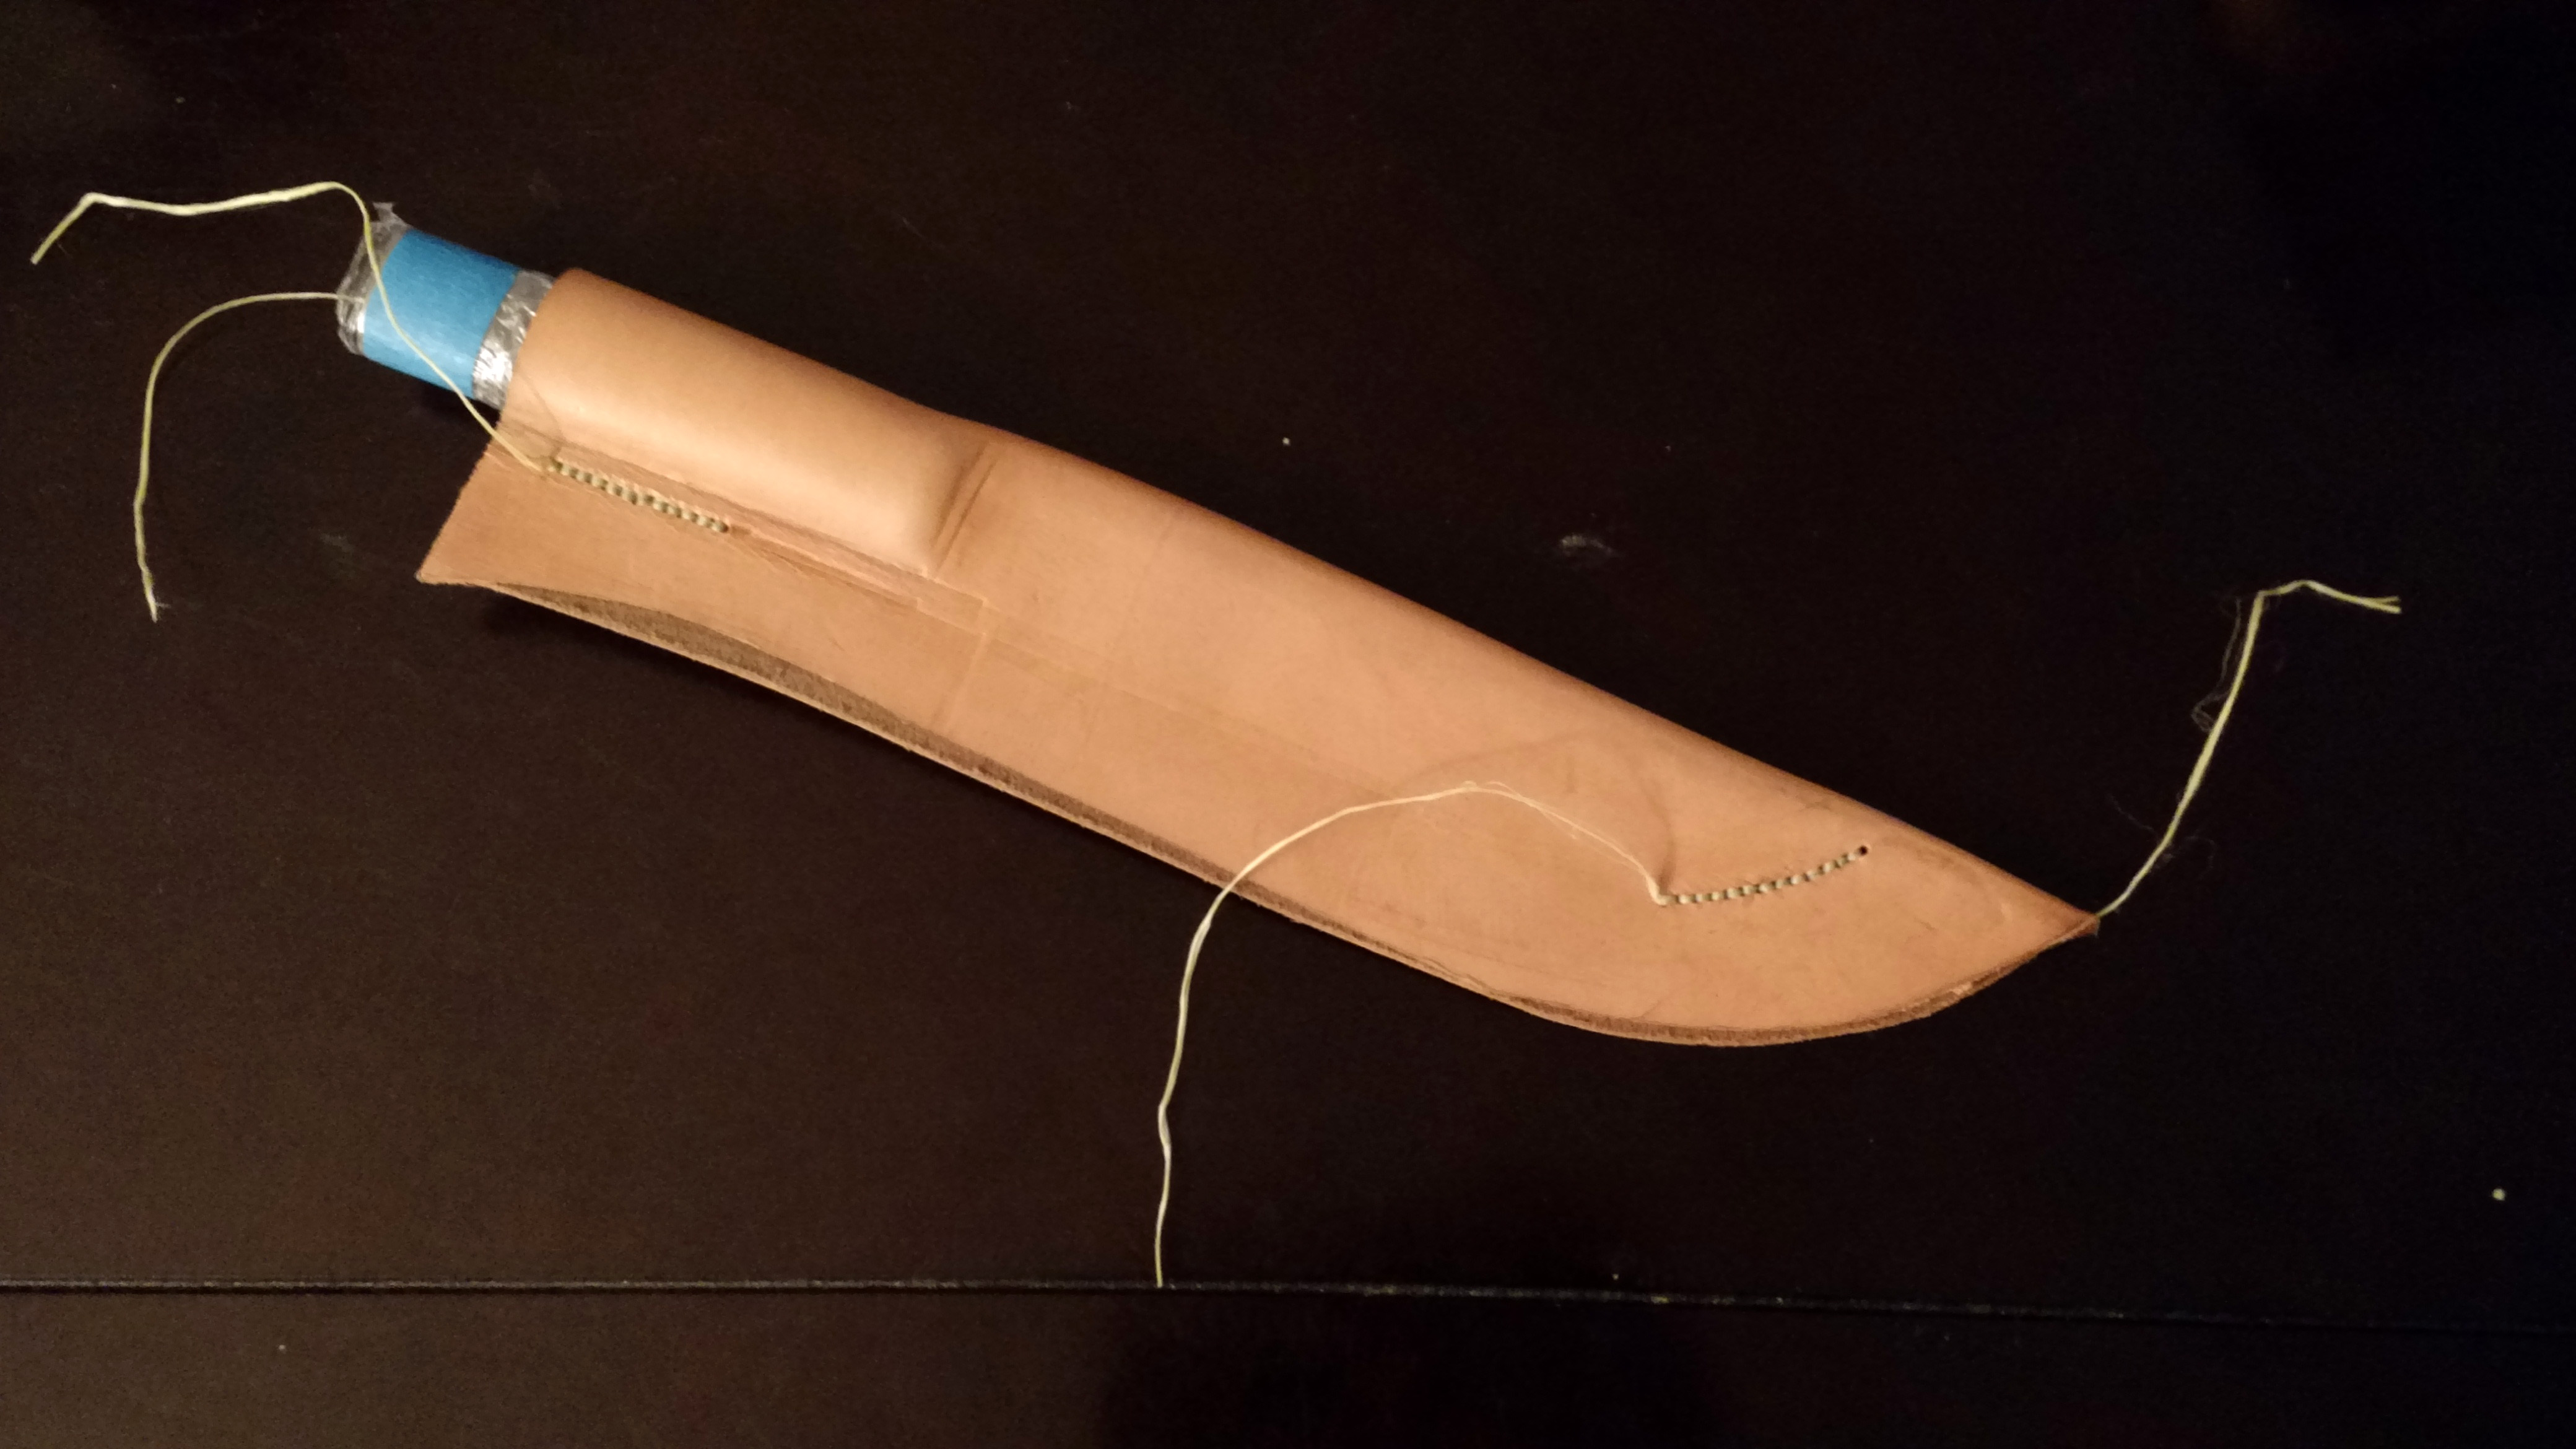
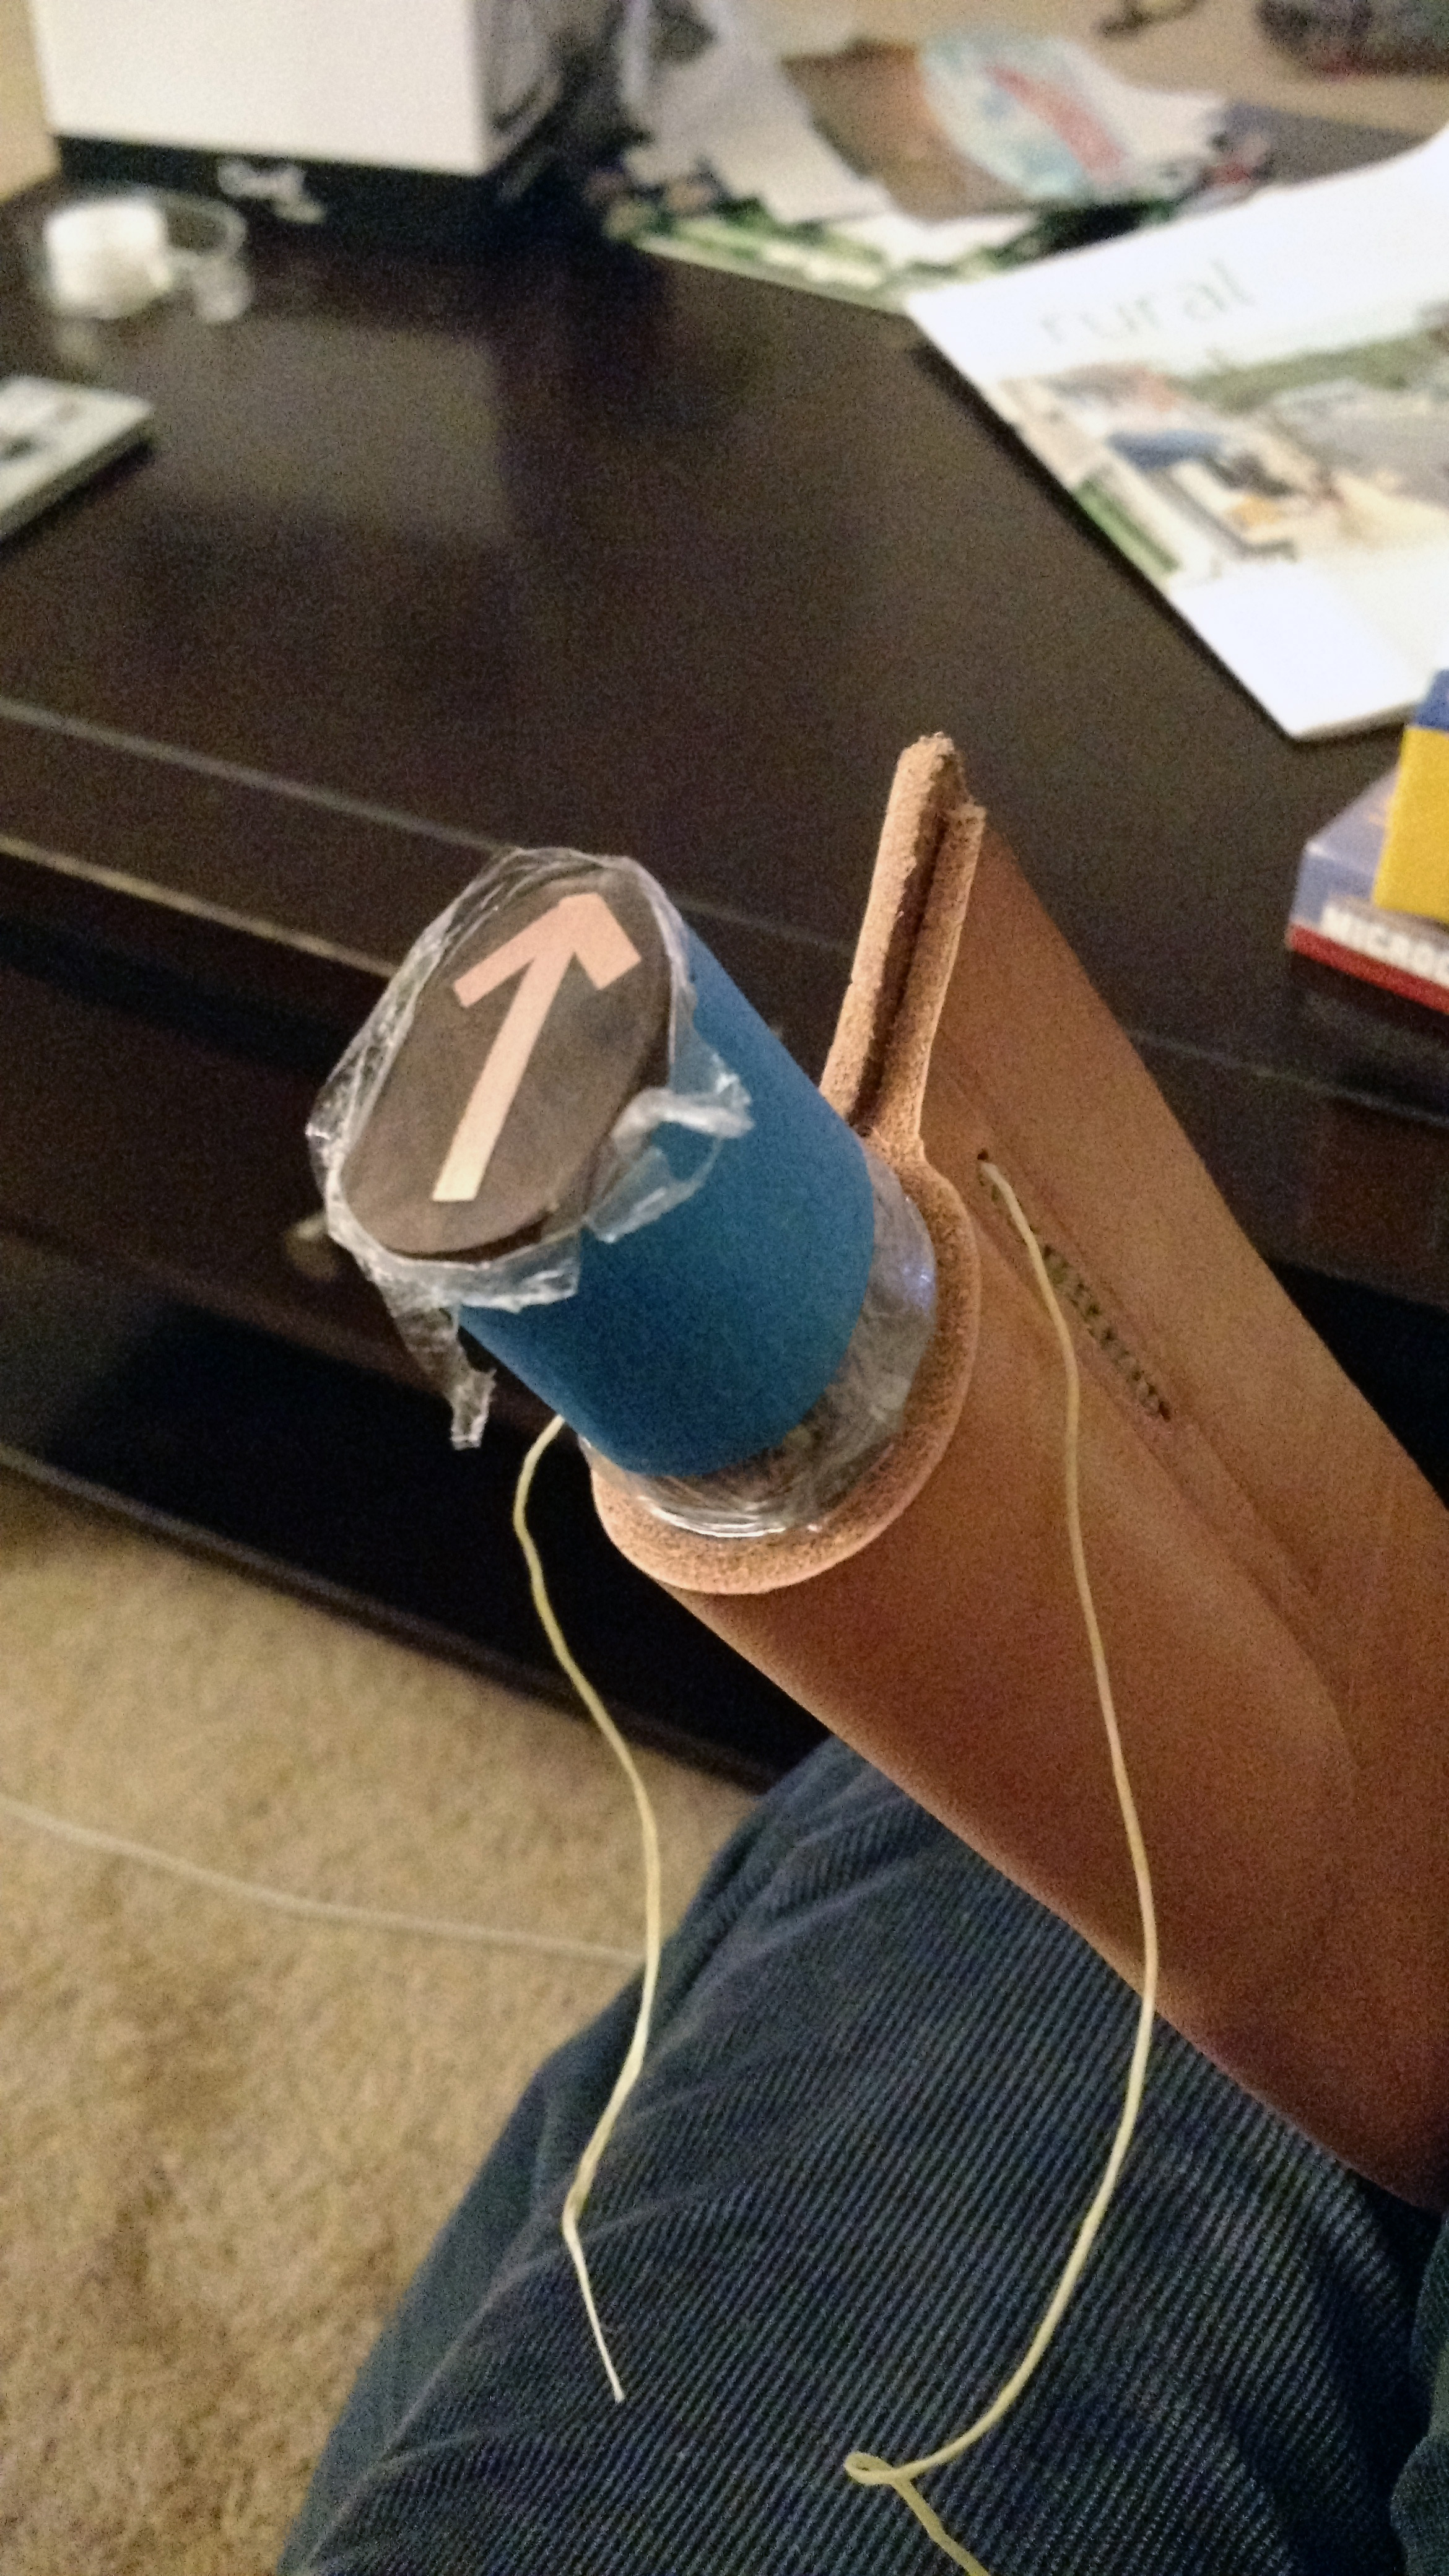
Stitching the sheath’s stretched leather for reinforcement:
Also, made a copper inlay for the butt-end:
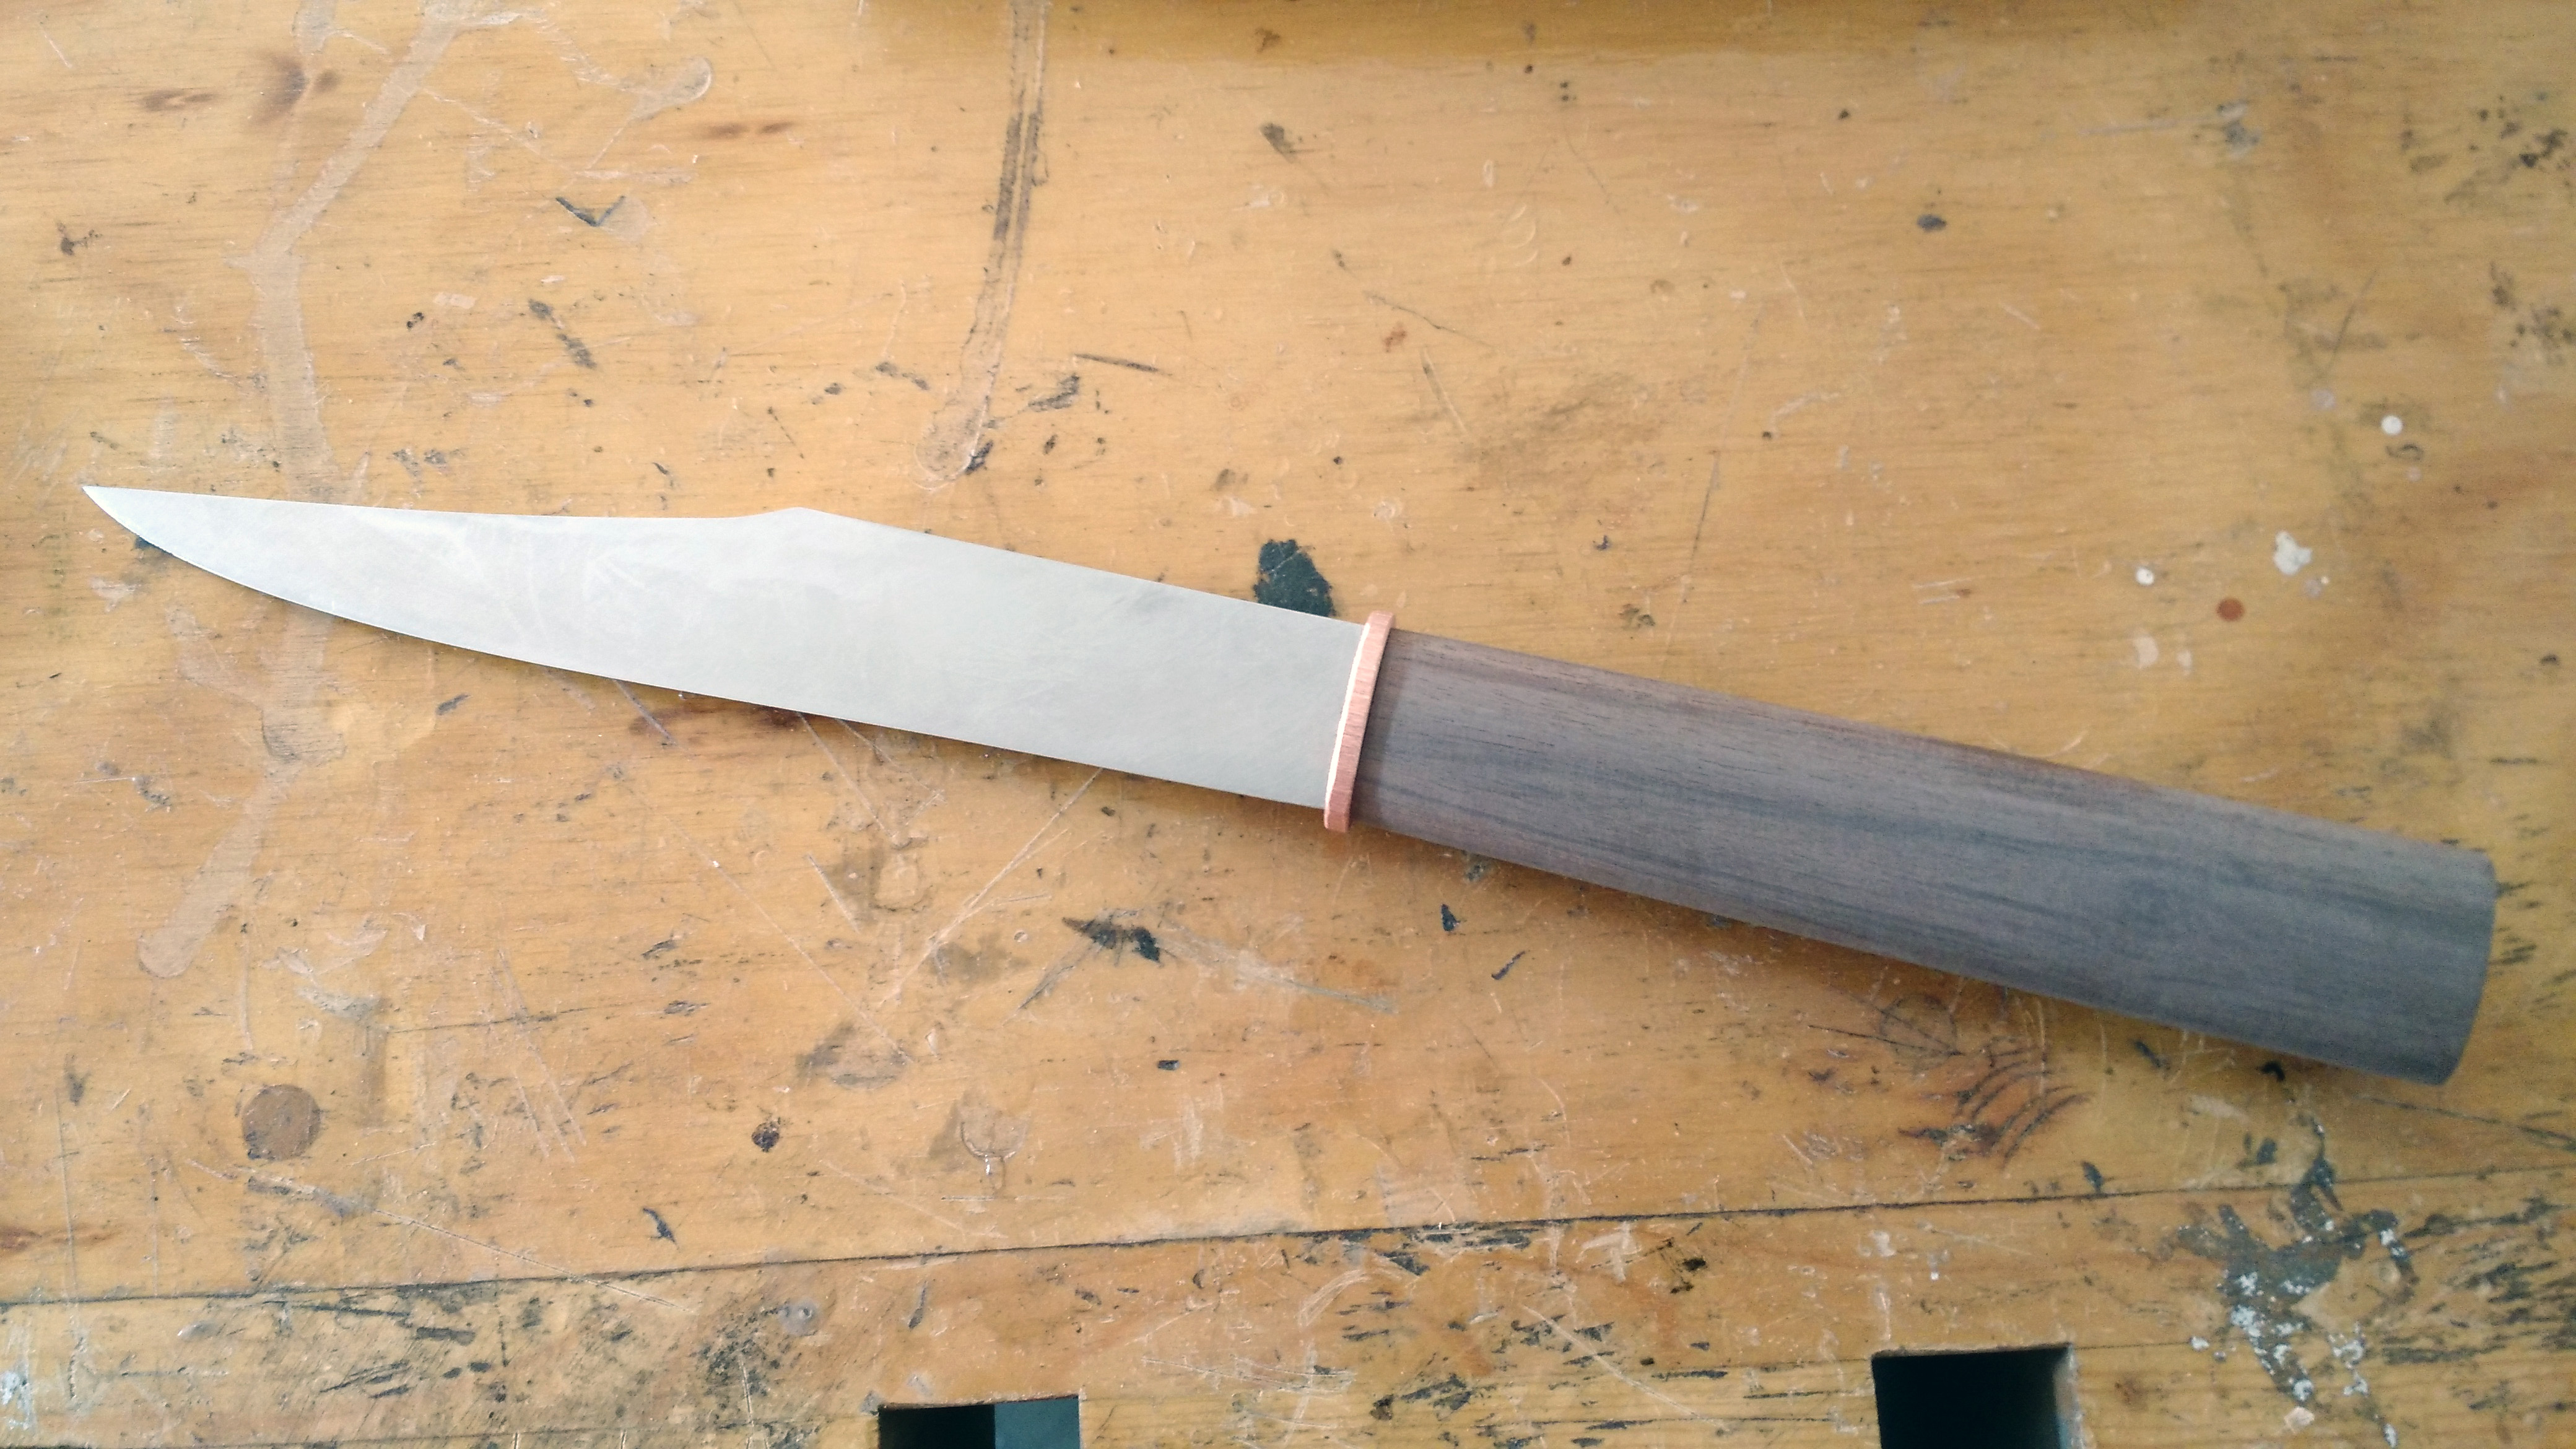
Added decorative coiled copper, and the blade is ready for polishing:
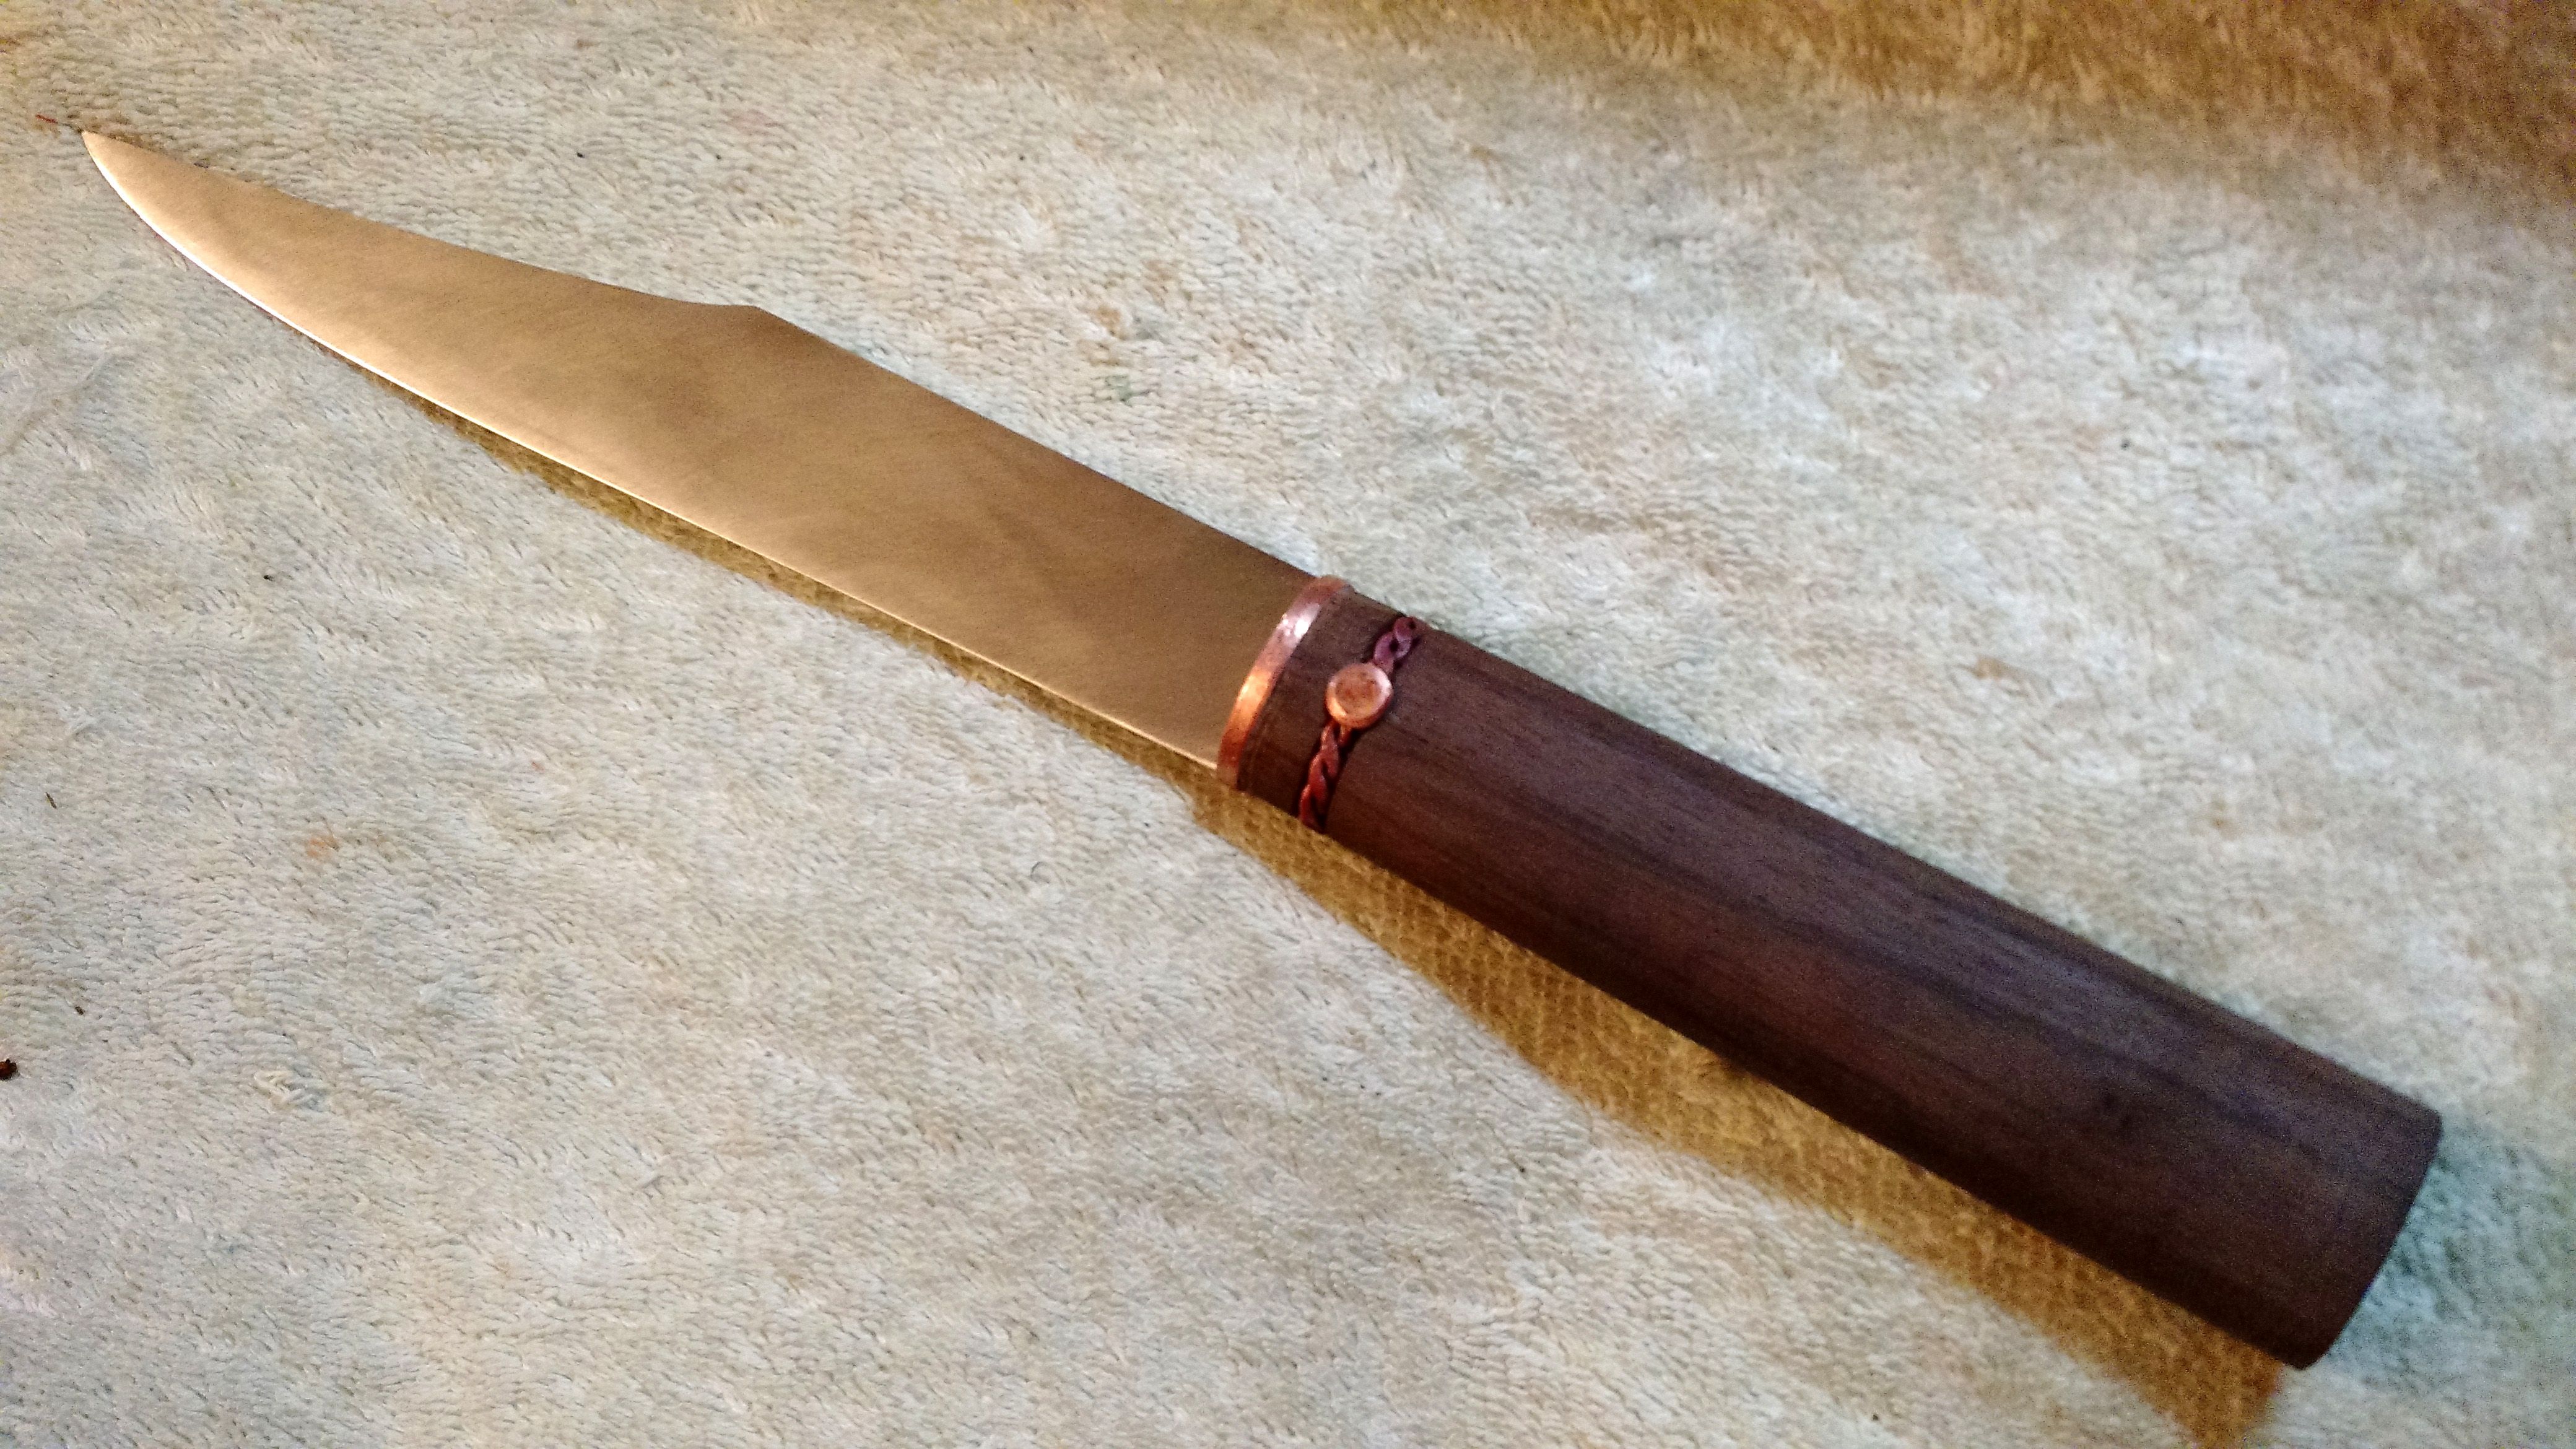
Spent about 18 or so hours polishing (up to 2000 grit), and burned runes into the handle (my name on one side, the name of the knife [“niedscyld”] on the obverse). Final steps were using acid etching to bring out the “hamon” pattern we created during quenching, coating the handle with tung oil, and epoxying the blade into the handle.

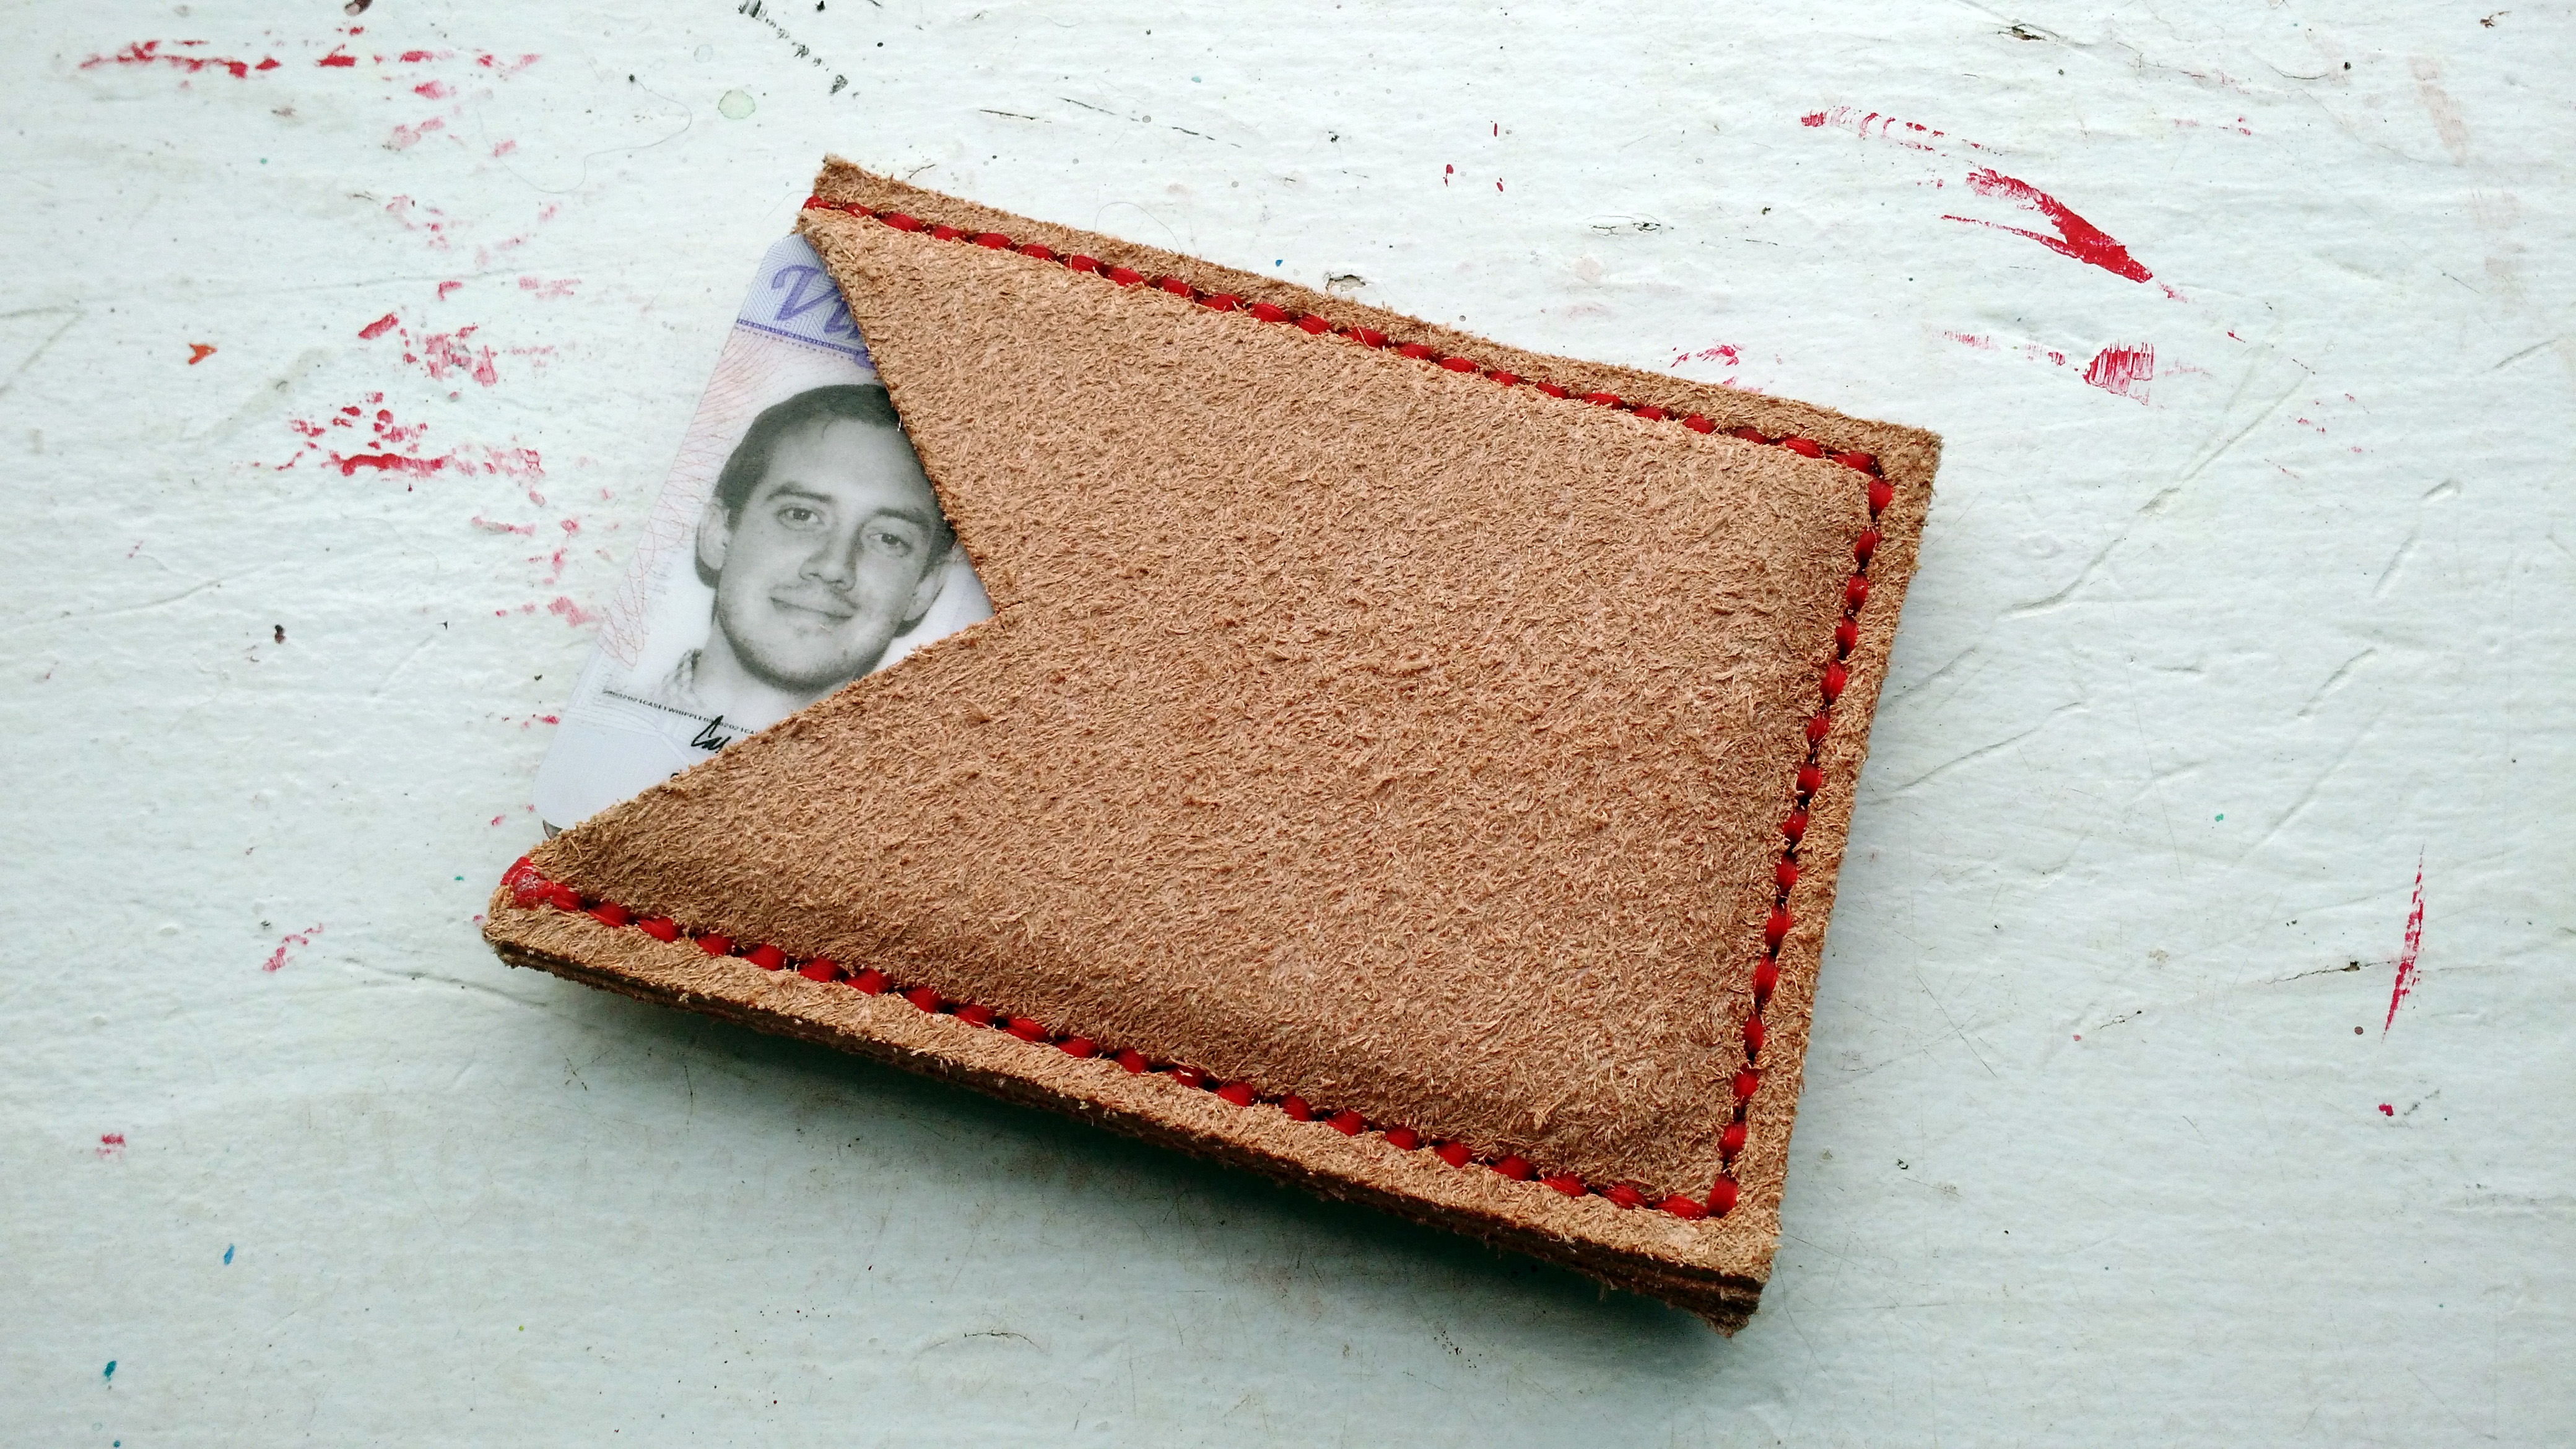
I had so much fun with all the skills I learned to make the knife, that I got some leather working supplies of my own, and made a couple of simple items. First was a new, slim card-wallet.
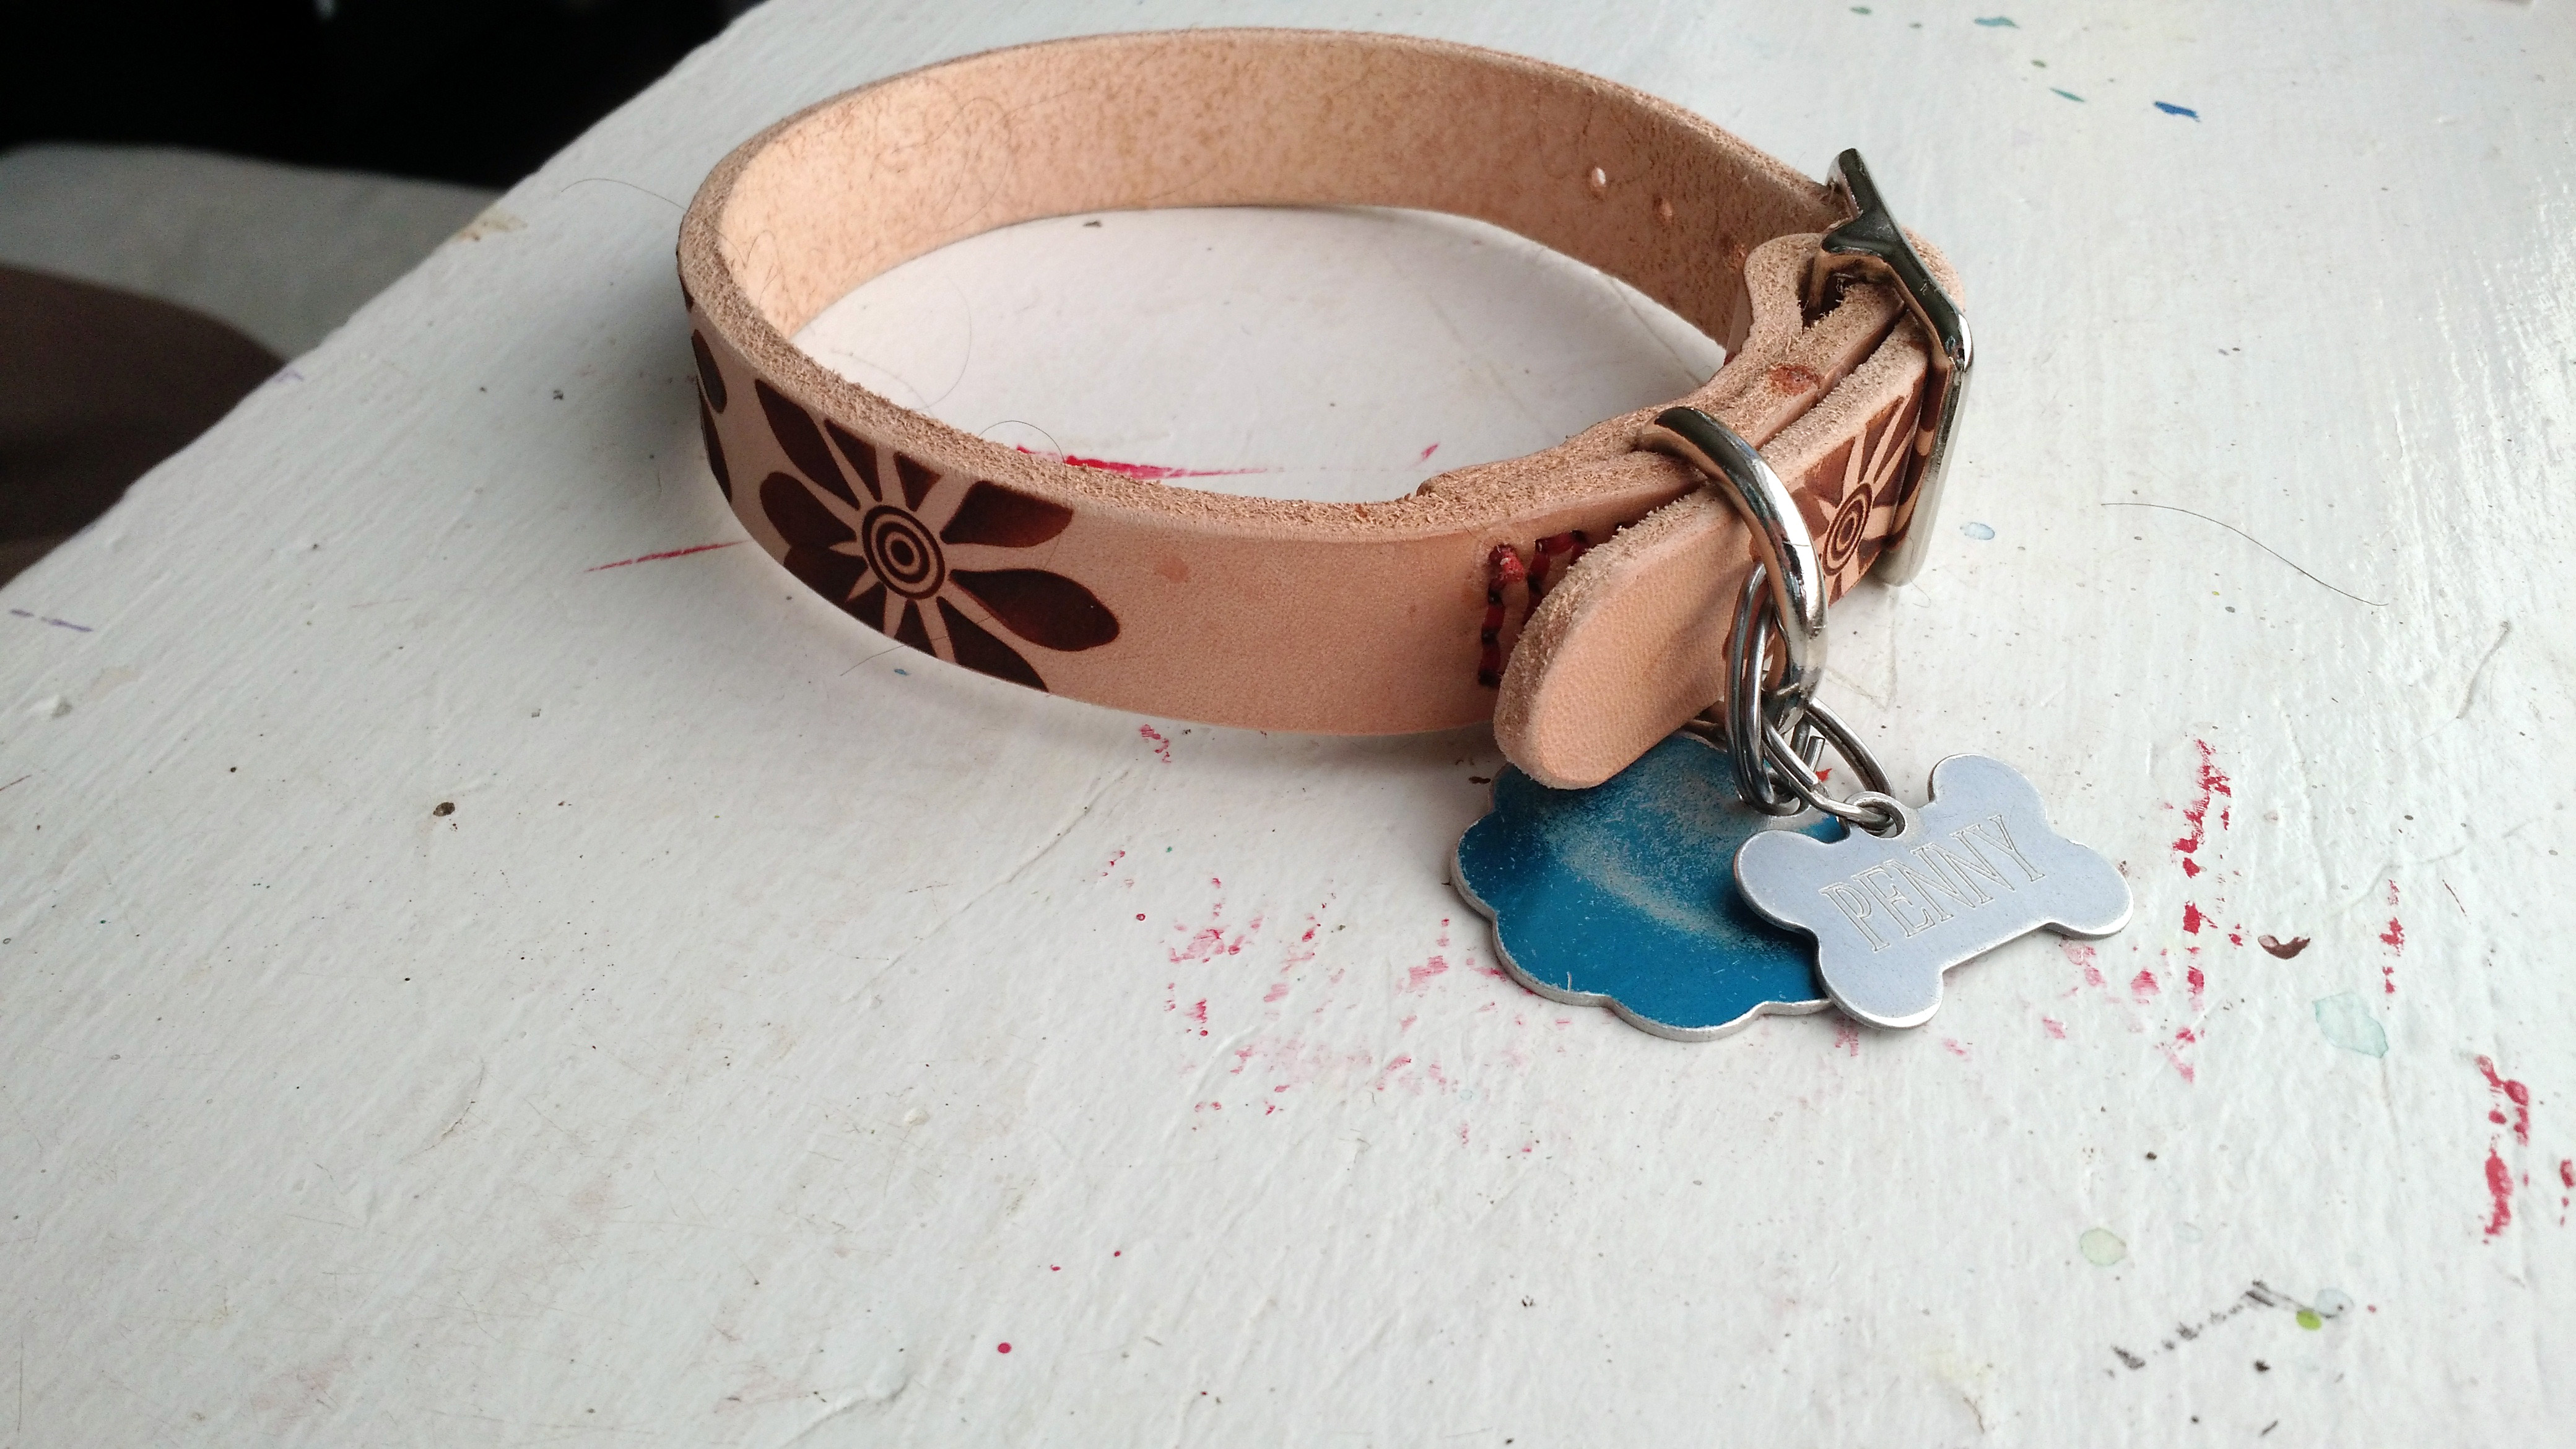
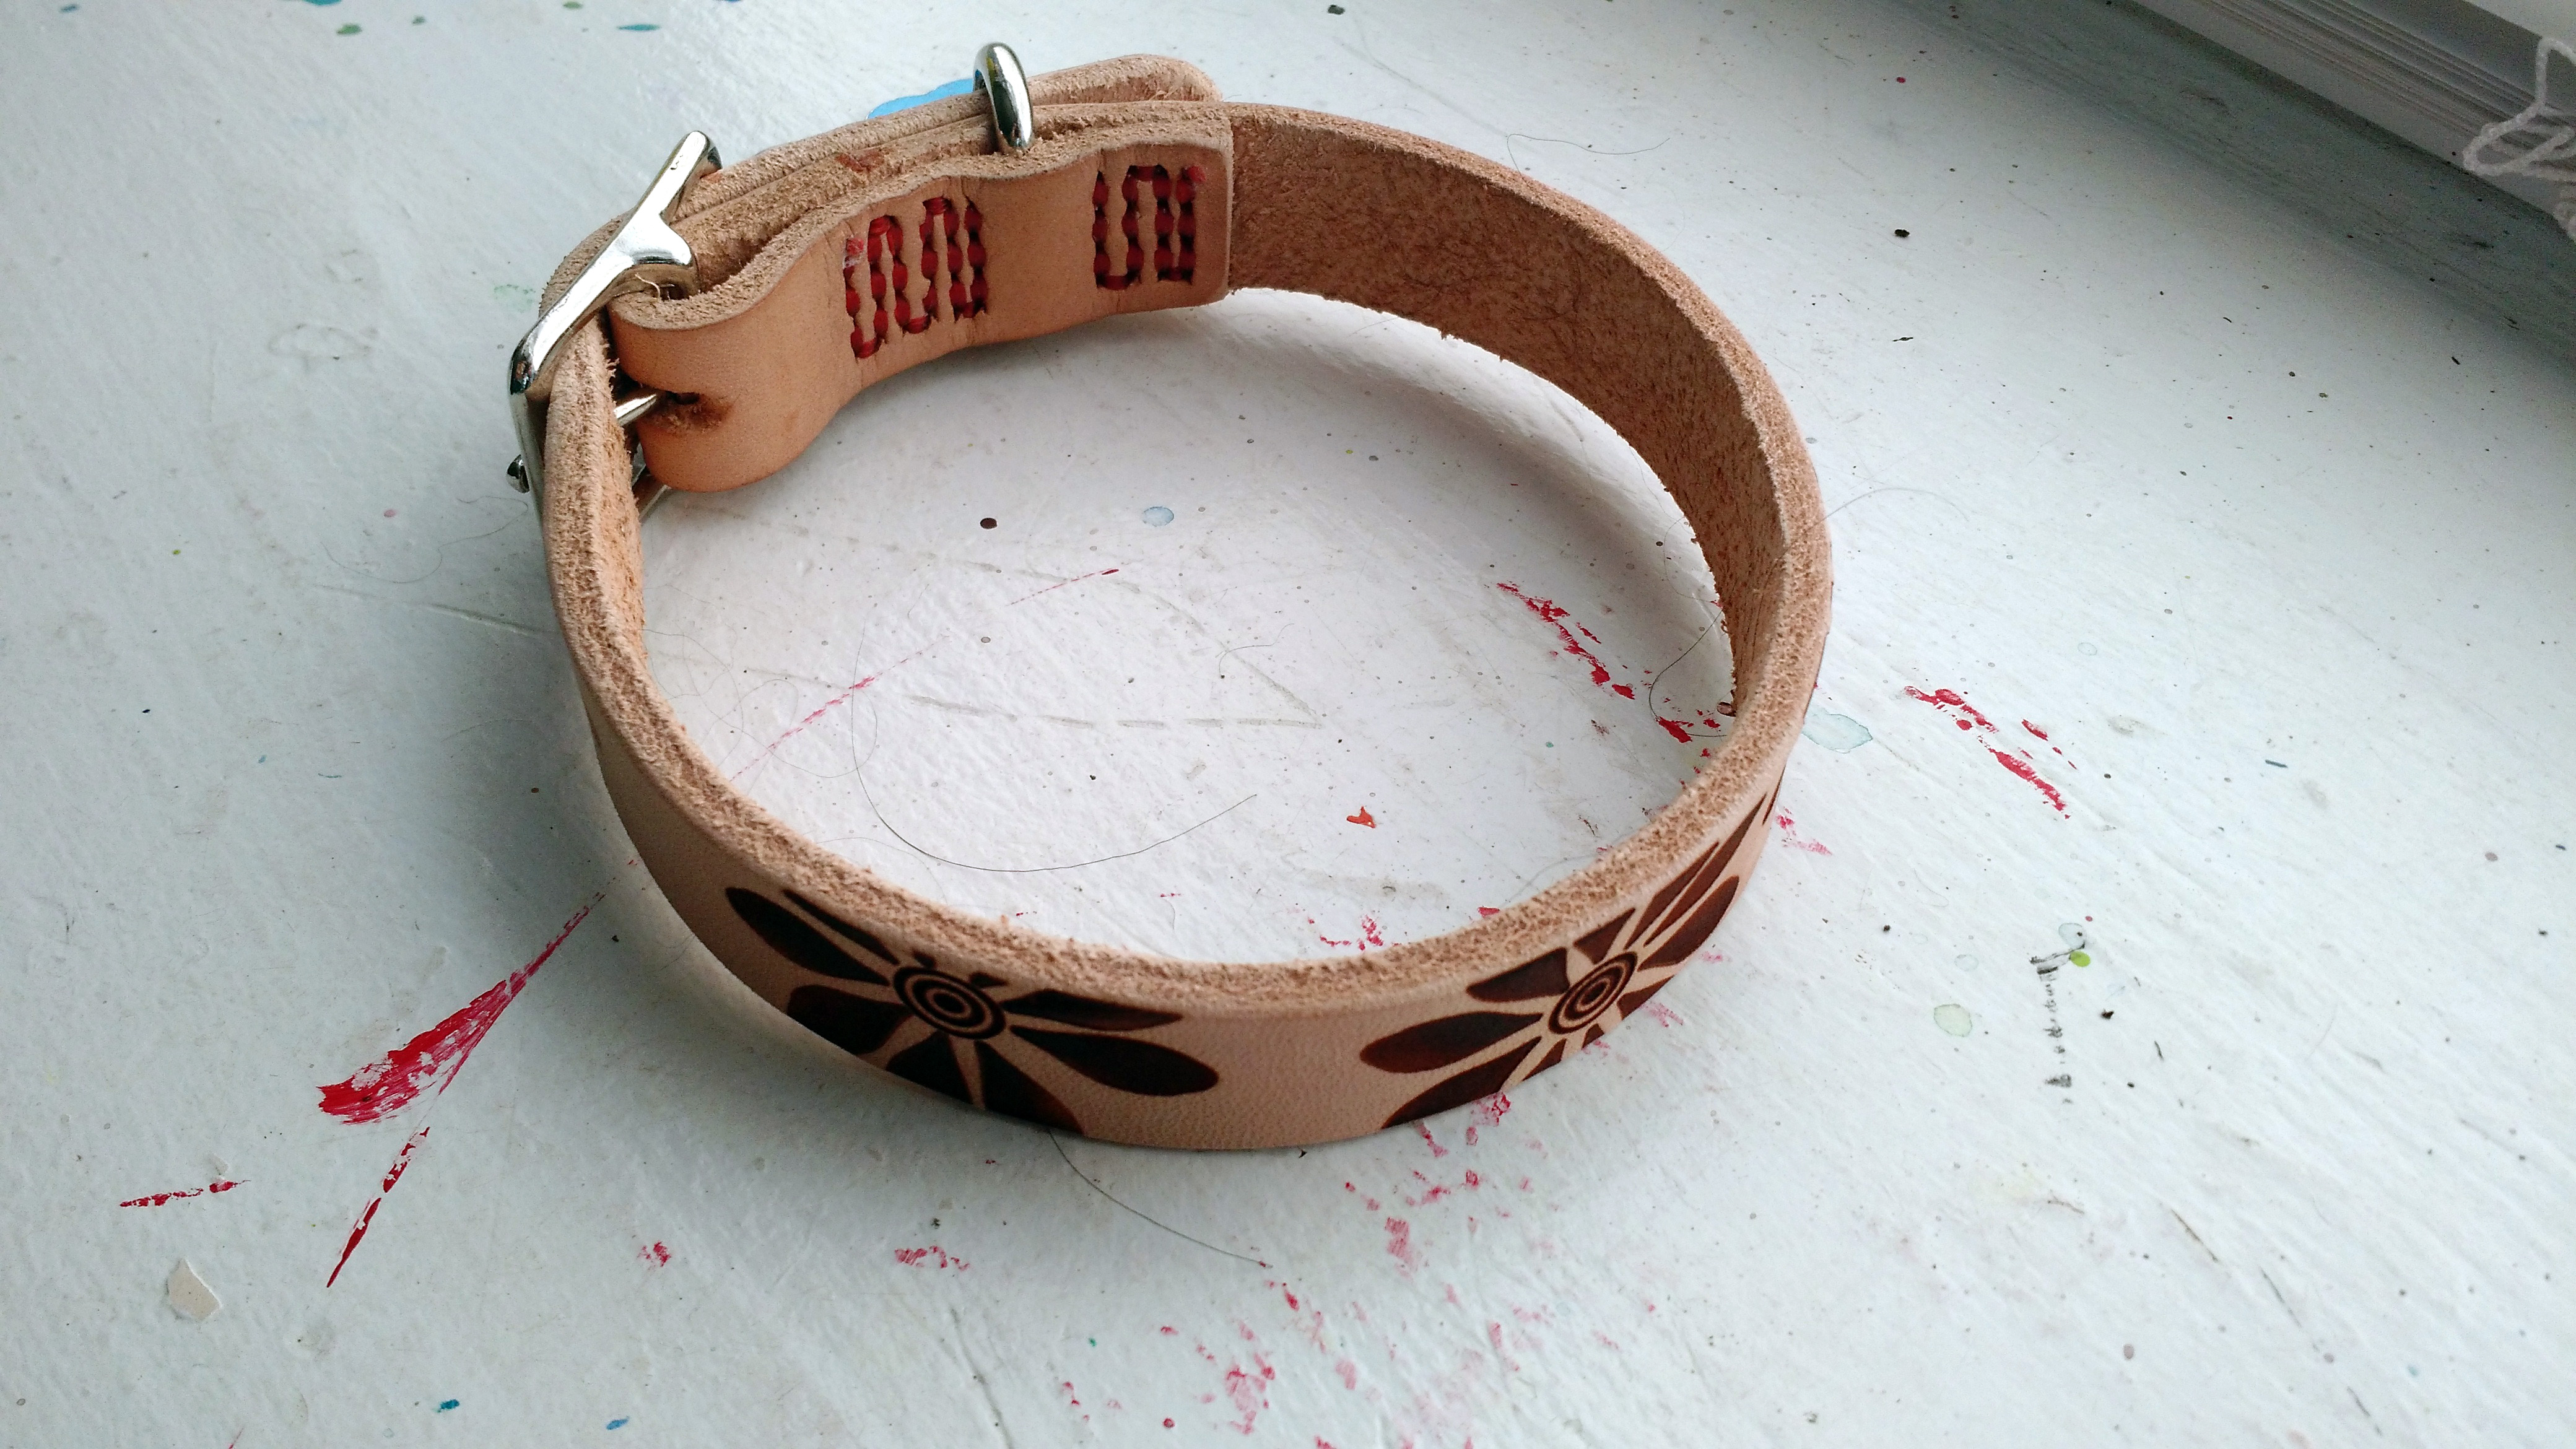
Next, I thought a great thing would be a new collar for Penny. Used the woodburner tool to give it a flower pattern.
Making things with your hands is super satisfying!